如何在Vue3中使用vue-router?
时间:2023-05-10 11:18
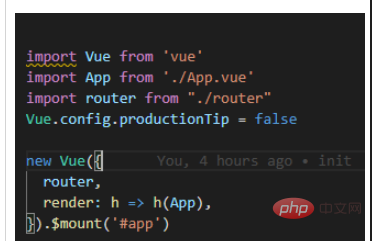
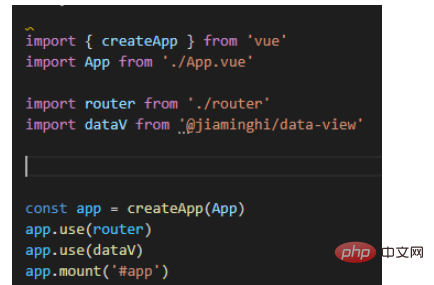
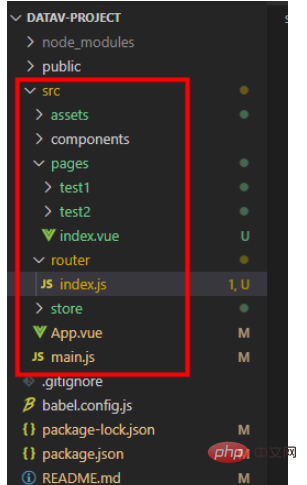
对于大多数单页应用程序而言,管理路由是一项必不可少的功能。随着新版本的Vue Router处于Alpha阶段,我们已经可以开始查看下一个版本的Vue中它是如何工作的。 Vue3中的许多更改都会稍微改变我们访问插件和库的方式,其中包括Vue Router。 先来对比一下vue2和vue3中main.js的区别:(第一张为vue2,第二张为vue3) 可以明显看到,我们在vue2中常用到的Vue对象,在vue3中由于直接使用了createApp方法“消失”了,但实际上使用createApp方法创造出来的app就是一个Vue对象,在vue2中经常使用到的Vue.use(),在vue3中可以换成app.use()正常使用;在vue3的mian.js文件中,使用vue-router直接用app.use()方法把router调用了就可以了。 注:import 路由文件导出的路由名 from "对应路由文件相对路径",项目目录如下(vue2与vue3同): 我们在需要使用路由的地方引入useRoute 和 useRouter (相当于vue2中的 $route 和 $router) 例:页面跳转 以上就是如何在Vue3中使用vue-router?的详细内容,更多请关注Gxl网其它相关文章!前言
一、第一步:安装vue-router
npm install vue-router@4.0.0-beta.13
二、第二步:main.js


三、路由文件
import { createRouter, createWebHashHistory } from "vue-router"const routes = [ { path: '/', component: () => import('@/pages') }, { path: '/test1', name: "test1", component: () => import('@/pages/test1') }, { path: '/test2', name: "test2", component: () => import('@/pages/test2') },]export const router = createRouter({ history: createWebHashHistory(), routes: routes})export default router四、app.vue
<template> <router-view></router-view></template><script>export default { name: 'App', components: { }}</script><style>#app { font-family: Avenir, Helvetica, Arial, sans-serif; -webkit-font-smoothing: antialiased; -moz-osx-font-smoothing: grayscale; text-align: center; color: #2c3e50; margin-top: 60px;}</style>四、使用(比如跳转)
<script>import { useRoute, useRouter } from 'vue-router'export default { setup () { const route = useRoute() const router = useRouter() return {} },}<template> <h2>我是test1</h2> <button @click="toTest2">toTest2</button></template><script>import { useRouter } from 'vue-router'export default { setup () { const router = useRouter() const toTest2= (() => { router.push("./test2") }) return { toTest2 } },}</script><style scoped></style>


