ai设计简笔画效果的蛋糕图标的教程
时间:2022-10-26 12:55
小伙伴们你们知道ai怎么设计简笔画效果的蛋糕图标吗?今天小编很乐意与大家分享ai设计简笔画效果的蛋糕图标的教程,感兴趣的可以来了解了解哦。
ai设计简笔画效果的蛋糕图标的教程
1、打开AI软件,执行文件-新建命令,默认A4画板。
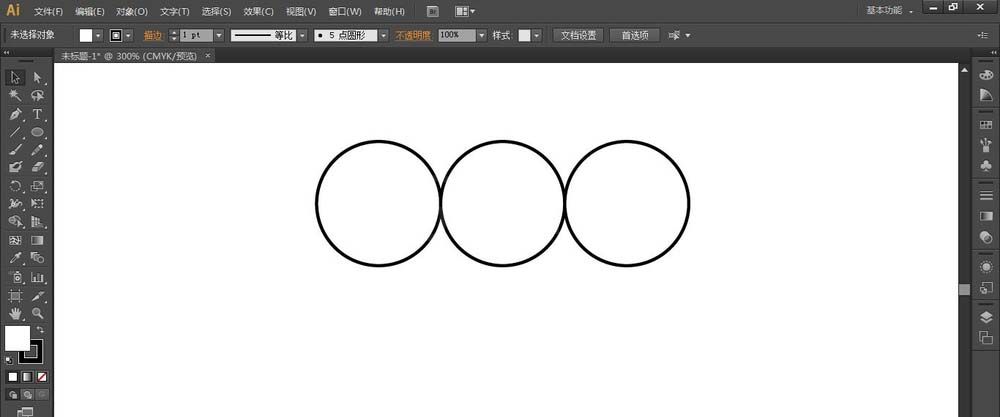
2、选择椭圆工具绘制一个矩形,再按住Alt键再制两个。如图:
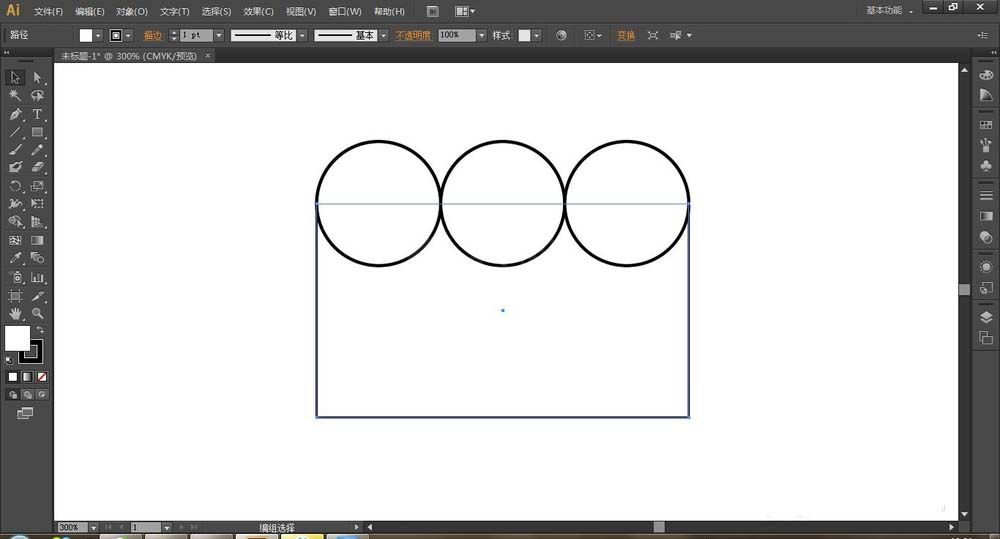
3、再选择矩形工具绘制一个矩形,上方的边框刚好落在圆的中心位置上。
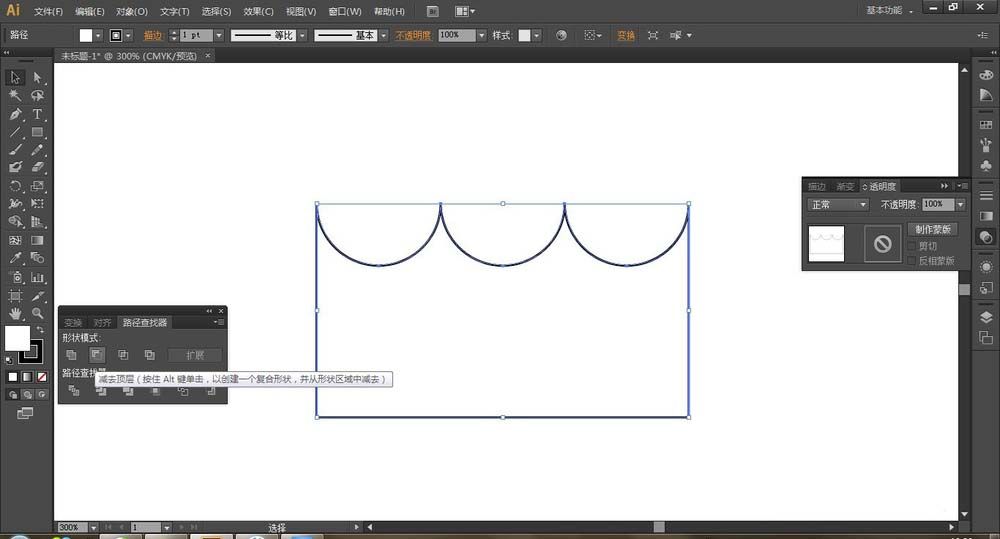
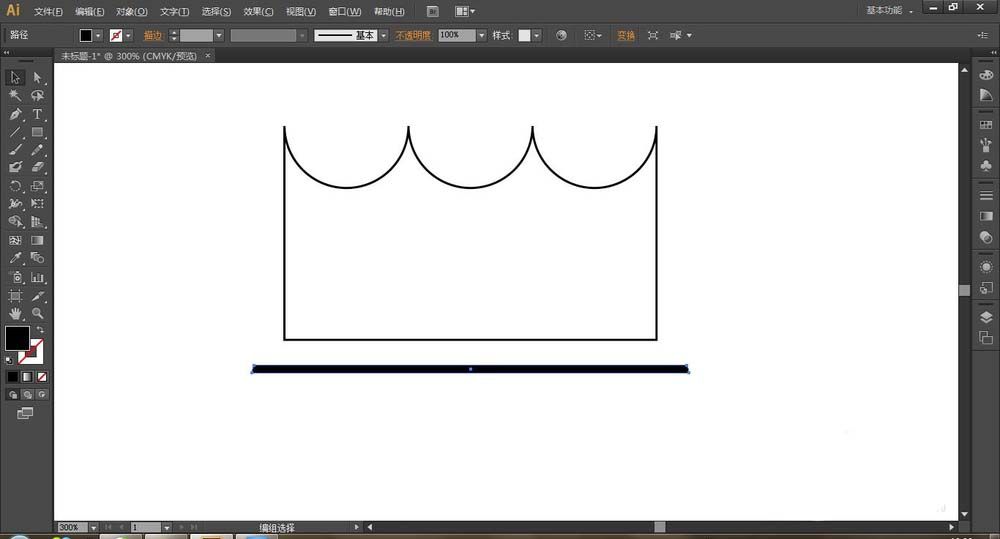
4、选择所有图形,按快捷键Ctrl+Shift+F9弹出路径查找器,选择剪去顶层。
5、选择矩形工具绘制一长方形,去除描边,黑色填充,并用直接选择工具将左上角和右上角的顶点分别向右和向左移动1mm。如图:
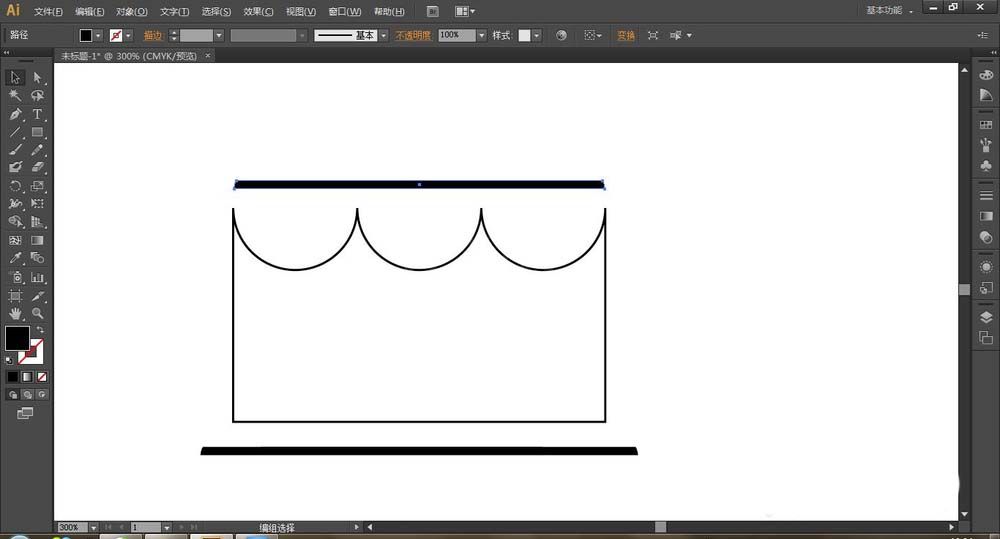
6、将下方的矩形向上复制一个,将其缩短,放在上方。
7、选择直线工具绘制三条直线,中间的长一点,排好顺序分布均匀,将直线居中,最终效果如图:
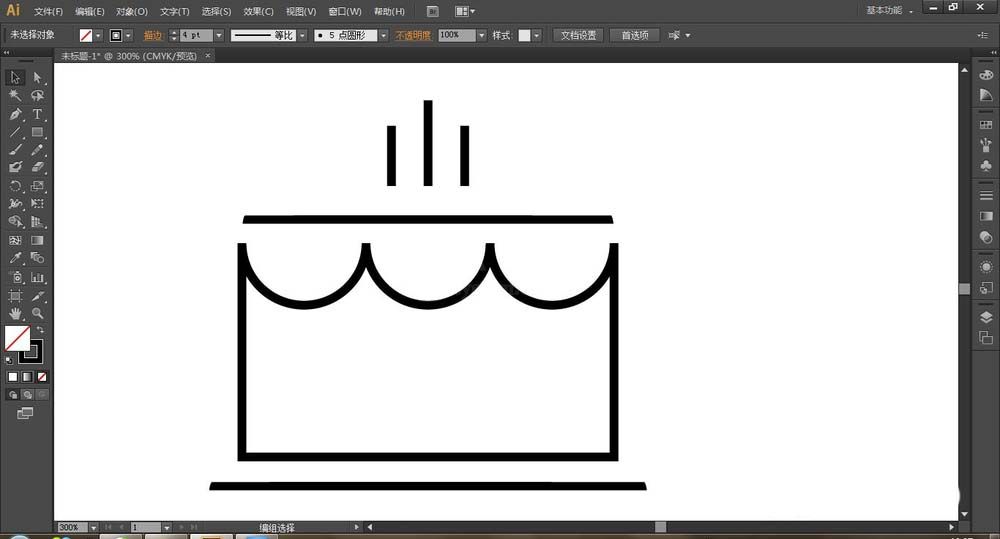
以上就是小编分享的ai设计简笔画效果的蛋糕图标的教程,是不是很棒啊,希望对你有所帮助哦。


热门排行
今日推荐


热门手游
-
商场购物模拟器官方版

版本:v1.0.9
大小:46.11MB
日期:2024-12-16
-
滚动方块大冒险免费版

版本:v1.0.5
大小:26.10MB
日期:2024-12-16
-
恋恋奇缘体验服版

版本:v1.0.0
大小:131.33MB
日期:2024-12-16
-
炉石传说官方正版

版本:v1.0
大小:100.52MB
日期:2024-12-16
-
人群大师免费版

版本:v2.15.0
大小:57.68MB
日期:2024-12-16
-
方鸡跳跑单机版

版本:v1
大小:63.49MB
日期:2024-12-16