gimp把图片切割成多张图片的基础操作
时间:2022-10-26 13:18
有的用户还不知道gimp把图片切割成多张图片的基础操作,下文小编就分享gimp把图片切割成多张图片的操作教程,希望对你们有所帮助哦。
gimp把图片切割成多张图片的基础操作

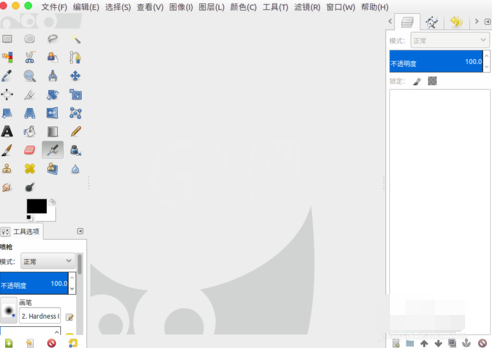
首先我们打开自己的gimp工具窗口。
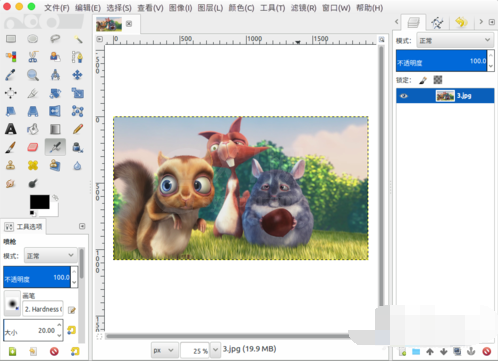
打开需要切割的图片,可以直接拖动上去打开。
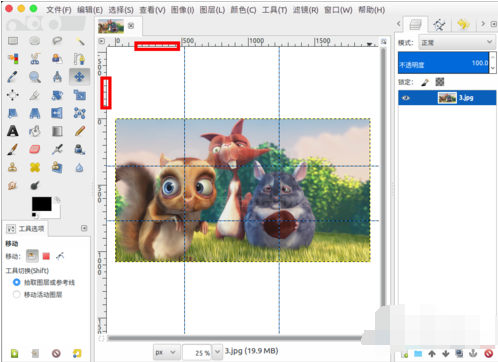
按住鼠标左键从上面向下,以及从左向右拖拽建立网格,网格中间的部分是要被切割生成图片的。
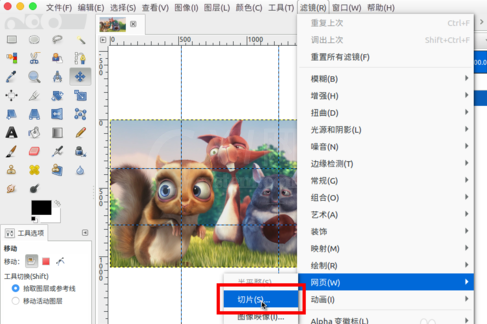
网格配置好以后,现在我们顶部菜单中选择“滤镜”。
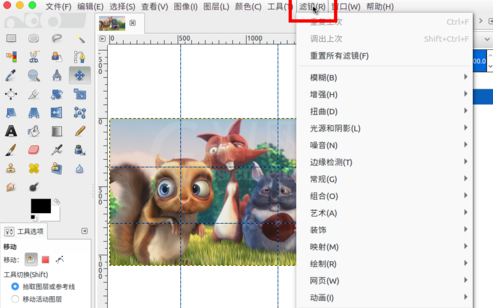
接着在菜单中选择“网页”--“切片”。
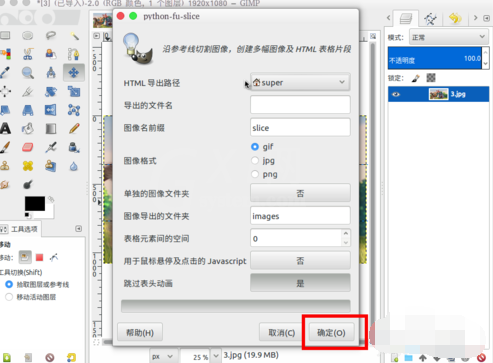
选择导出位置以及图片的格式,然后确定,就可以进行切割图片。
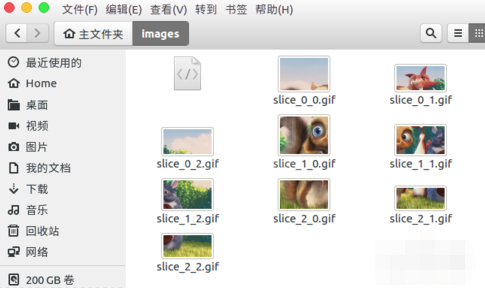
最后我们可以在保存的文件位置找到切割后的多张图片。
各位小伙伴们,看完上面的精彩内容,都清楚gimp把图片切割成多张图片的基础操作了吧!


热门排行
今日推荐


热门手游
-
商场购物模拟器官方版

版本:v1.0.9
大小:46.11MB
日期:2024-12-16
-
滚动方块大冒险免费版

版本:v1.0.5
大小:26.10MB
日期:2024-12-16
-
恋恋奇缘体验服版

版本:v1.0.0
大小:131.33MB
日期:2024-12-16
-
炉石传说官方正版

版本:v1.0
大小:100.52MB
日期:2024-12-16
-
人群大师免费版

版本:v2.15.0
大小:57.68MB
日期:2024-12-16
-
方鸡跳跑单机版

版本:v1
大小:63.49MB
日期:2024-12-16