isee图片专家给图片加上特效的图文操作
时间:2022-10-26 13:21
isee图片专家这款应用相信大家都熟悉的。今天讲解的是isee图片专家给图片加上特效的图文操作,想学习isee图片专家给图片加上特效的教程的,就去下文看一看,了解了解,相信对大家一定会有所帮助的。
isee图片专家给图片加上特效的图文操作

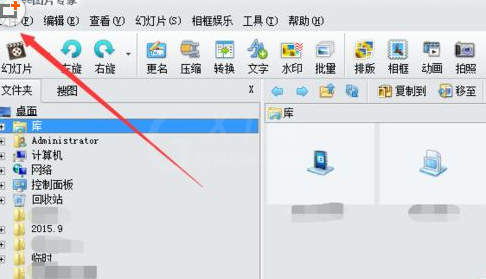
1、首先启动isee图片专家,然后单击文件---打开命令,选择要编辑的图片,单击确定,打开图片。
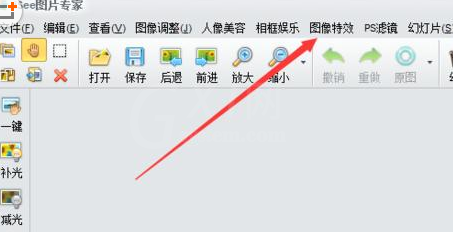
2、然后单击图象特效命令,进行各种特效设置,比方说艺术效果啦,风格特效啦等等。
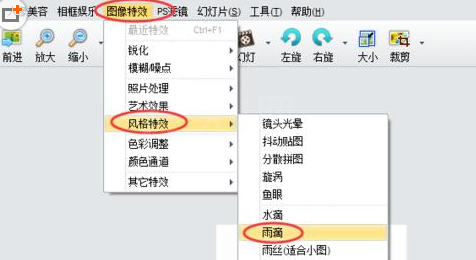
3、先设置风格特效,单击图像特效---风格特效,选择雨滴特效。
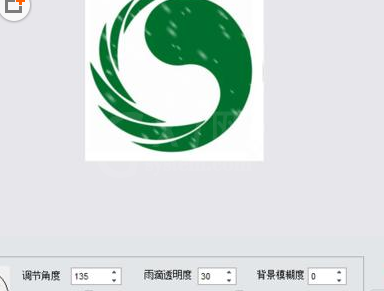
4、调整雨滴大小,长度和密度,还有倾斜角度,雨滴透明度和模糊度。在设置时就可以预览效果,然后单击确定,确认设置。
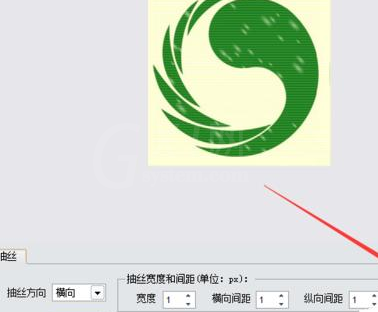
5、再来设置一下艺术效果。单击图片特效---艺术效果,选择抽丝。

6、选择抽丝方向,颜色,透明度,横向间距和纵向间距,单击确定。
7、同样的,单击颜色通道--色调变换可以设置一下颜色。
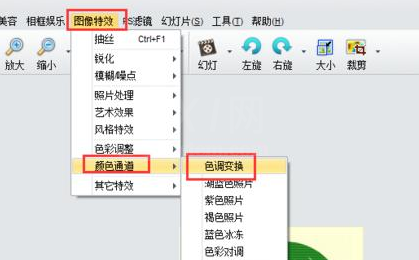
8、调整颜色滑块,看一下效果如何。

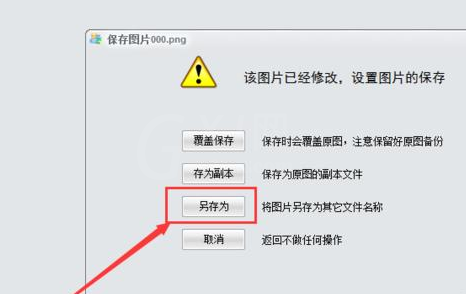
9、最后保存图片。单击文件,保存,选择保存选项,单击保存即可。
上文就讲解了isee图片专家给图片加上特效的图文操作,希望有需要的朋友都来学习哦。


热门排行
今日推荐


热门手游
-
商场购物模拟器官方版

版本:v1.0.9
大小:46.11MB
日期:2024-12-16
-
滚动方块大冒险免费版

版本:v1.0.5
大小:26.10MB
日期:2024-12-16
-
恋恋奇缘体验服版

版本:v1.0.0
大小:131.33MB
日期:2024-12-16
-
炉石传说官方正版

版本:v1.0
大小:100.52MB
日期:2024-12-16
-
人群大师免费版

版本:v2.15.0
大小:57.68MB
日期:2024-12-16
-
方鸡跳跑单机版

版本:v1
大小:63.49MB
日期:2024-12-16