blender使用置换修改器的基础操作讲解
时间:2022-10-26 13:23
有很多朋友还不了解blender这款应用,也不会使用置换修改器,而下面就讲解了blender使用置换修改器的操作方法,来下文看一看吧。
blender使用置换修改器的基础操作讲解

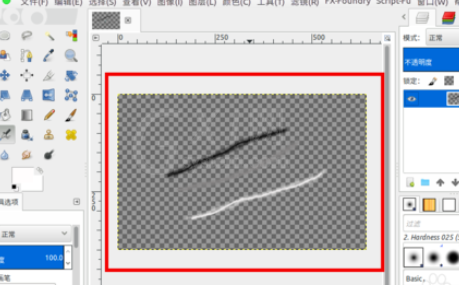
简单做了图片,黑白灰三条线。
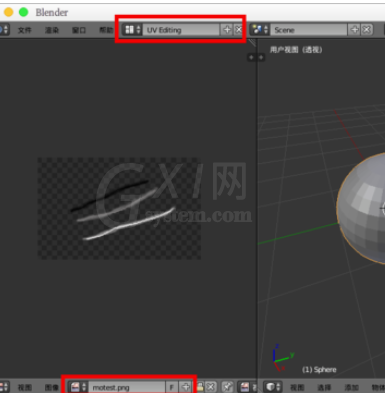
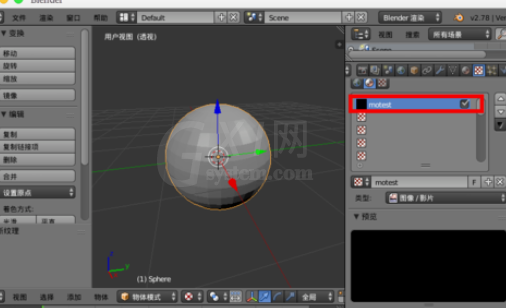
在blender中创建一个球体。

切换到“UV Editing”窗口,选择自己图片“motest”作为贴图。
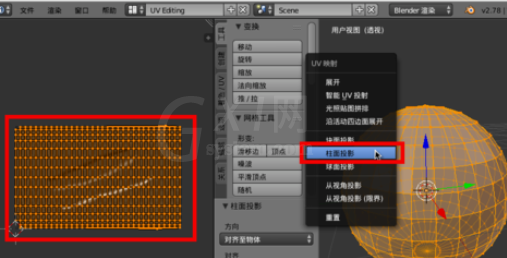
进入“编辑模式”,选择球体然后“U”选择“柱面投影”,左边是展开的UV网格。
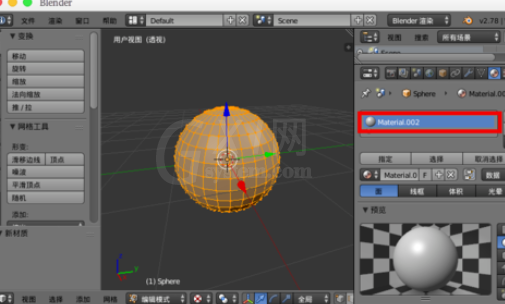
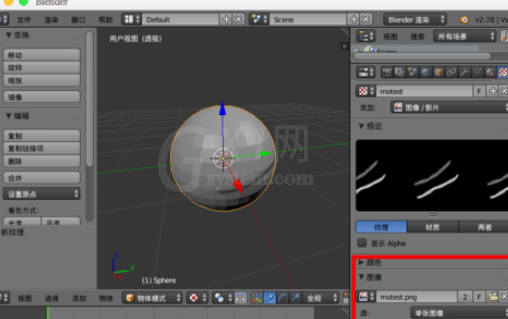
回到默认窗口,给球体创建材质,以及纹理。
在“纹理”的“图像”中选择自己的“motest”图片,展开方式选择UV。
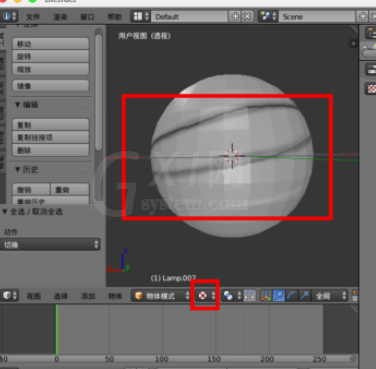
切换到“纹理”显示,我们法线贴图已经在球体上了。
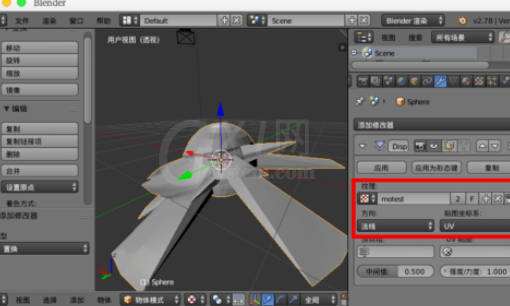
选择“修改器”,添加“置换”修改器。

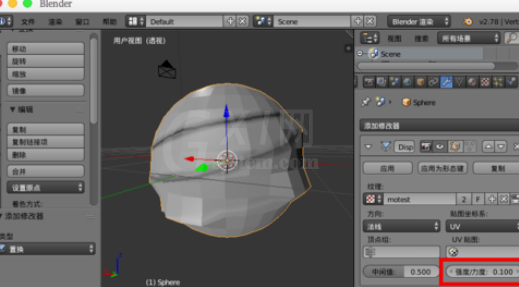
修改器中“纹理”选择我们创建的纹理“motest”,方向“法线”--“UV”,然后效果是这样的 ,并不是我们想要的。
然后我们可以调节“强度/力度”为“0.1”,就好多了,但是太粗糙。
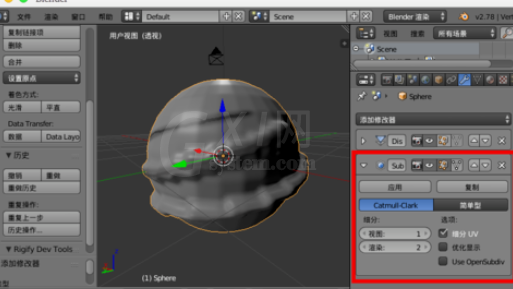
我们可以添加“细分修改器”或者其他方式对球体进行细分,然后效果就好多了,置换的黑白灰效果我们可以观察的到,黑的基本无效,白色最凸出,灰色次之。
最后想获得这个模型,别忘记对置换修改器进行“应用”。
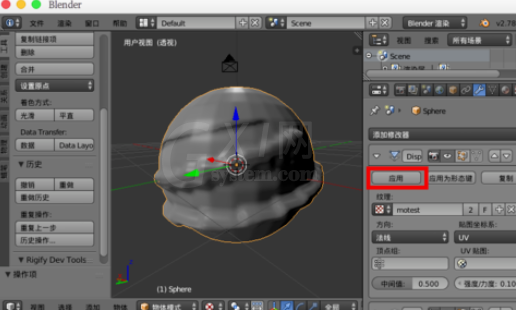
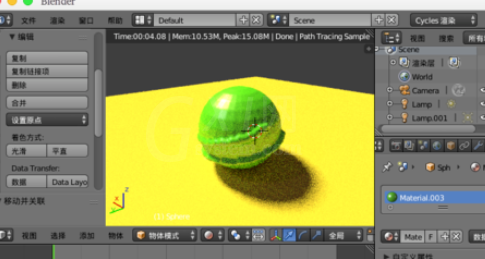
得到这个模型,我们就可以删除纹理贴图更换为自己需要的任意贴图。
还不清楚blender使用置换修改器的基础操作的朋友们,不要错过小编带来的这篇文章哦。


热门排行
今日推荐


热门手游
-
商场购物模拟器官方版

版本:v1.0.9
大小:46.11MB
日期:2024-12-16
-
滚动方块大冒险免费版

版本:v1.0.5
大小:26.10MB
日期:2024-12-16
-
恋恋奇缘体验服版

版本:v1.0.0
大小:131.33MB
日期:2024-12-16
-
炉石传说官方正版

版本:v1.0
大小:100.52MB
日期:2024-12-16
-
人群大师免费版

版本:v2.15.0
大小:57.68MB
日期:2024-12-16
-
方鸡跳跑单机版

版本:v1
大小:63.49MB
日期:2024-12-16