ps制作木纹字体的操作过程
时间:2022-10-26 13:23
现在很多用户还不会ps制作木纹字体的相关操作,那么在使用ps的过程里,究竟是如何制作木纹字体的呢?接下来请看ps制作木纹字体的操作方法。
ps制作木纹字体的操作过程

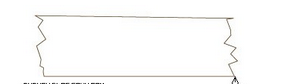
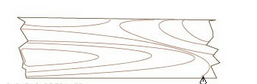
1、新建文件,选择钢笔工具勾绘木板外形及内部木纹纹理
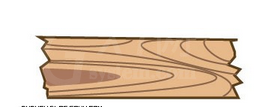
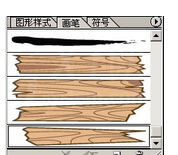
2、分别全选,拖到笔刷调板定义成艺术笔刷
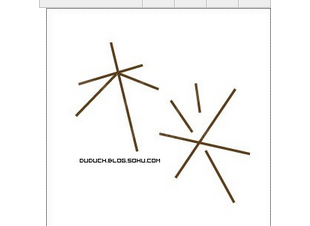
3、使用钢笔绘制艺术字
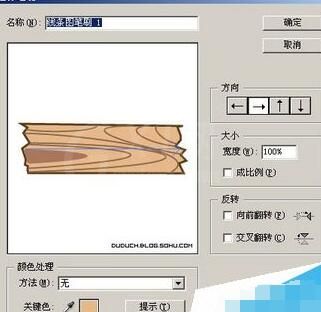
4、应用画笔,因为画笔定义的大小问题,需要适当的调整笔刷的大小比例(双击笔刷调板的对应笔刷即可
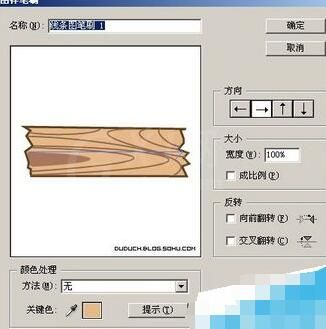
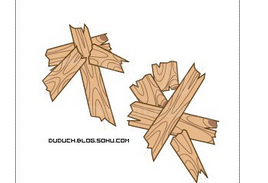
5、全部应用一种画笔,可以看到因为线的长度不同,同一个画笔已经可以出来不同的效果
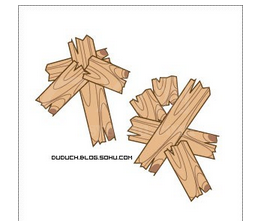
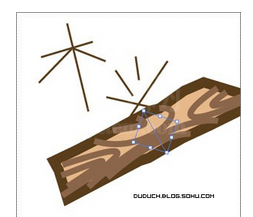
6、个别笔刷修改成了其他定义的木板形状,效果更活泼
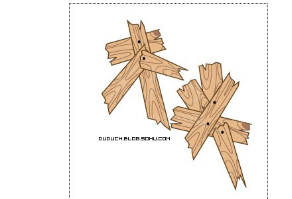
7、添加铁钉(黑色圆形),并适当的改变笔划的位置
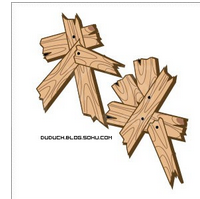
8、复制图层,将下层图层扩展(对象—扩展),并合并(路径查找器,区域相加),偏移路径(对象—路径—偏移路径),设置颜色,并适当的挪位置
上面就是小编为大家带来的ps制作木纹字体的操作过程,一起来学习学习吧。相信是可以帮助到一些新用户的。


热门排行
今日推荐


热门手游
-
商场购物模拟器官方版

版本:v1.0.9
大小:46.11MB
日期:2024-12-16
-
滚动方块大冒险免费版

版本:v1.0.5
大小:26.10MB
日期:2024-12-16
-
恋恋奇缘体验服版

版本:v1.0.0
大小:131.33MB
日期:2024-12-16
-
炉石传说官方正版

版本:v1.0
大小:100.52MB
日期:2024-12-16
-
人群大师免费版

版本:v2.15.0
大小:57.68MB
日期:2024-12-16
-
方鸡跳跑单机版

版本:v1
大小:63.49MB
日期:2024-12-16