ps手绘圆形金牛座图案的详细操作
时间:2022-10-26 13:24
相信大家对十二星座里面的金牛座都有印象的吧,今天呢,小编特地分享了关于ps手绘圆形金牛座图案的详细操作方法,一起来看看吧。
ps手绘圆形金牛座图案的详细操作

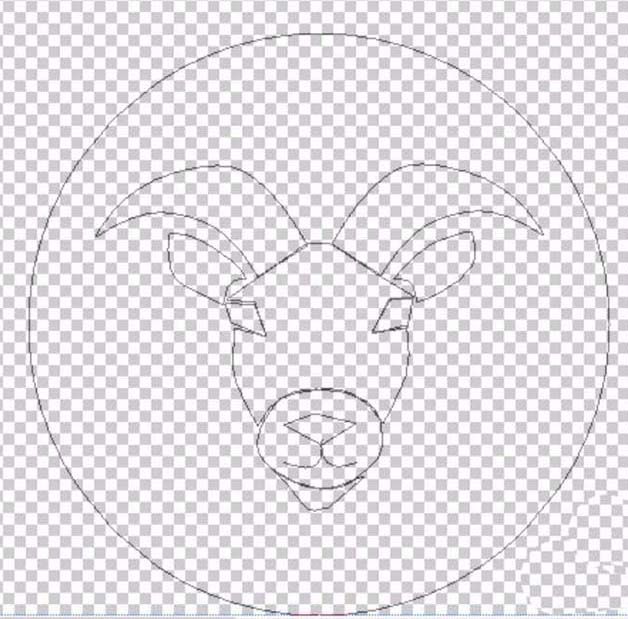
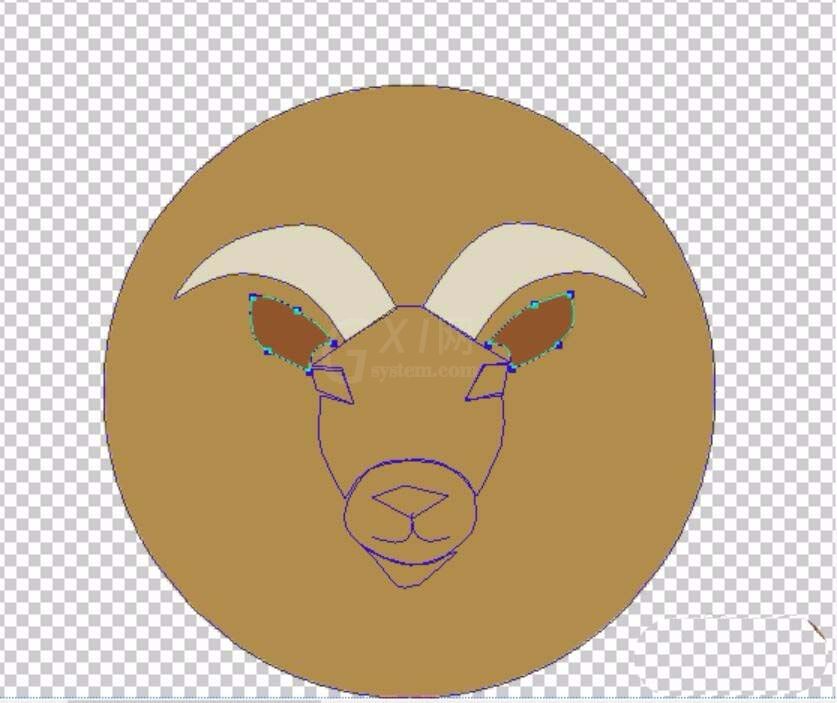
打开ps,将所有的元素一一用路径来呈现。先选择矢量圆形画出这个图标所需要的一个圆形的底面,再选择钢笔工具把牛角、牛眼、牛嘴、牛鼻子一一绘制出封闭的路径。
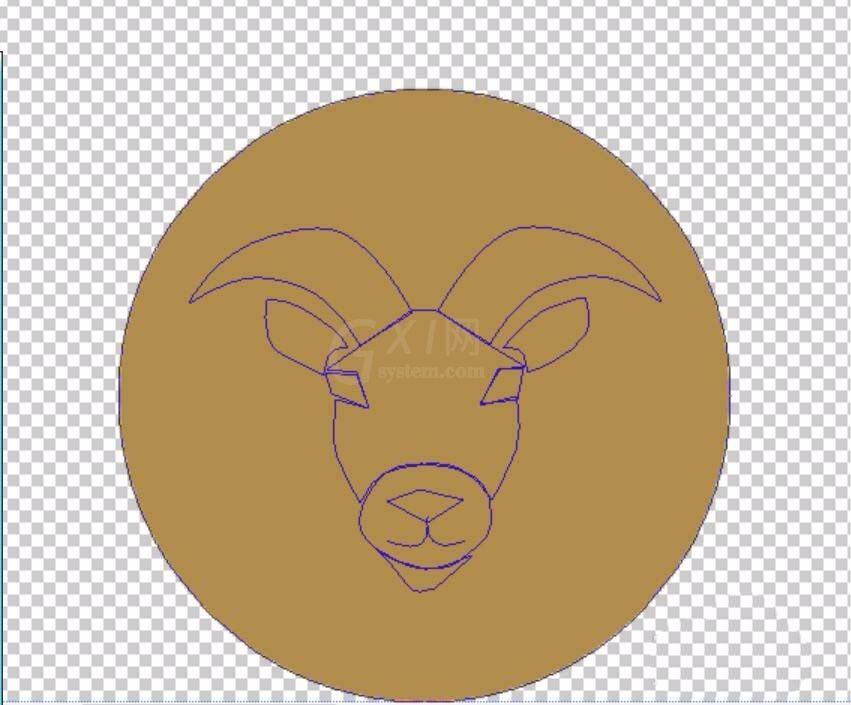
设置前景色为棕褐色,对于图标的底面圆形进行一个子路径的填充。
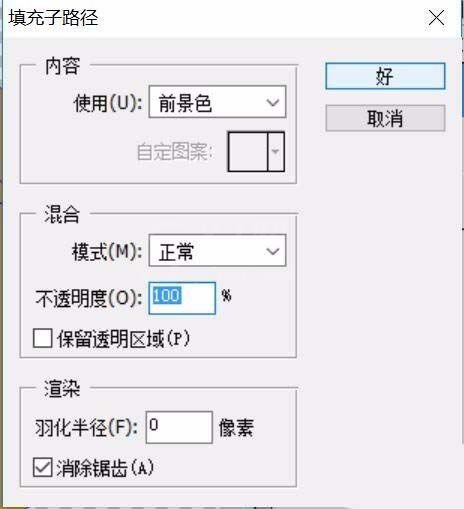
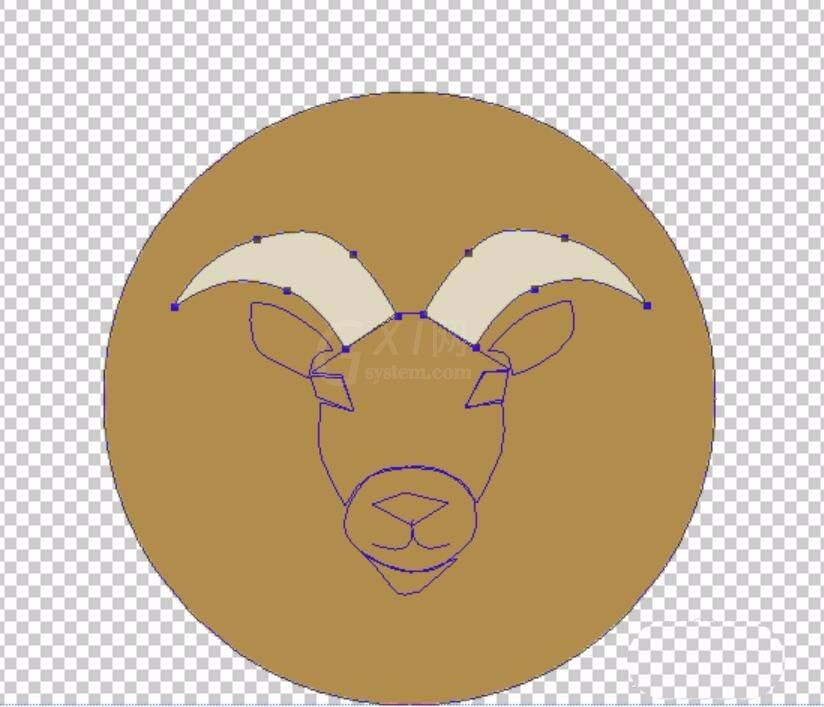
设置前景色为灰白色,选择两个牛角所在的子路径,填充牛角。
设置前景色为棕色,选择两只牛耳朵所在的路径,填充这两个子路径。
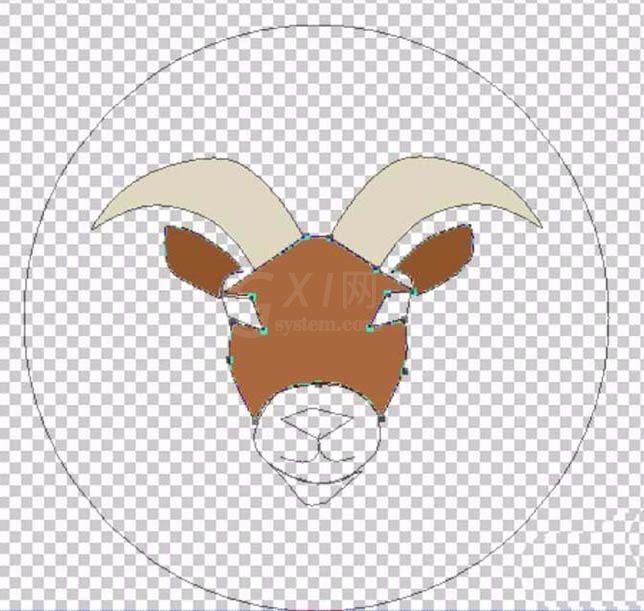
选择牛脸蛋所在的子路径,设置前景色为棕色,继续填充牛头的主体部分。
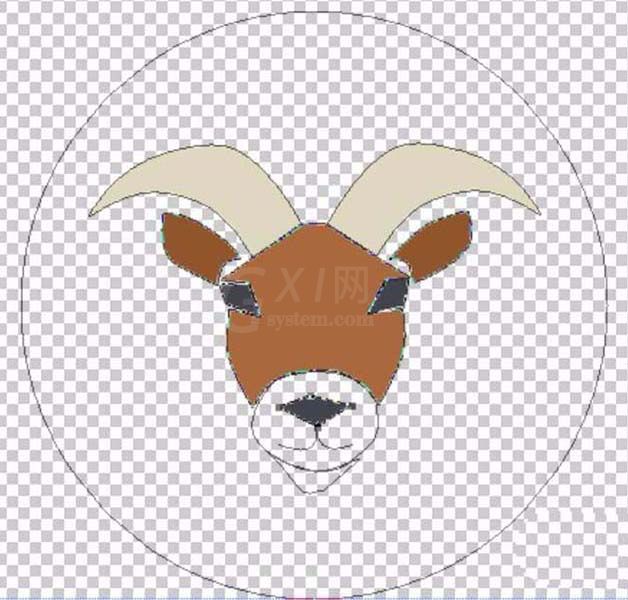
设置前景色为棕黑色,选择两只牛眼睛所在的子路径,选择牛鼻子所在的子路径,一起填充为棕黑色。点开所有的图层,可以看见金牛座图标目前的绘制状态。
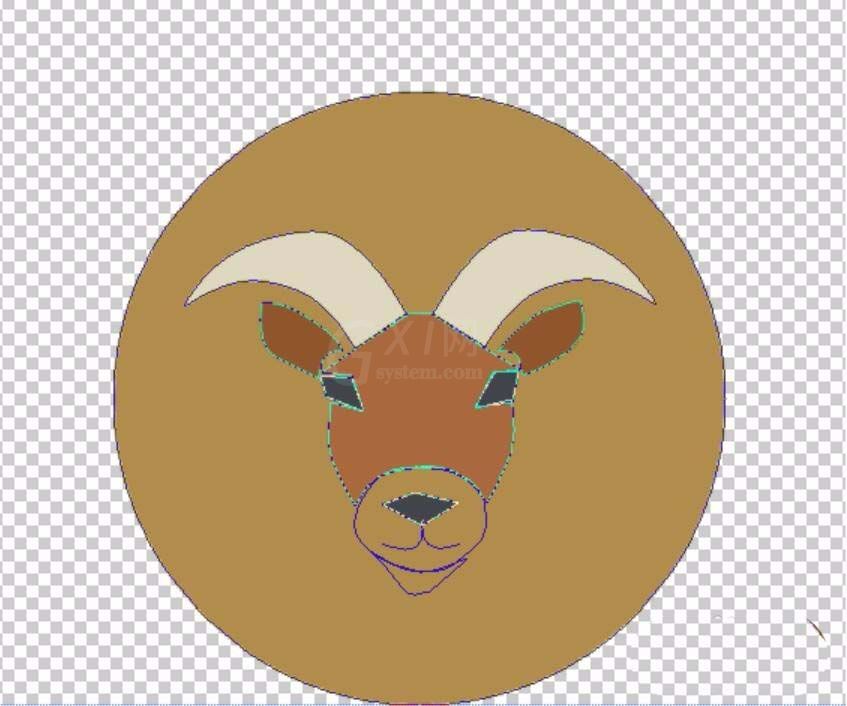
这一步就是牛嘴巴部分了,设置前景色棕粉色,选择牛嘴巴,填充这个子路径。
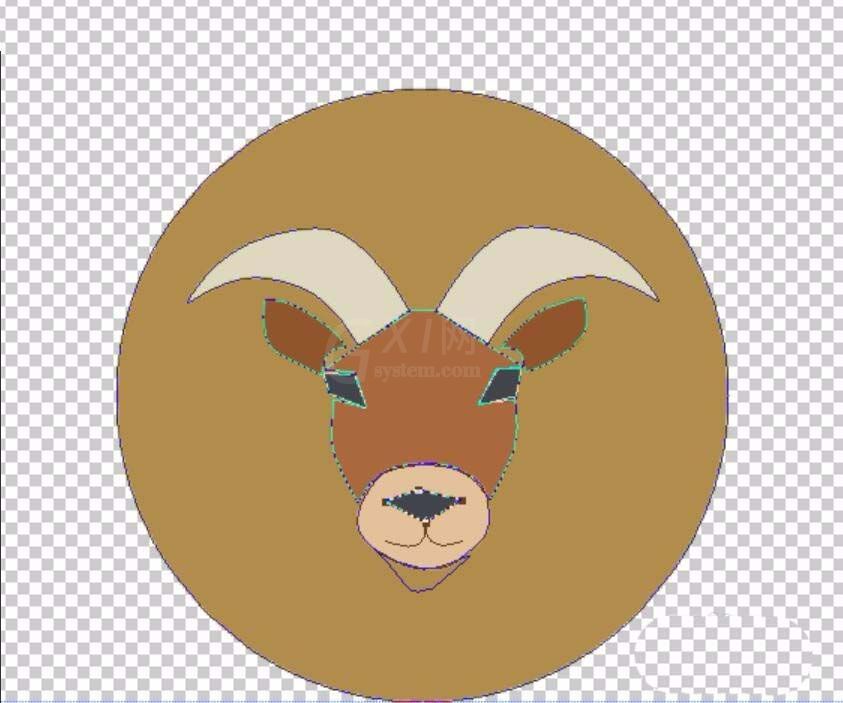
最后完成所有的细节绘制,选择牛鼻子下方的两条子路径,我们用棕黑色进行描边,选择牛嘴巴下方的子路径,填充一个棕色。整个金牛座图标就绘制完成了。
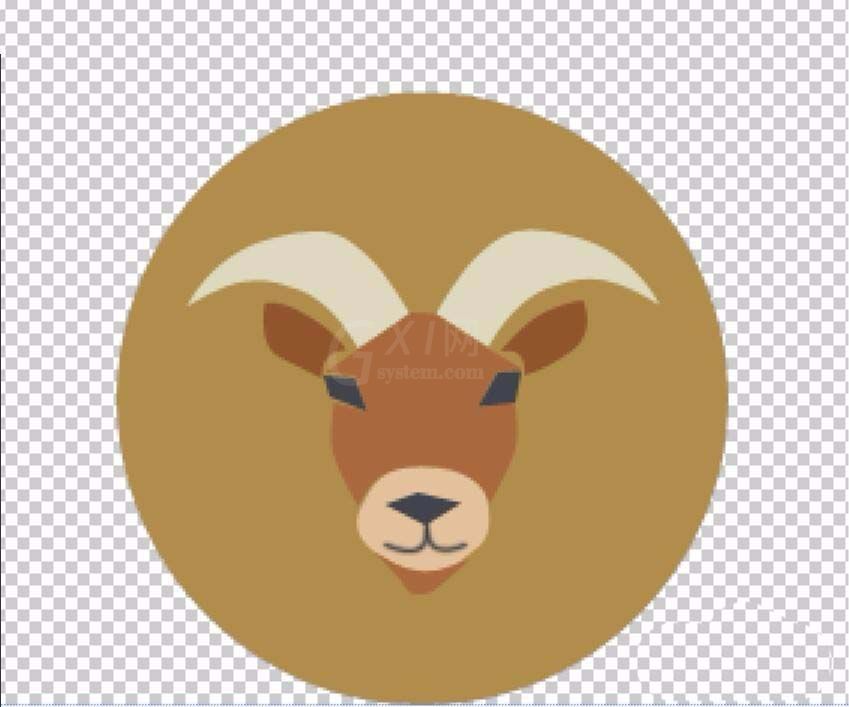
各位小伙伴们,看完上面的精彩内容,都清楚ps手绘圆形金牛座图案的详细操作了吧!


热门排行
今日推荐


热门手游
-
商场购物模拟器官方版

版本:v1.0.9
大小:46.11MB
日期:2024-12-16
-
滚动方块大冒险免费版

版本:v1.0.5
大小:26.10MB
日期:2024-12-16
-
恋恋奇缘体验服版

版本:v1.0.0
大小:131.33MB
日期:2024-12-16
-
炉石传说官方正版

版本:v1.0
大小:100.52MB
日期:2024-12-16
-
人群大师免费版

版本:v2.15.0
大小:57.68MB
日期:2024-12-16
-
方鸡跳跑单机版

版本:v1
大小:63.49MB
日期:2024-12-16