photoshop图片进行合成的图文操作
时间:2022-10-26 13:27
大家或许不知道photoshop图片进行合成的相关操作,那么今天就讲解photoshop图片进行合成的图文操作方法哦,希望能够帮助到大家呢。
photoshop图片进行合成的图文操作

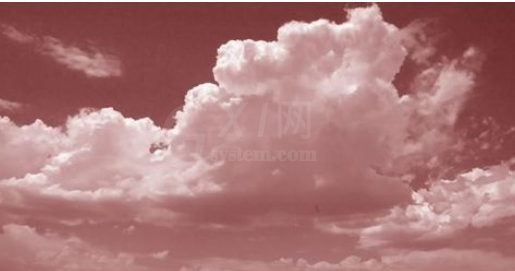
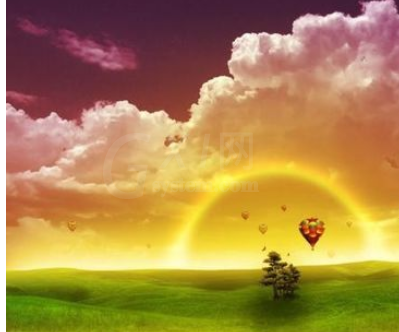
打开素材1,拉入场景,CTRL+B调节色彩平衡,给人一种傍晚天空昏黄的感觉
利用大一些的圆笔刷,调节好直径和硬度,在场景中央做出一个昏黄的光晕,给人一种太阳光散射的效果
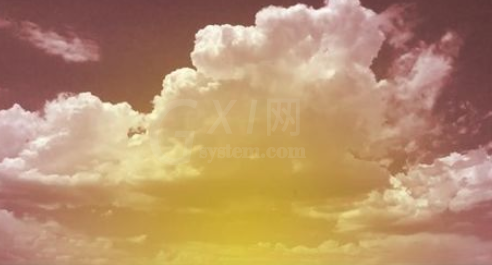
给云朵的图层添加一个蒙版,使其下部与白色背景相互融合,调节要到位,做到自然不漏痕迹
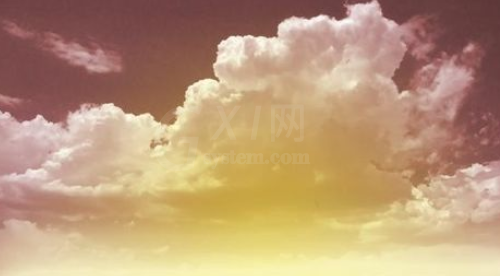
利用径向渐变做一个彩虹的效果,给人一种太阳下山余辉的感觉,调节好透明度以及色彩平衡图层混合模式

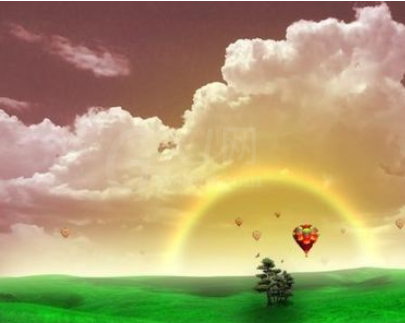
把素材中的热气球以及鸟的素材拖入场景,重点:一,调节他们的旋转,大小等,增加图片的丰富度,可读性二,调节图层之间的上下顺序,
造成远近不同的感觉,进一步增加图片的效果

把树木拉入场景,放好位置,用画笔刷出太阳光照射过来以后阴影的效果
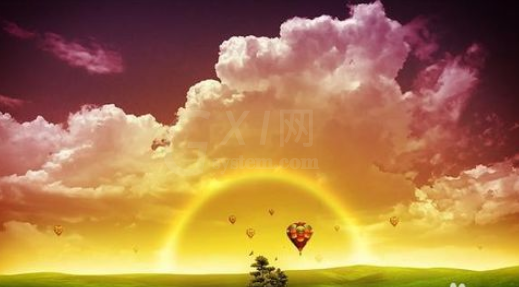
整体调色
用笔刷在边缘刷几下,调节好透明度羽化,使边缘暗一些,中间明亮一些,有对比才有效果,大家才更容易把视线专注于图片的中央,到此完成竣工
上文就讲解了photoshop图片进行合成的图文操作过程,希望有需要的朋友都来学习哦。


热门排行
今日推荐


热门手游
-
商场购物模拟器官方版

版本:v1.0.9
大小:46.11MB
日期:2024-12-16
-
滚动方块大冒险免费版

版本:v1.0.5
大小:26.10MB
日期:2024-12-16
-
恋恋奇缘体验服版

版本:v1.0.0
大小:131.33MB
日期:2024-12-16
-
炉石传说官方正版

版本:v1.0
大小:100.52MB
日期:2024-12-16
-
人群大师免费版

版本:v2.15.0
大小:57.68MB
日期:2024-12-16
-
方鸡跳跑单机版

版本:v1
大小:63.49MB
日期:2024-12-16