photoshop制作雪景图的操作流程
时间:2022-10-26 13:27
使用photoshop时,不少亲们还不知道制作雪景图的相关操作,下面小编就讲解photoshop制作雪景图的操作方法,希望可以帮助到你们。
photoshop制作雪景图的操作流程

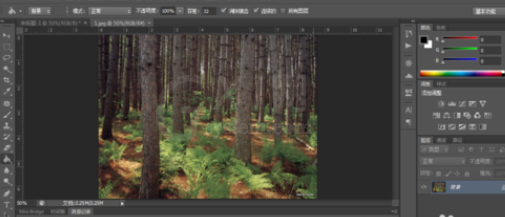
打开我们的景物图片。
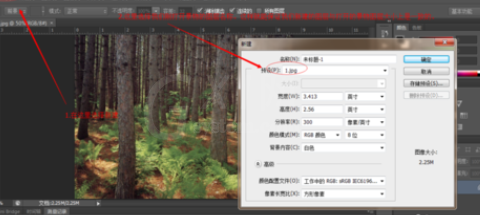
选择“新建”-在“预设”中选择我们刚刚打开的“景物”图片的名称。
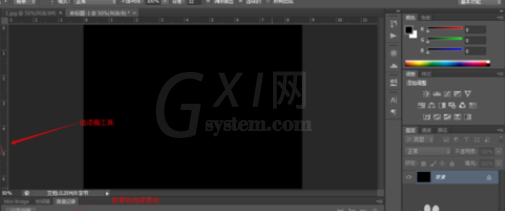
用“油漆桶工具”将新建图层涂成黑色。
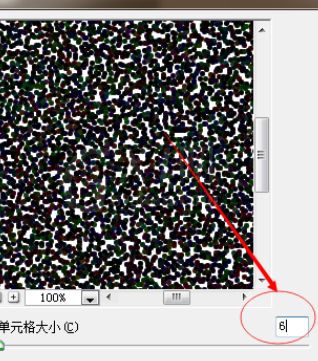
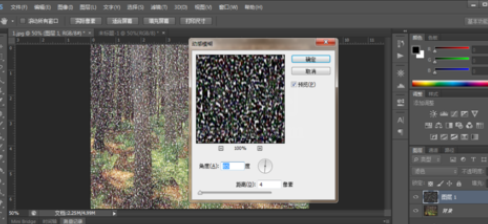
选择“滤镜”-“像素化”-“点状化”(单元格大小,我这里设置为6。大家可以根据需要自行设置大小。)并点击确定。
“Ctrl+A”(全选命令)"CTRL+C"(复制命令),回到我们的景物“1”的图层。按下“Ctrl+V”(粘贴命令)

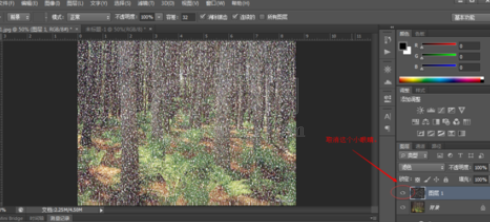
在“图层面板”中设置“混合类型”(选择滤色)。再选择“滤镜”-“模糊”-“动感模糊”(角度设置为85,距离设置为4)
隐藏我们的图层1.即将小眼睛取消。
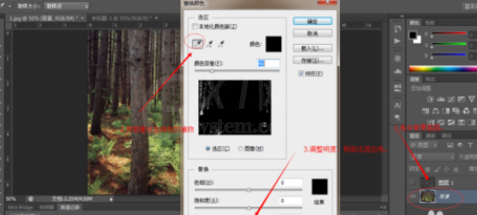
选则“背景”图层,选择“图像”-“调整”-“替换颜色”。用“吸管”工具选择绿色的植物,并调整明亮度。
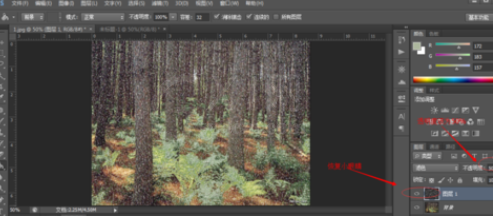
将之前取消的小眼睛再恢复,并将图层1的透明度改为50%。
各位小伙伴们,看完上面的精彩内容,都清楚photoshop制作雪景图的操作流程了吧!


热门排行
今日推荐


热门手游
-
商场购物模拟器官方版

版本:v1.0.9
大小:46.11MB
日期:2024-12-16
-
滚动方块大冒险免费版

版本:v1.0.5
大小:26.10MB
日期:2024-12-16
-
恋恋奇缘体验服版

版本:v1.0.0
大小:131.33MB
日期:2024-12-16
-
炉石传说官方正版

版本:v1.0
大小:100.52MB
日期:2024-12-16
-
人群大师免费版

版本:v2.15.0
大小:57.68MB
日期:2024-12-16
-
方鸡跳跑单机版

版本:v1
大小:63.49MB
日期:2024-12-16