ps制作折叠数字字体效果的详细操作
时间:2022-10-26 13:32
想知道ps制作折叠数字字体效果的详细操作吗?下面就是小编整理的ps制作折叠数字字体效果的操作教程,赶紧来看看吧,希望能帮助到大家哦!
ps制作折叠数字字体效果的详细操作
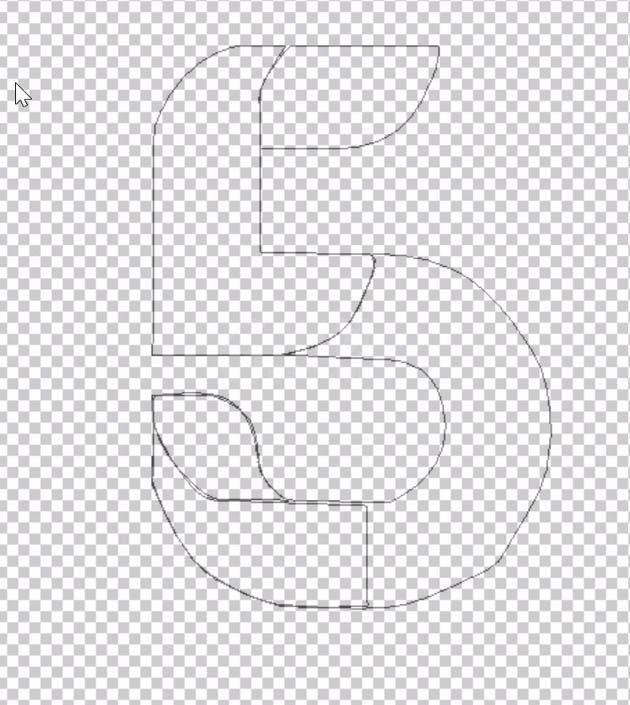
1、构思:我们要设计一个立体感觉的数字图标,在颜色方面主要是各种红色渐变,通过丰富的颜色变化把这种品牌的大气与创新呈现出来。选择钢笔工具,我们把数字路径一一绘制出来,在横向与竖向都把不同色域的路径呈现出来。
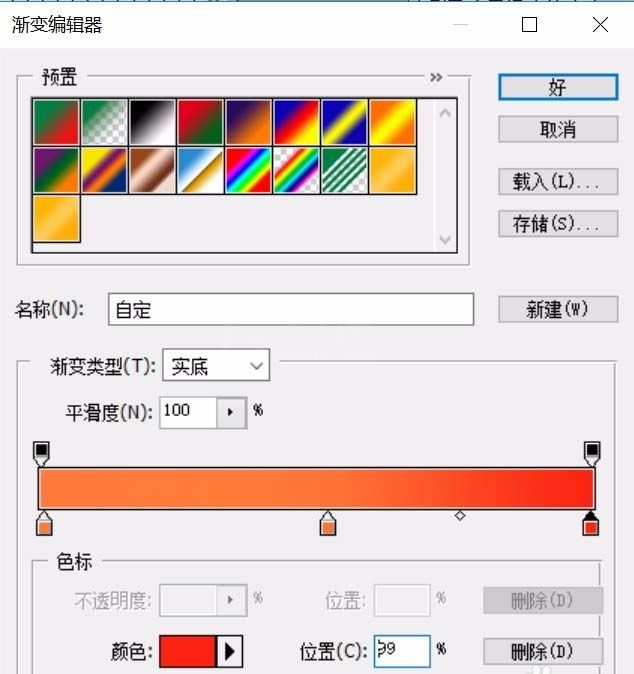
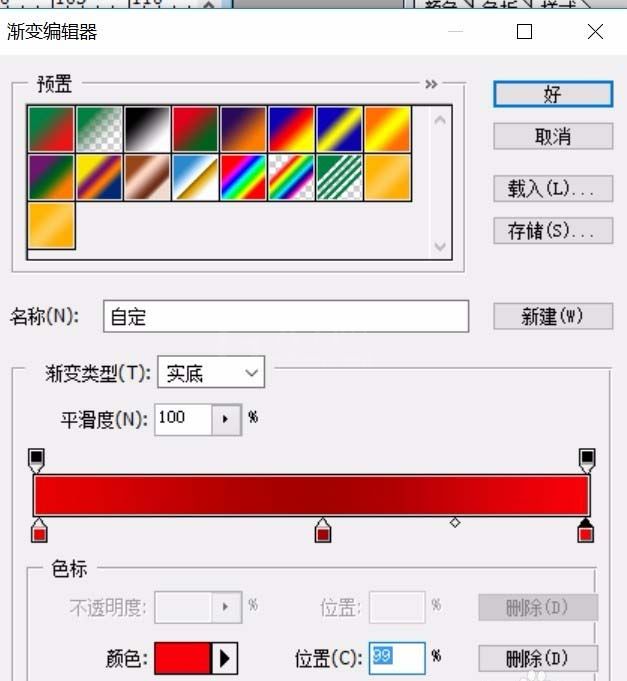
2、设计一个淡红色到深红色的渐变,我们选择数字左侧下方的路径进行填充,把路径转换成选区,我们从左向右拉。
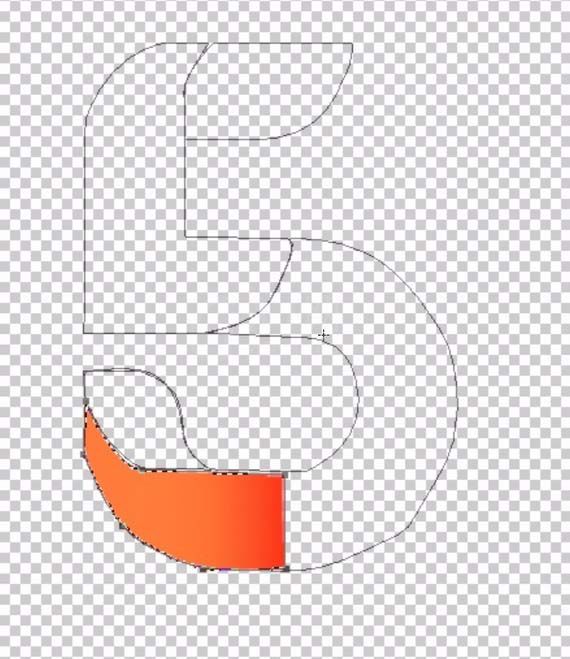
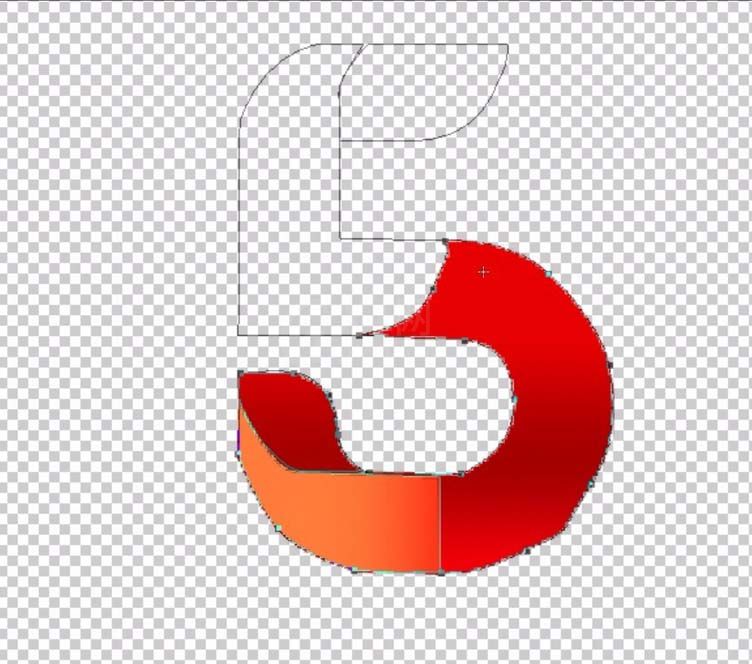
3、设置一个从红到深红再到红色的渐变,我们填充数字标志的下半部分,为了让这个区域的色彩在后面,我们需要新建设一个图层在最下方。
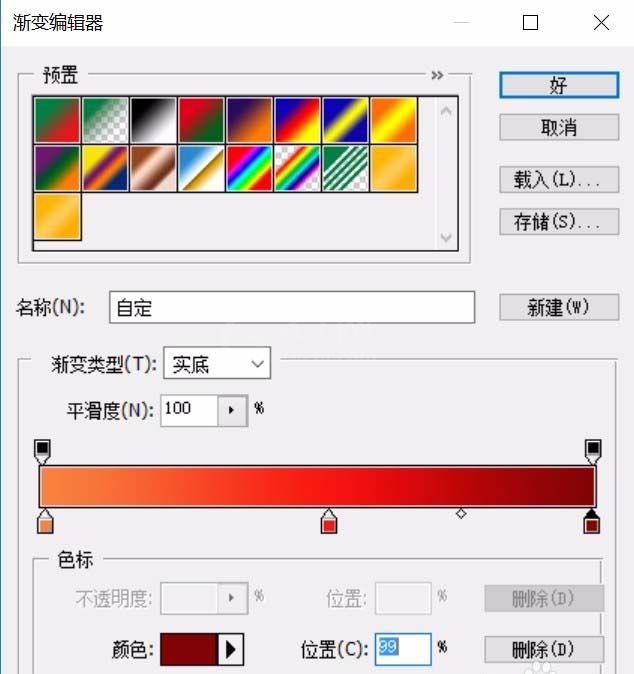
4、设置一个渐变,从浅红色到深红色再到浅红色的渐变,我们填充这个数字的上半部分的左侧。
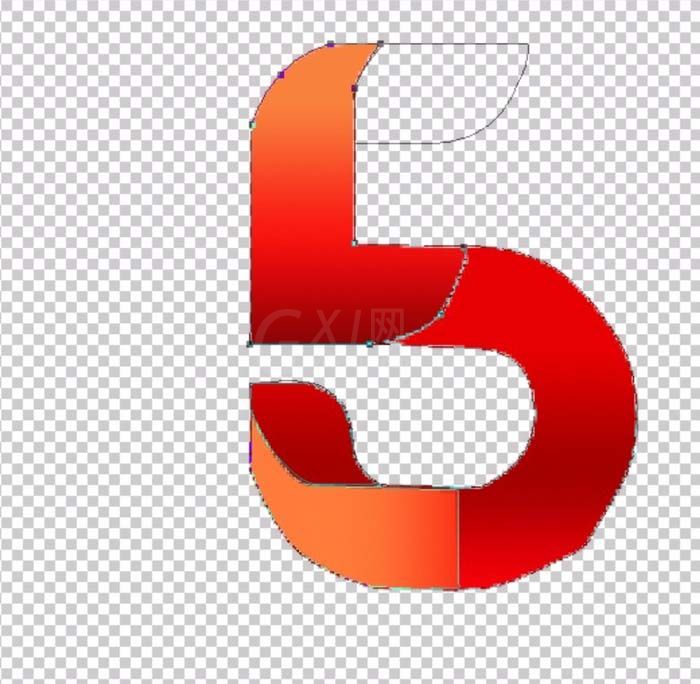
5、最后,我们继续填充这个数字的右侧横线,再为整个数字标志加上一个黑色的背景,这个数字标志就完成了。

6、合并所有的数字标志图层,我们做一个外发光的图层效果,这个发光的颜色为淡蓝色。

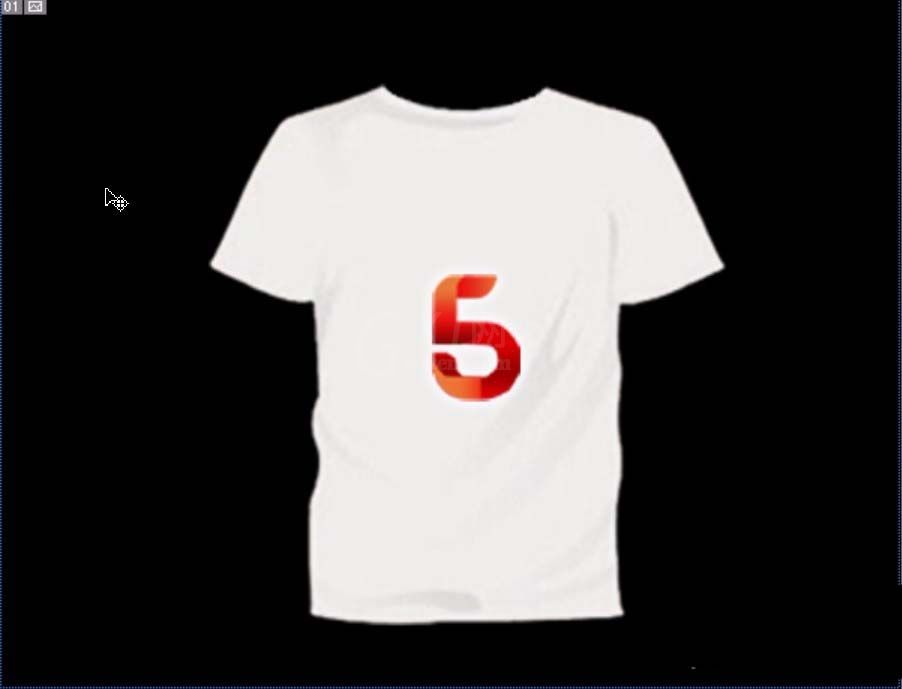
7、我们可以把这个数字标志移动到一件短袖上面看看实际应用的效果。
快来学习学习ps制作折叠数字字体效果的详细操作吧,一定会帮到大家的。


热门排行
今日推荐


热门手游
-
商场购物模拟器官方版

版本:v1.0.9
大小:46.11MB
日期:2024-12-16
-
滚动方块大冒险免费版

版本:v1.0.5
大小:26.10MB
日期:2024-12-16
-
恋恋奇缘体验服版

版本:v1.0.0
大小:131.33MB
日期:2024-12-16
-
炉石传说官方正版

版本:v1.0
大小:100.52MB
日期:2024-12-16
-
人群大师免费版

版本:v2.15.0
大小:57.68MB
日期:2024-12-16
-
方鸡跳跑单机版

版本:v1
大小:63.49MB
日期:2024-12-16