photoshop制作变色动画的图文操作
时间:2022-10-26 13:34
小编今天带来的是photoshop制作变色动画的图文操作,下面就来看看photoshop制作变色动画的操作步骤吧,希望能够帮助到大家。
photoshop制作变色动画的图文操作

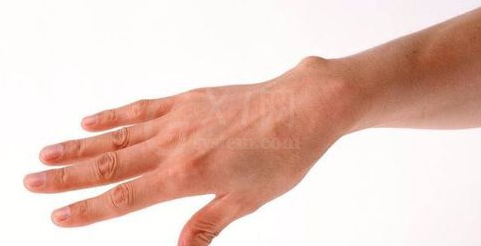
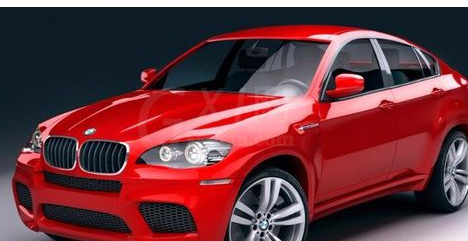
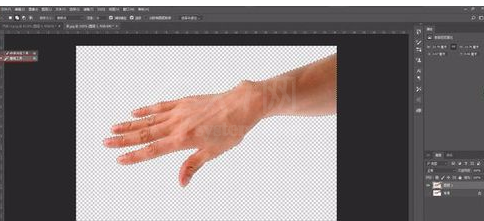
首先准备好汽车和手臂共两张素材
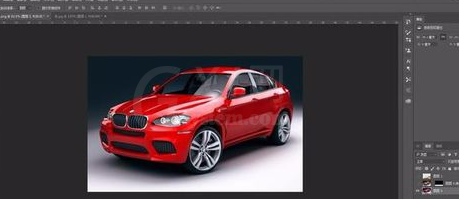
首先打开PS软件,并导入这两张图片
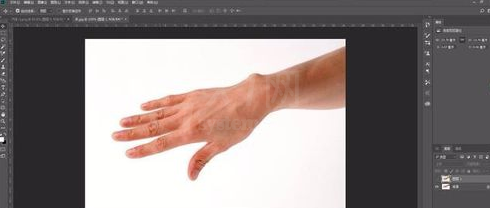
分别对手臂进行抠图(魔棒即可)
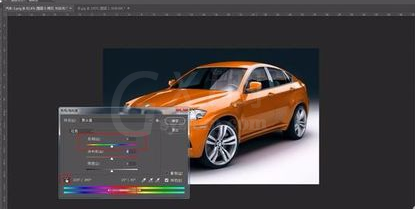
复制汽车图层一份,对其调色(图像—色相/饱和度),选区汽车的颜色,底部控制颜色范围(红色),调整色相(任何一种不同的颜色即可)
对调整好的图层,添加图层蒙版,白色的蒙版颜色填充为黑色
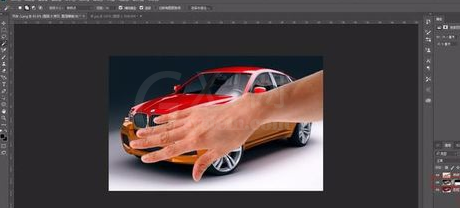
将链接图层蒙版的开关关闭
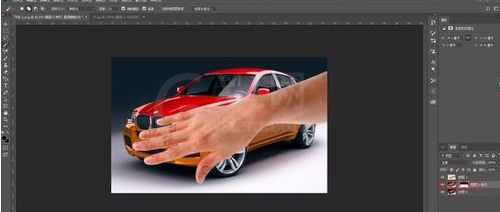
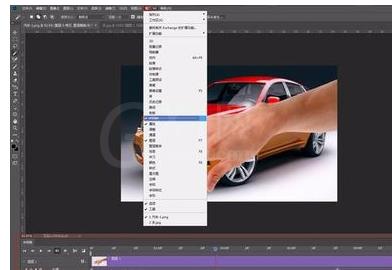
前期准备好之后,随即打开窗口中的时间轴选项,激活视频时间轴
各位小伙伴们,看完上面的精彩内容,都清楚photoshop制作变色动画的图文操作了吧!


热门排行
今日推荐


热门手游
-
商场购物模拟器官方版

版本:v1.0.9
大小:46.11MB
日期:2024-12-16
-
滚动方块大冒险免费版

版本:v1.0.5
大小:26.10MB
日期:2024-12-16
-
恋恋奇缘体验服版

版本:v1.0.0
大小:131.33MB
日期:2024-12-16
-
炉石传说官方正版

版本:v1.0
大小:100.52MB
日期:2024-12-16
-
人群大师免费版

版本:v2.15.0
大小:57.68MB
日期:2024-12-16
-
方鸡跳跑单机版

版本:v1
大小:63.49MB
日期:2024-12-16