photoshop制作眼镜效果的操作过程
时间:2022-10-26 13:36
photoshop是非常受网友欢迎的,而今天小编分享的是photoshop制作眼镜效果的相关操作,感兴趣的小伙伴就和小编一起学习下吧,以下就是具体的操作步骤。
photoshop制作眼镜效果的操作过程
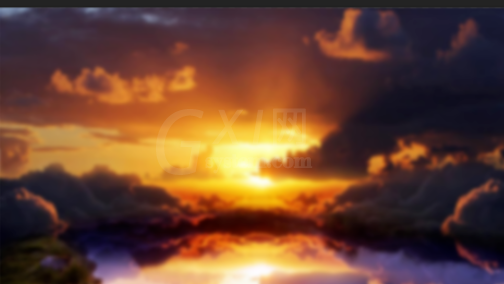
首先找一张风景画,然后执行 滤镜->模糊->高斯模糊,设置合适的像素,模糊效果如图。
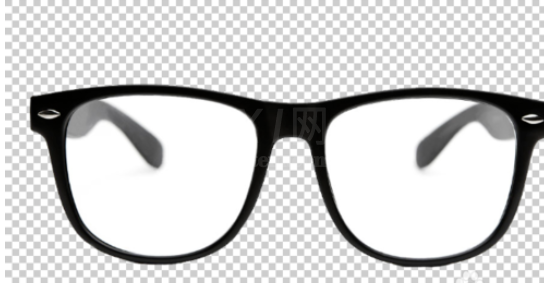
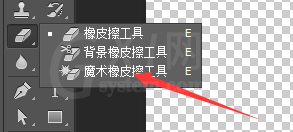
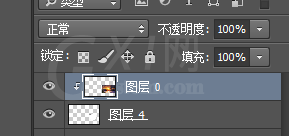
找一个眼镜素材,使用魔术橡皮擦工具,一键擦除背景如图。
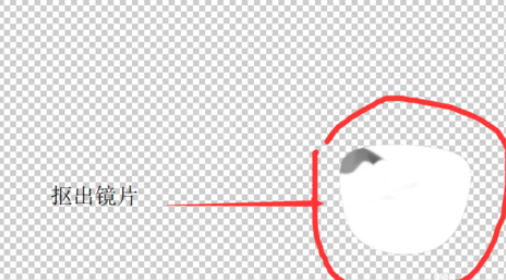
用钢笔工具把镜片边缘选出,按下Ctrl+Enter键将路径转换为选区
然后Ctrl+J复制选区内容到新图层,并按下ctrl+shift+[ 置于最顶层,单独查看该图层如图。
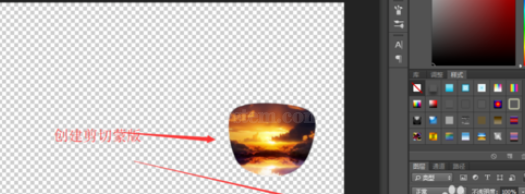
然后将原来背景图(没有高斯模糊过的)拖进来建立一个图层,放在最顶层,按下Ctrl+T变换工具变换大小和位置,盖住镜片。然后按下ctrl+alt+G创建剪切蒙版,效果如图。
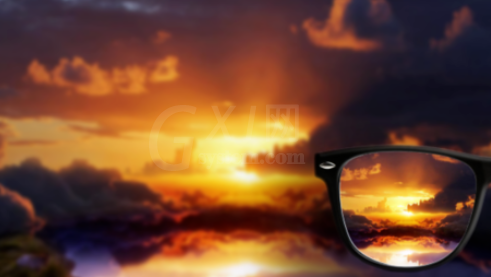
执行编辑->变换->变形,然后移动四个角点,对图像进行变形如图。


最后如有必要,对图像边缘略作调整。最终效果如下。
上面就是小编为大家带来的photoshop制作眼镜效果的操作过程,一起来学习学习吧。相信是可以帮助到一些新用户的。


热门排行
今日推荐


热门手游
-
商场购物模拟器官方版

版本:v1.0.9
大小:46.11MB
日期:2024-12-16
-
滚动方块大冒险免费版

版本:v1.0.5
大小:26.10MB
日期:2024-12-16
-
恋恋奇缘体验服版

版本:v1.0.0
大小:131.33MB
日期:2024-12-16
-
炉石传说官方正版

版本:v1.0
大小:100.52MB
日期:2024-12-16
-
人群大师免费版

版本:v2.15.0
大小:57.68MB
日期:2024-12-16
-
方鸡跳跑单机版

版本:v1
大小:63.49MB
日期:2024-12-16