ProE合并多个曲面的操作流程
时间:2022-10-26 13:41
想必有的用户还不会ProE合并多个曲面的操作,下文小编就分享ProE合并多个曲面的操作教程,希望对你们有所帮助哦。
ProE合并多个曲面的操作流程

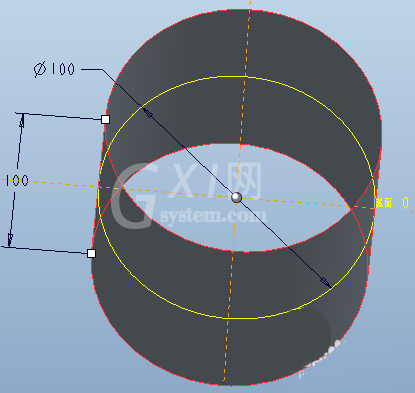
1、新建零件,创建如下的圆柱曲面。
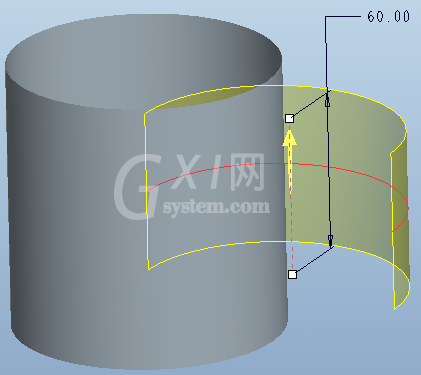
2、拉伸出如下的半圆柱曲面。
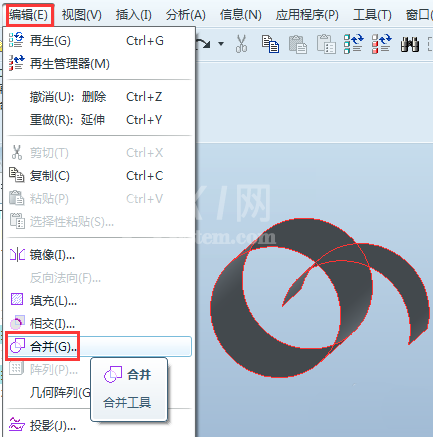
3、选中两个曲面,依次点击“编辑”-“合并”。
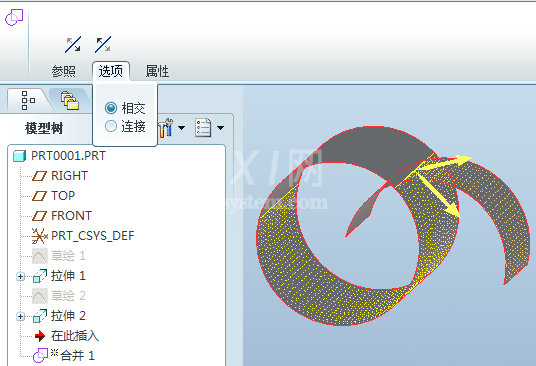
4、系统弹出“合并”的操控面板如下,两个反向箭头可调整每个曲面的保留方向,点开“参照”可重新选取要合并的曲面,点开“选项”可选择合并方式为相交或连接。设置好后,点击√完成。
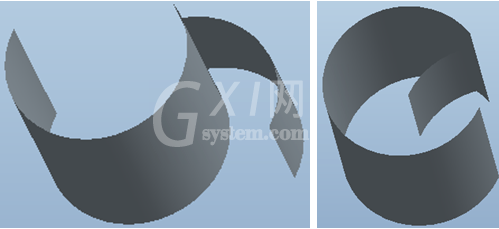
5、改变方向形成的两种效果如下。
各位小伙伴们,看完上面的精彩内容,都清楚ProE合并多个曲面的操作流程了吧!


热门排行
今日推荐


热门手游
-
商场购物模拟器官方版

版本:v1.0.9
大小:46.11MB
日期:2024-12-16
-
滚动方块大冒险免费版

版本:v1.0.5
大小:26.10MB
日期:2024-12-16
-
恋恋奇缘体验服版

版本:v1.0.0
大小:131.33MB
日期:2024-12-16
-
炉石传说官方正版

版本:v1.0
大小:100.52MB
日期:2024-12-16
-
人群大师免费版

版本:v2.15.0
大小:57.68MB
日期:2024-12-16
-
方鸡跳跑单机版

版本:v1
大小:63.49MB
日期:2024-12-16