Ae制作飘舞蒲公英的图文操作
时间:2022-10-26 13:41
Ae这款应用是非常受欢迎的,而今天笔者就给亲们讲解了关于打造出飘舞蒲公英的相关操作,相信通过学习本篇文章,大家对Ae软件一定会有更多的了解的!
Ae制作飘舞蒲公英的图文操作

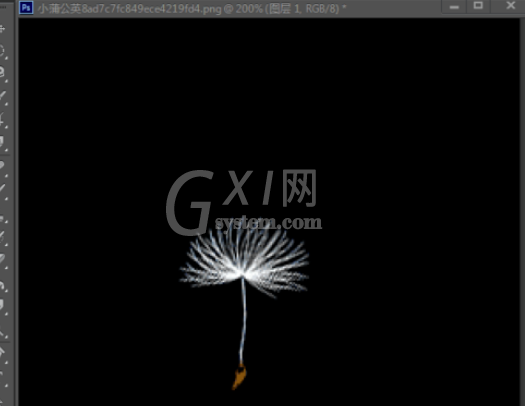
首先,我们可以在ps中绘制一个蒲公英png格式。或者到网上直接下载一个蒲公英png格式比较省事儿。也就是透明格式的。
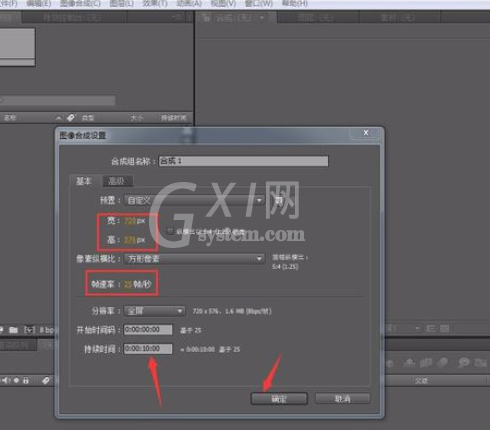
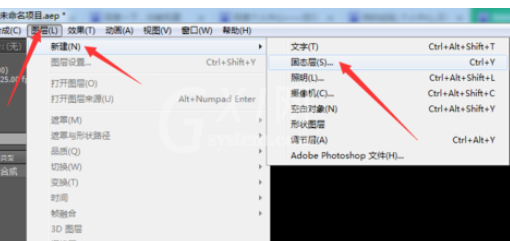
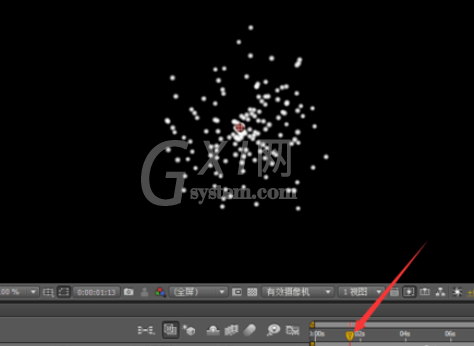
我们打开ae新建项目,新建一个合成,大小720×576,帧速率25帧,时间十秒。然后新建一个固态层。
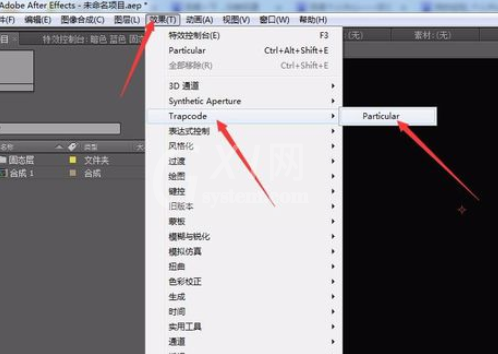
点击效果,选择Trapcode,选择Particular粒子。这时拖动时间轴可查看窗口中的粒子变化。
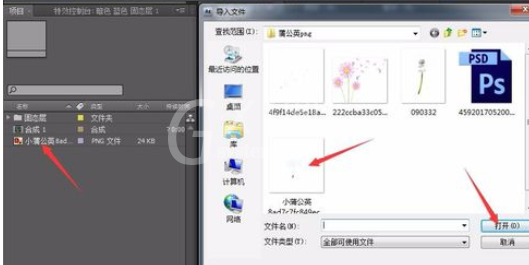
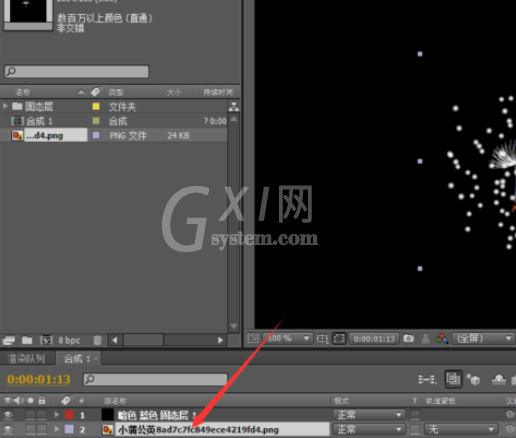
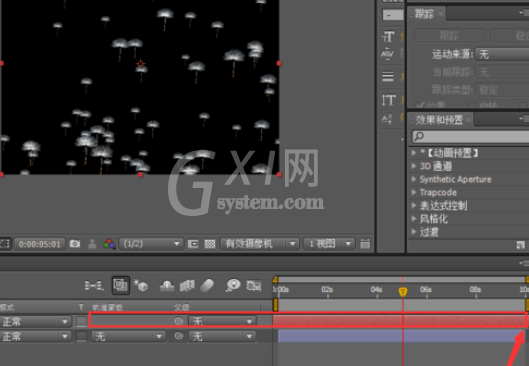
将png格式的蒲公英图片,导入到ae项目中。按住鼠标左键将图片拖入到合成中。
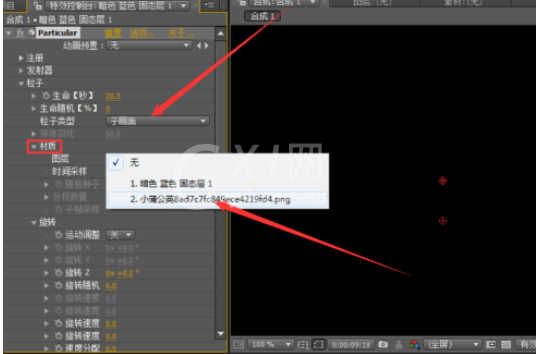
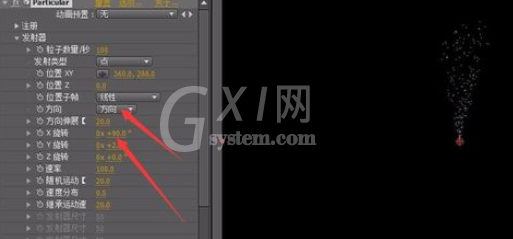
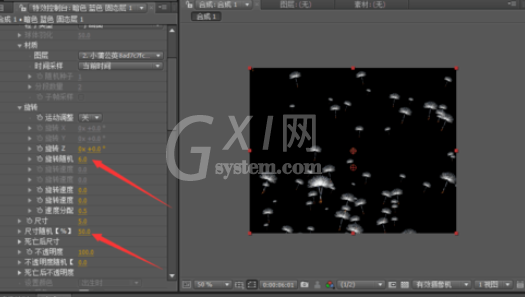
将粒子类型设置为,子画面。将材质里的图层,选择第二个图层。接下来打开发射器,将方向选项选设置为方向。将x旋转设置为90。
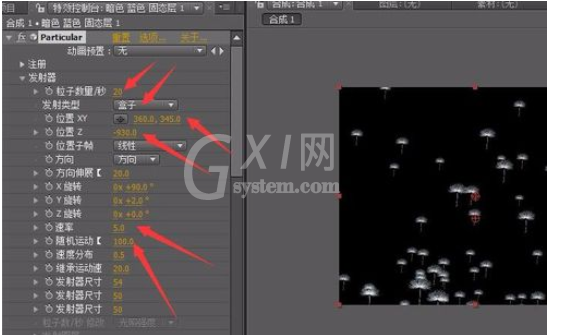
接下来将粒子数量设置为20。发射器类型设置为盒子。位置xy设置为360,345.。位置z设置为负-930。速率设置为五。随机运动设置了100。
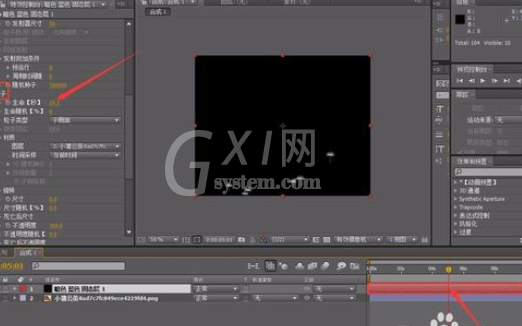
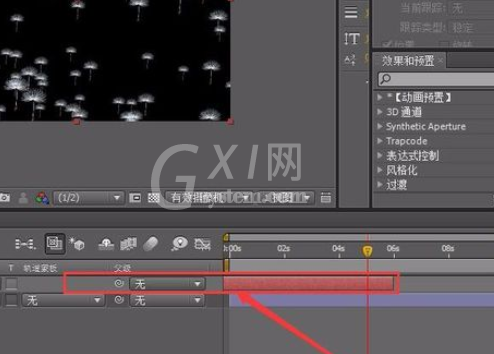
打开粒子选项,将生命设置为20秒。点击按住固态层大约五秒处,向前拖至起始帧。然后将图层结束帧延长至时间,导航结束。这样做是避免蒲公英突然出现,突然消失。
接下来将粒子中的旋转随机设置为6-10之间.再将尺寸随机设置为50-100之间。好啦,我们测试一下蒲公英的随风飘的效果。视频今天没来得及录,以后再补上吧。
还不了解Ae制作飘舞蒲公英的图文操作的朋友们,不要错过小编带来的这篇文章哦。


热门排行
今日推荐


热门手游
-
商场购物模拟器官方版

版本:v1.0.9
大小:46.11MB
日期:2024-12-16
-
滚动方块大冒险免费版

版本:v1.0.5
大小:26.10MB
日期:2024-12-16
-
恋恋奇缘体验服版

版本:v1.0.0
大小:131.33MB
日期:2024-12-16
-
炉石传说官方正版

版本:v1.0
大小:100.52MB
日期:2024-12-16
-
人群大师免费版

版本:v2.15.0
大小:57.68MB
日期:2024-12-16
-
方鸡跳跑单机版

版本:v1
大小:63.49MB
日期:2024-12-16