photoshop里标尺使用操作介绍
时间:2022-10-26 13:42
不少朋友都喜欢使用photoshop软件,但有的朋友还不会使用该应用里的标尺,今天就来学习学习photoshop里标尺使用操作教程吧!
photoshop里标尺使用操作介绍

打开Photoshop新建一个画布。下面简单分享一下标尺的使用。
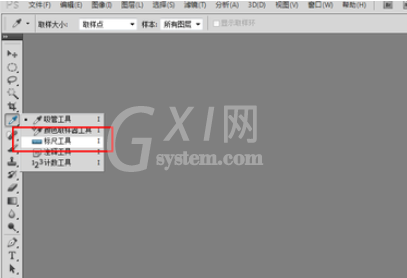
标尺工具的选择。
如果你的Photoshop的工具箱中没有标尺工具,那么展开吸管工具即可找到标尺工具。
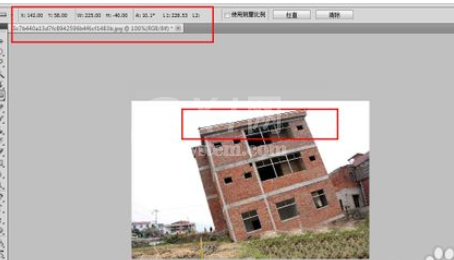
测量图像中物体的长度或是倾斜度。
用鼠标点击需要测量物体的一端,拖动到另一端后松开鼠标。上面的XY为起点的坐标,后面的数值为测量的长宽,再往后是角度。
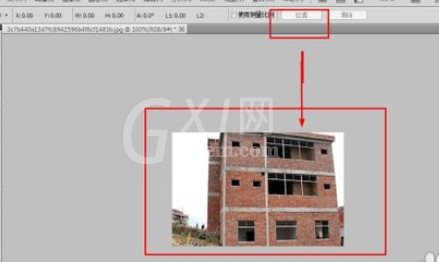
拉直图片。
点击后面的拉直按钮就可以按照我们标尺所画的直线将其变为水平的。
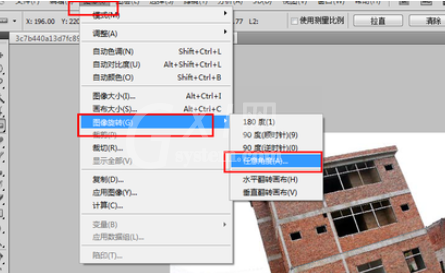
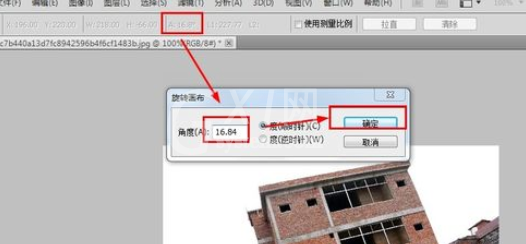
也可以选择图像——旋转——任意角度旋转。
在弹出的对话框中已经为我们输入了标尺工具测量的值,只需点击确定即可。
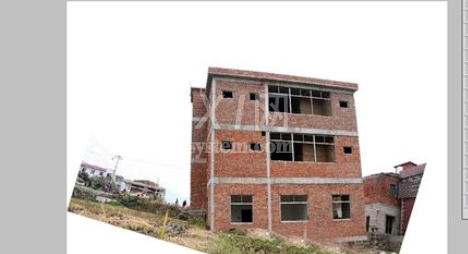
如果使用的旋转操作,那么整张图片都会别旋转,我们需要进行剪切才能使用。
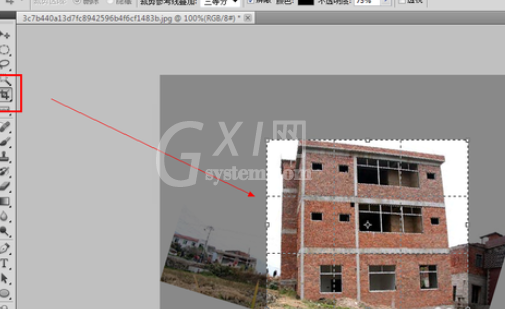
按住快捷键C,旋转裁剪工具,然后选择需要的部分裁剪即可。选择好以后按下回车键即可完成选择。标尺工具可以很方便的为我们修正倾斜的照片。
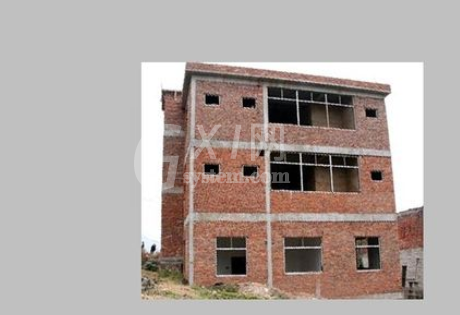
各位小伙伴们,看完上面的精彩内容,都清楚photoshop里标尺使用操作方法了吧!


热门排行
今日推荐


热门手游
-
商场购物模拟器官方版

版本:v1.0.9
大小:46.11MB
日期:2024-12-16
-
滚动方块大冒险免费版

版本:v1.0.5
大小:26.10MB
日期:2024-12-16
-
恋恋奇缘体验服版

版本:v1.0.0
大小:131.33MB
日期:2024-12-16
-
炉石传说官方正版

版本:v1.0
大小:100.52MB
日期:2024-12-16
-
人群大师免费版

版本:v2.15.0
大小:57.68MB
日期:2024-12-16
-
方鸡跳跑单机版

版本:v1
大小:63.49MB
日期:2024-12-16