photoshop制作歪脖子头像的基础操作
时间:2022-10-26 13:43
或许大家对photoshop是有些了解的,但是大家熟悉制作歪脖子头像的操作吗?今天小编就来分享photoshop制作歪脖子头像的操作方法,大家可以去看一看哦。
photoshop制作歪脖子头像的基础操作

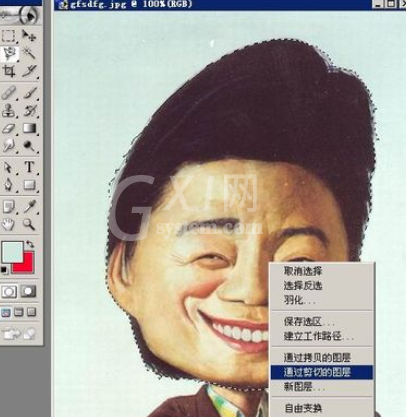
选择磁性套索工具,选取头部。

剪切并新建一个图层。
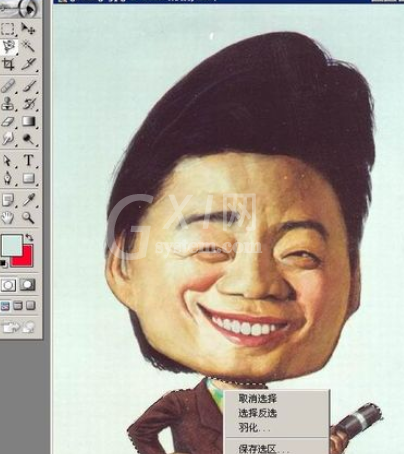
身子也剪切到另一图层。
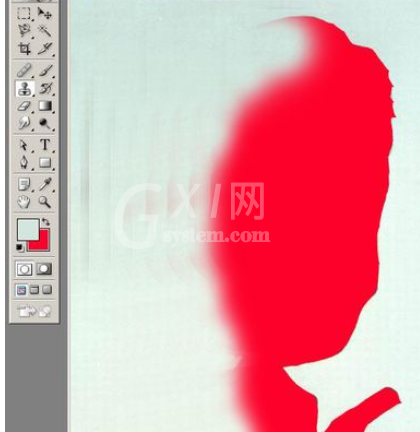
选择仿制图章工具,处理背景色。
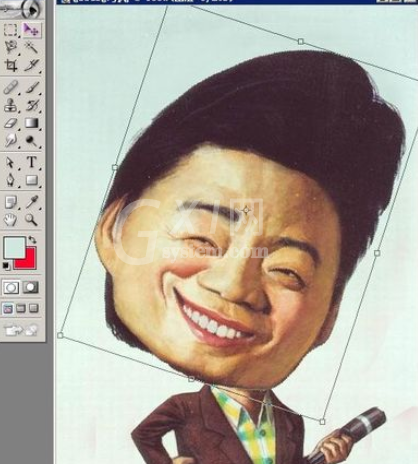
选择自由变换,处理头部图层。
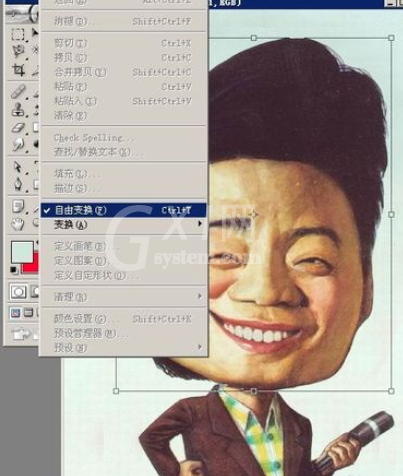
把头部调整到合适的角度。
将身子的图片移动到合适的位置。
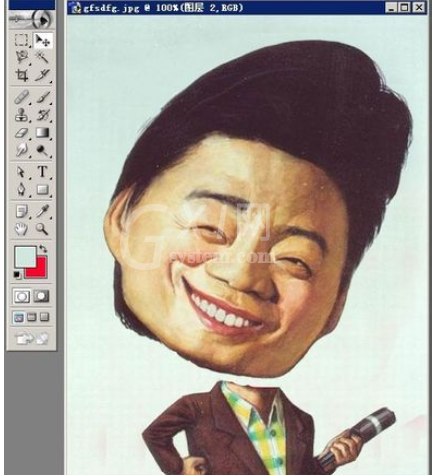
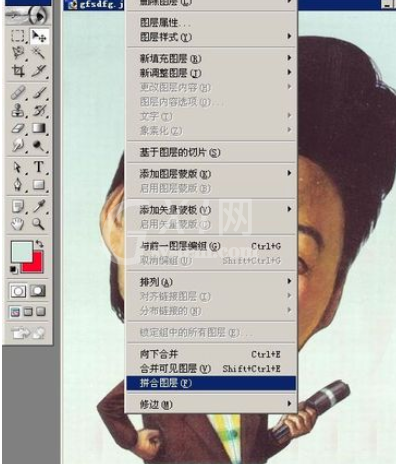
将调整好的图层进行拼合。
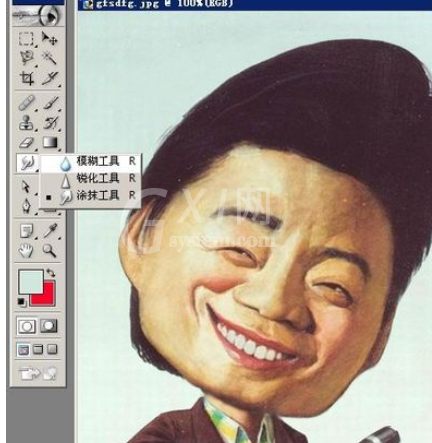
再选择涂抹工具与模糊工具将边缘进行修补。
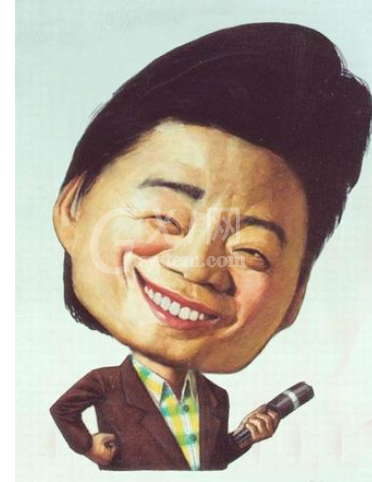
一张正宗的歪脖子头像就做好了。
上文就讲解了photoshop制作歪脖子头像的基础操作过程,希望有需要的朋友都来学习哦。


热门排行
今日推荐


热门手游
-
商场购物模拟器官方版

版本:v1.0.9
大小:46.11MB
日期:2024-12-16
-
滚动方块大冒险免费版

版本:v1.0.5
大小:26.10MB
日期:2024-12-16
-
恋恋奇缘体验服版

版本:v1.0.0
大小:131.33MB
日期:2024-12-16
-
炉石传说官方正版

版本:v1.0
大小:100.52MB
日期:2024-12-16
-
人群大师免费版

版本:v2.15.0
大小:57.68MB
日期:2024-12-16
-
方鸡跳跑单机版

版本:v1
大小:63.49MB
日期:2024-12-16