ai制作齿轮的基础操作过程
时间:2022-10-26 13:45
亲们对齿轮的形状有印象吗?今天呢,小编就带来了关于ai制作齿轮的操作教程,一起来看看吧!
ai制作齿轮的基础操作过程
在Ai软件中,新建一个800*800的文档,选择椭圆工具,按住shift画一个160*160px的正圆图形,如图所示
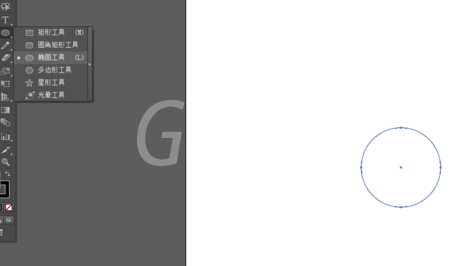
然后双击晶格化工具,调整一下参数,再点击圆形,如图所示
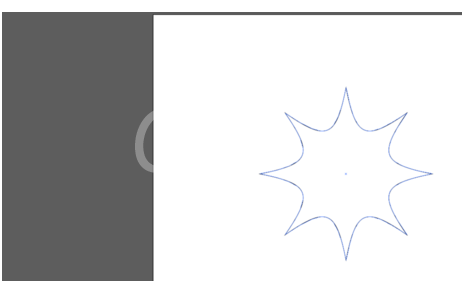
接着选择椭圆工具,再画一个正圆
选中两个图形到窗口—路径查找器—点击交集,如图所示

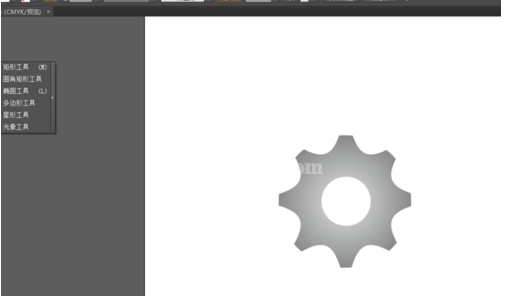
接下来生成齿轮的图形之后,添加径向渐变颜色,如图所示
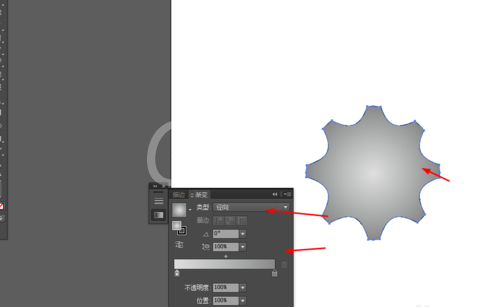
最后选择椭圆工具,在齿轮图形画一个圆形,并填充白色,效果如图所示
各位小伙伴们,看完上面的精彩内容,都清楚ai制作齿轮的基础操作过程了吧!


热门排行
今日推荐


热门手游
-
商场购物模拟器官方版

版本:v1.0.9
大小:46.11MB
日期:2024-12-16
-
滚动方块大冒险免费版

版本:v1.0.5
大小:26.10MB
日期:2024-12-16
-
恋恋奇缘体验服版

版本:v1.0.0
大小:131.33MB
日期:2024-12-16
-
炉石传说官方正版

版本:v1.0
大小:100.52MB
日期:2024-12-16
-
人群大师免费版

版本:v2.15.0
大小:57.68MB
日期:2024-12-16
-
方鸡跳跑单机版

版本:v1
大小:63.49MB
日期:2024-12-16