photoshop录制动作的基础操作
时间:2022-10-26 13:45
想必一些才刚刚接触photoshop朋友可能不清楚录制动作的操作,今天笔者就讲解关于photoshop录制动作的操作方法,相信大家通过学习,在以后的操作中一定会得心应手。
photoshop录制动作的基础操作

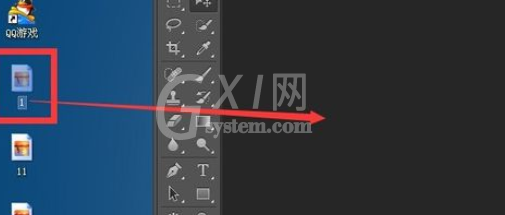
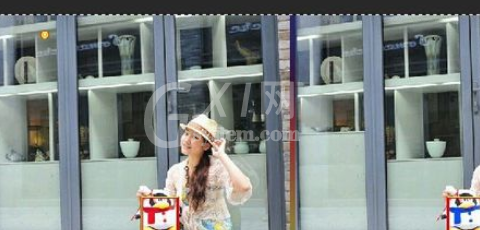
将一幅图片拖动到photoshop中打开
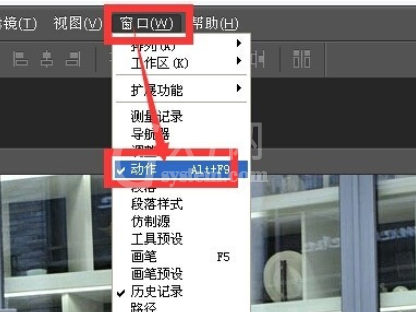
点击菜单栏 窗口 动作 调出动作面板
点击动作面板上的新建动作按钮
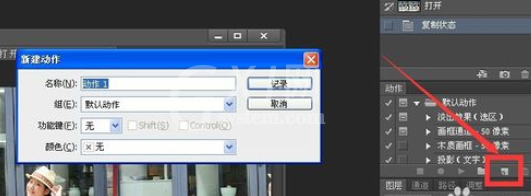
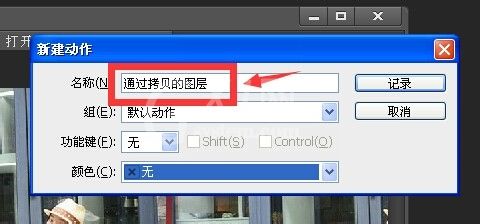
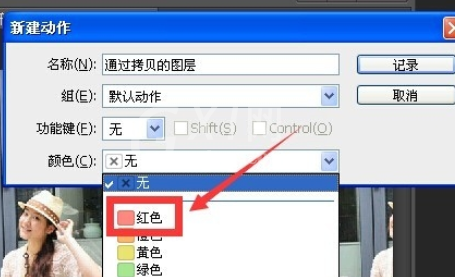
在新建动作对话框中为动作起一个名字 最好能放映你动作的内容 同时可以设置分组可和快捷键
为该动作指定一个颜色
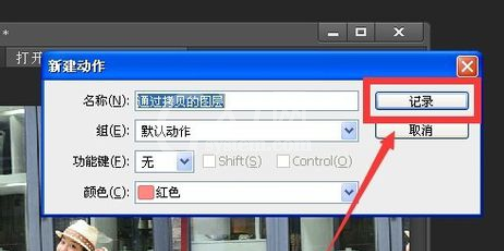
点击记录按钮
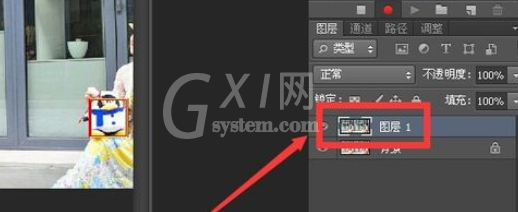
全选图像
按ctrl+j通过新建的拷贝图层
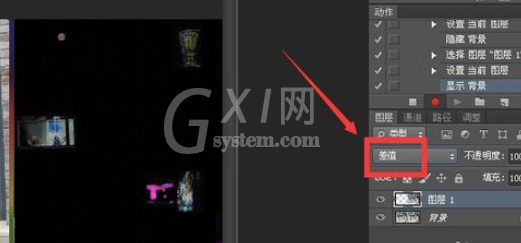
拖动将图像重合 然后点击差值
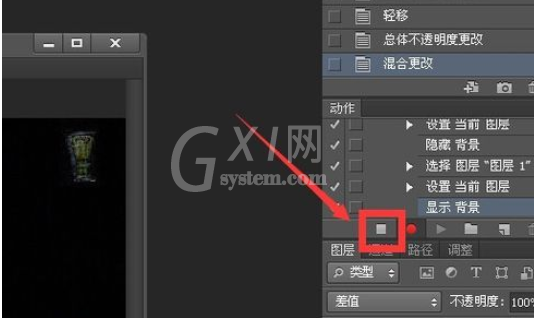
点击动作面板的方块 录制完成按钮
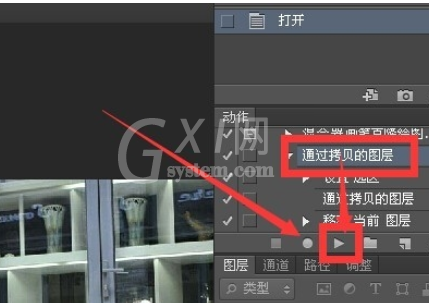
如果要对其他的图像应用该动作可以在动作面板点击 刚才的新建的动作名字 然后点击运行按钮
以上这里为各位分享了photoshop录制动作的基础操作。有需要的朋友赶快来看看本篇文章吧。


热门排行
今日推荐


热门手游
-
商场购物模拟器官方版

版本:v1.0.9
大小:46.11MB
日期:2024-12-16
-
滚动方块大冒险免费版

版本:v1.0.5
大小:26.10MB
日期:2024-12-16
-
恋恋奇缘体验服版

版本:v1.0.0
大小:131.33MB
日期:2024-12-16
-
炉石传说官方正版

版本:v1.0
大小:100.52MB
日期:2024-12-16
-
人群大师免费版

版本:v2.15.0
大小:57.68MB
日期:2024-12-16
-
方鸡跳跑单机版

版本:v1
大小:63.49MB
日期:2024-12-16