photoshop做出动漫眼睛的操作流程
时间:2022-10-26 13:48
亲们可能不了解photoshop做出动漫眼睛的操作,那么接下来就讲解photoshop做出动漫眼睛的操作方法哦,希望能够帮助到大家呢。
photoshop做出动漫眼睛的操作流程
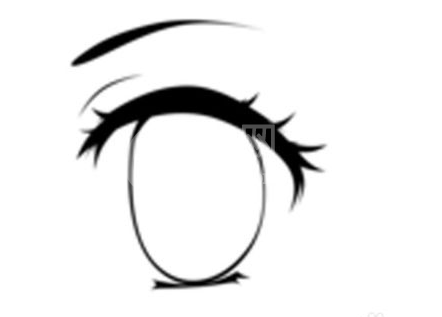
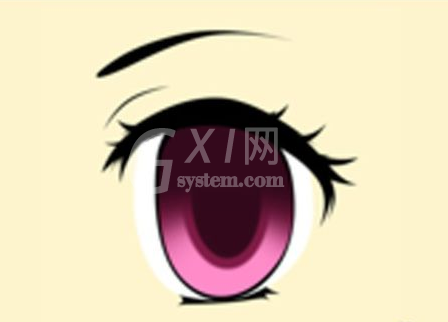
对结构的理解,画出基本轮廓,这个可以参考日系的一些眼睛。
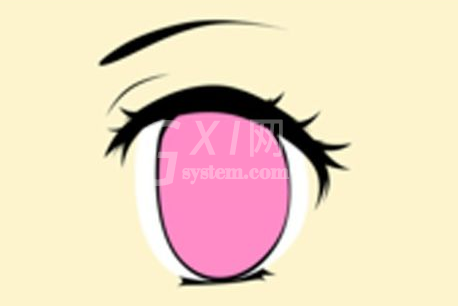
用19号笔刷,平涂固有色,这里主要涂的时候用点力,如涂不均匀,可以用吸管工具吸色,再画。
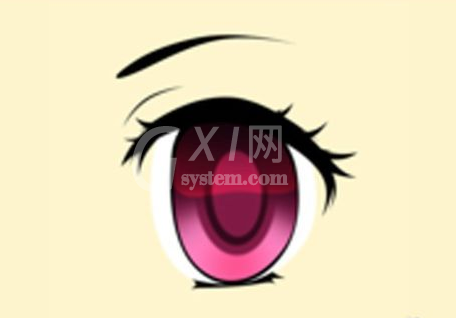
画出阴影,需要取色可以在原来基础上向下取色,来开差距。注意饱和度及明度变化。
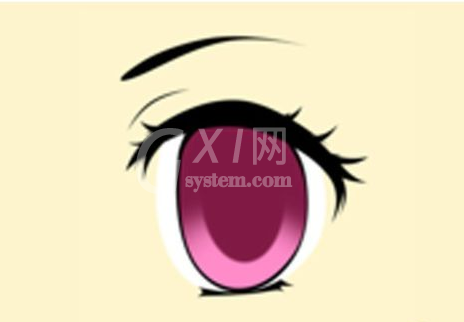
用喷枪过渡下明暗,确定光源。
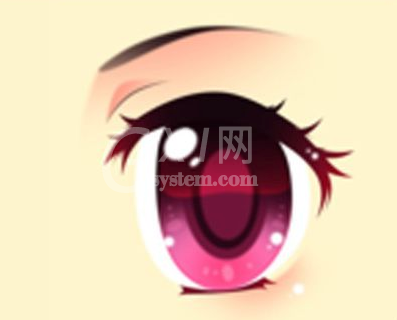
可用颜色减淡图层或者画笔模式,提亮下眼睑,可以说是反光。
点上高光,注意高光形状,对明暗,下眼睑投影的处理。
对整体用调整属性进行调整,加强明暗交界线,眼睫毛的修饰。
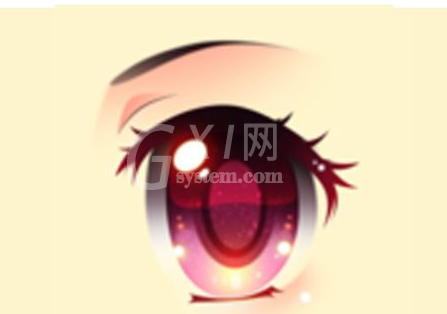
快来学习学习photoshop做出动漫眼睛的操作内容吧,一定会帮到大家的。


热门排行
今日推荐


热门手游
-
商场购物模拟器官方版

版本:v1.0.9
大小:46.11MB
日期:2024-12-16
-
滚动方块大冒险免费版

版本:v1.0.5
大小:26.10MB
日期:2024-12-16
-
恋恋奇缘体验服版

版本:v1.0.0
大小:131.33MB
日期:2024-12-16
-
炉石传说官方正版

版本:v1.0
大小:100.52MB
日期:2024-12-16
-
人群大师免费版

版本:v2.15.0
大小:57.68MB
日期:2024-12-16
-
方鸡跳跑单机版

版本:v1
大小:63.49MB
日期:2024-12-16