PremiereCC2018做出生锈文字特效的具体操作
时间:2022-10-26 13:48
许多朋友喜欢使用PremiereCC2018软件,而今天讲解的是PremiereCC2018做出生锈文字特效的具体操作,想学习的,就去下文看一看,了解了解,相信对大家一定会有所帮助的。
PremiereCC2018做出生锈文字特效的具体操作
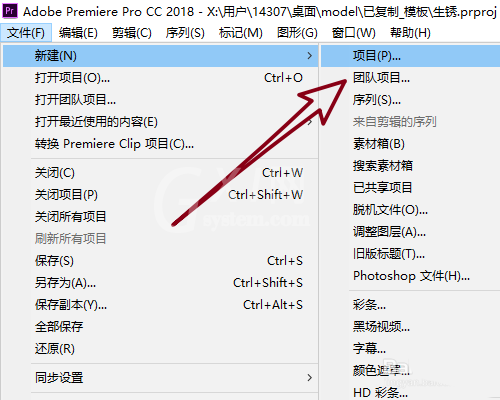
1、新建项目。运行Pr CC 2018软件,点击文件==新建==新建一个项目,如图
2、导入素材。使用Ctrl+I,导入一张背景素材,这里以下面的老虎素材为例。
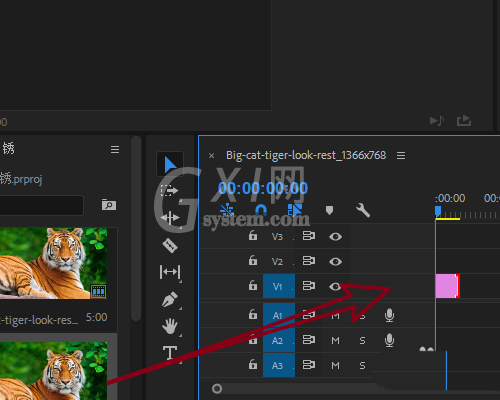
3、创建序列。将该素材拖拽到时间轴的v1轨道,如图
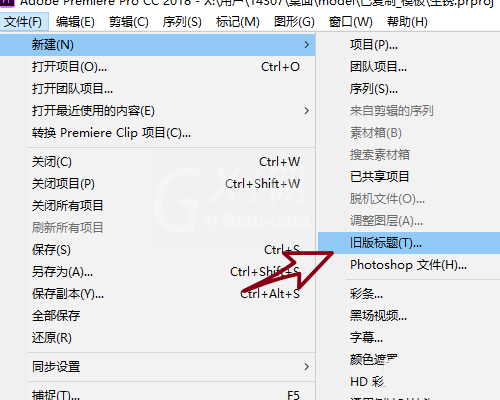
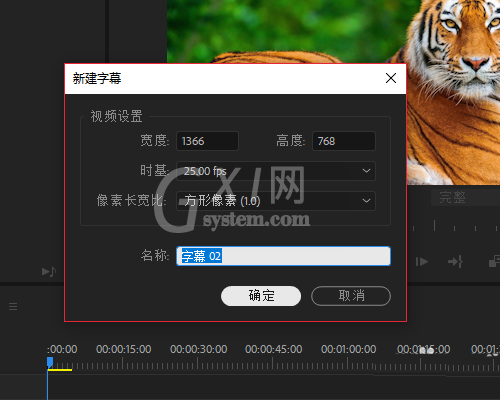
4、新建旧标题。依次点击文件==新建==旧版标题,默认命名为字幕01,如图
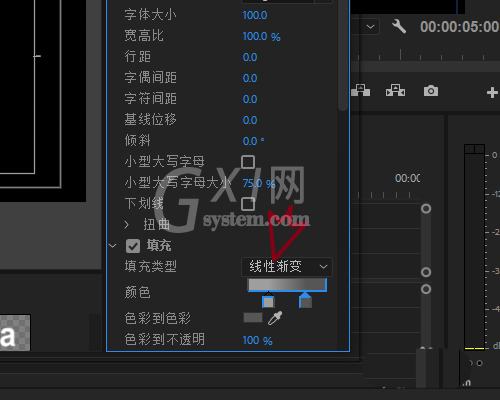
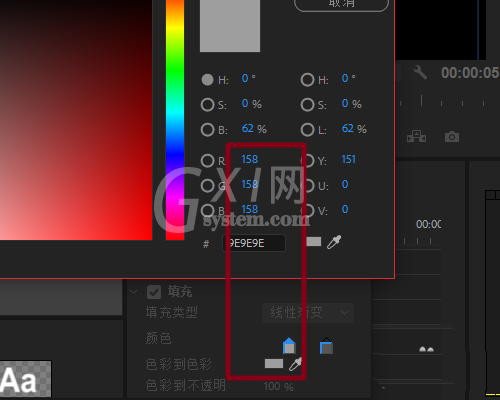
5、设置字体。字体选择Arial,大小300,样式加粗(bold),填充类型选择线性填充,两个颜色的16位进制分别是#9E9E9E、#575656

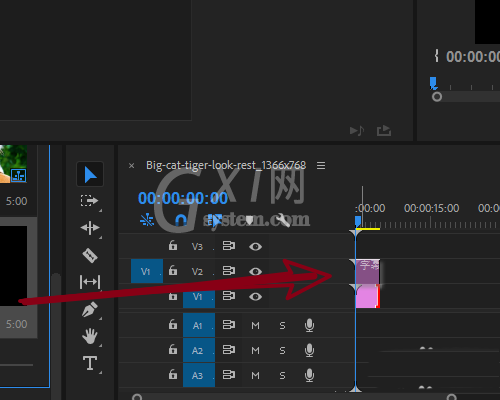
6、然后关闭字幕,将该字幕01拖拽到v2轨道,如图
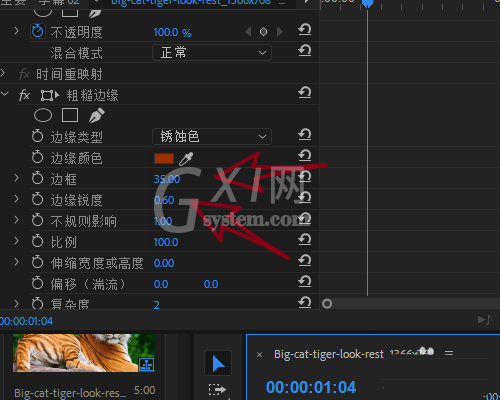
7、添加效果。在效果栏目搜索 粗糙边缘 并添加到字幕01上,如图

8、选中字幕01,打开效果控制面板,边缘类型设置为锈色,
9、边框35,边缘清晰0.6,具体还是以实际为例。
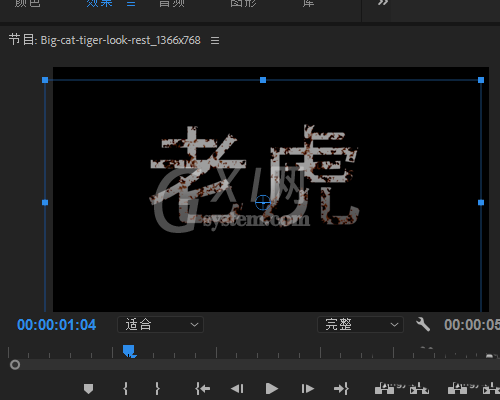
10、这样使用pr制作的生锈字体就完成了,效果入下。
各位小伙伴们,看完上面的精彩内容,都清楚PremiereCC2018做出生锈文字特效的具体操作了吧!


热门排行
今日推荐


热门手游
-
商场购物模拟器官方版

版本:v1.0.9
大小:46.11MB
日期:2024-12-16
-
滚动方块大冒险免费版

版本:v1.0.5
大小:26.10MB
日期:2024-12-16
-
恋恋奇缘体验服版

版本:v1.0.0
大小:131.33MB
日期:2024-12-16
-
炉石传说官方正版

版本:v1.0
大小:100.52MB
日期:2024-12-16
-
人群大师免费版

版本:v2.15.0
大小:57.68MB
日期:2024-12-16
-
方鸡跳跑单机版

版本:v1
大小:63.49MB
日期:2024-12-16