Unity使用ParticleSystem制作枪口火焰效果的详细操作
时间:2022-10-26 13:55
当前不少网友不清楚Unity使用ParticleSystem制作枪口火焰效果的详细操作,所以下面小编就带来了Unity使用ParticleSystem制作枪口火焰效果的教程,一起来看看吧!
Unity使用ParticleSystem制作枪口火焰效果的详细操作

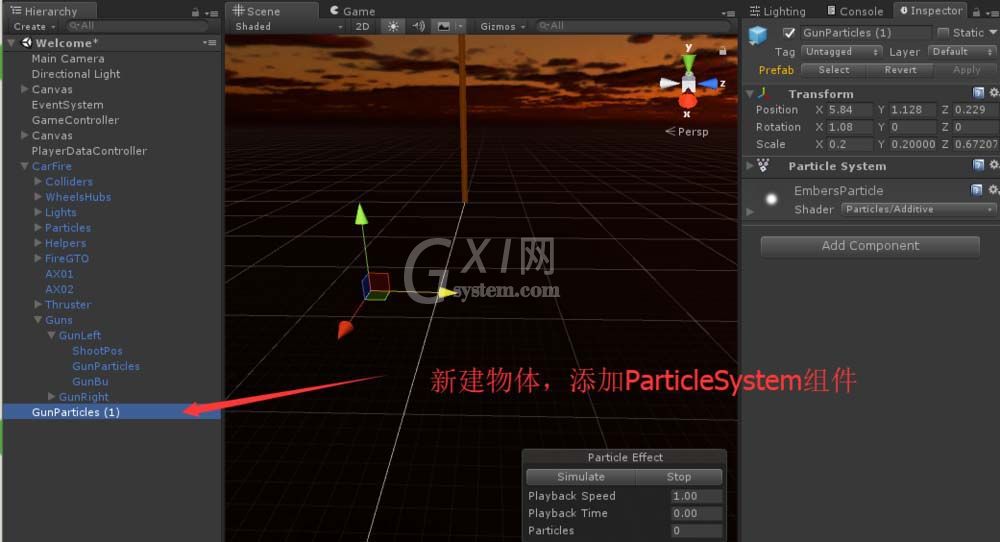
1、首先我们新建一个空游戏对象,给它建立一个ParticleSystem组件。
2、展开主面板。设置时长0.1s, 因为枪火的存在时间本来就很短。取消Looping的勾选,因为枪火只射一次。设置起始颜色为黄色。
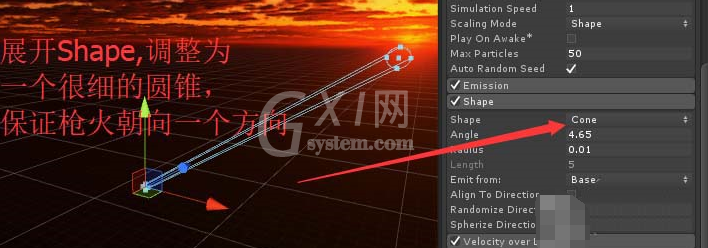
3、展开Shape,把粒子发射装置的形状调整成一个很细的圆锥,保证枪火的方向和位置固定。
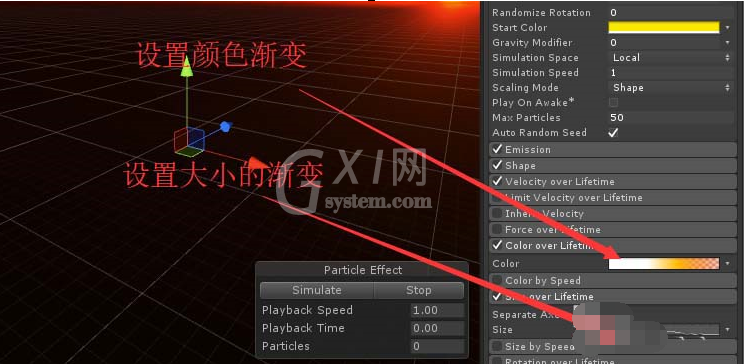
4、设置颜色渐变从白色到黄红到透明,设置大小渐变(添加一个curve)
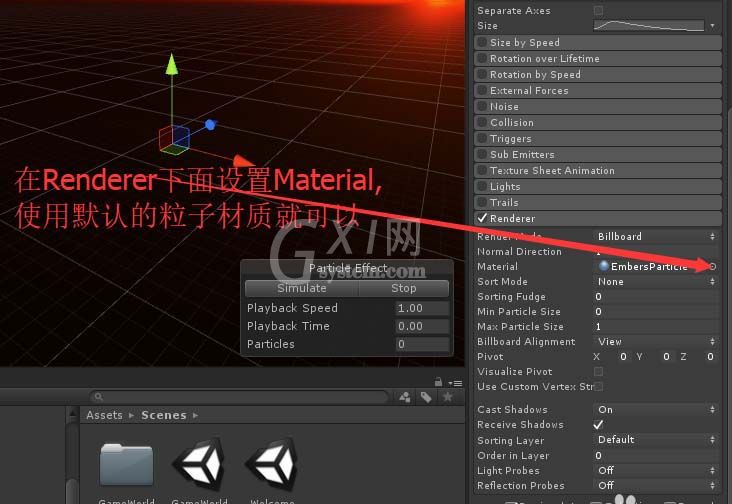
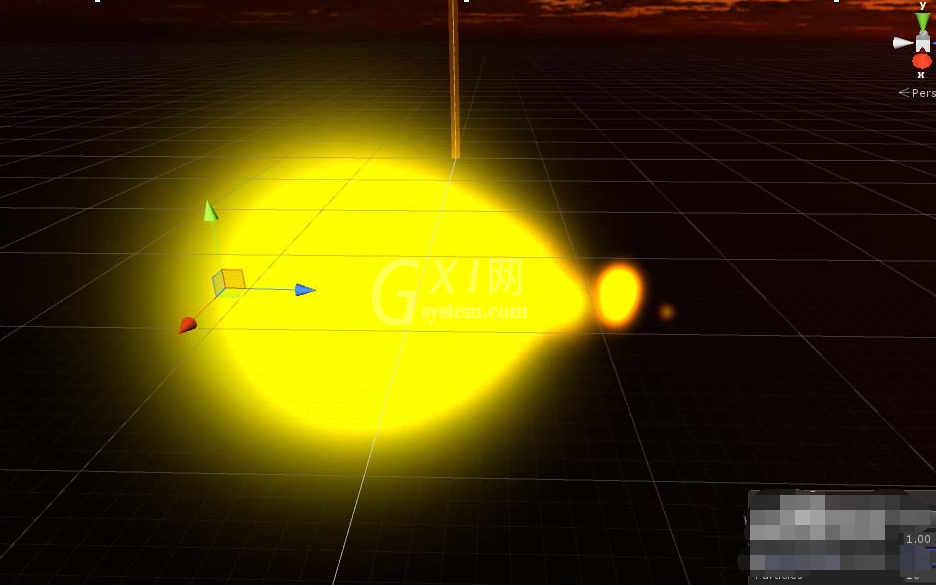
5、在最下面的Renderer里面设置枪火的材质。其实标准材质包的默认粒子材质就可。最终效果如图。
上文就讲解了Unity使用ParticleSystem制作枪口火焰效果的详细操作过程,希望有需要的朋友都来学习哦。


热门排行
今日推荐


热门手游
-
商场购物模拟器官方版

版本:v1.0.9
大小:46.11MB
日期:2024-12-16
-
滚动方块大冒险免费版

版本:v1.0.5
大小:26.10MB
日期:2024-12-16
-
恋恋奇缘体验服版

版本:v1.0.0
大小:131.33MB
日期:2024-12-16
-
炉石传说官方正版

版本:v1.0
大小:100.52MB
日期:2024-12-16
-
人群大师免费版

版本:v2.15.0
大小:57.68MB
日期:2024-12-16
-
方鸡跳跑单机版

版本:v1
大小:63.49MB
日期:2024-12-16