ps制作花朵的操作流程
时间:2022-10-26 13:56
当前是繁花盛开的季节。那么若想自己制作花朵图案,要如何才能实现呢?下面小编就分享ps制作花朵的操作方法,希望感兴趣的朋友都来共同学习哦。
ps制作花朵的操作流程

1、首先打开ps软件,新建画布在画布中画出一个圆角矩形并添加渐变

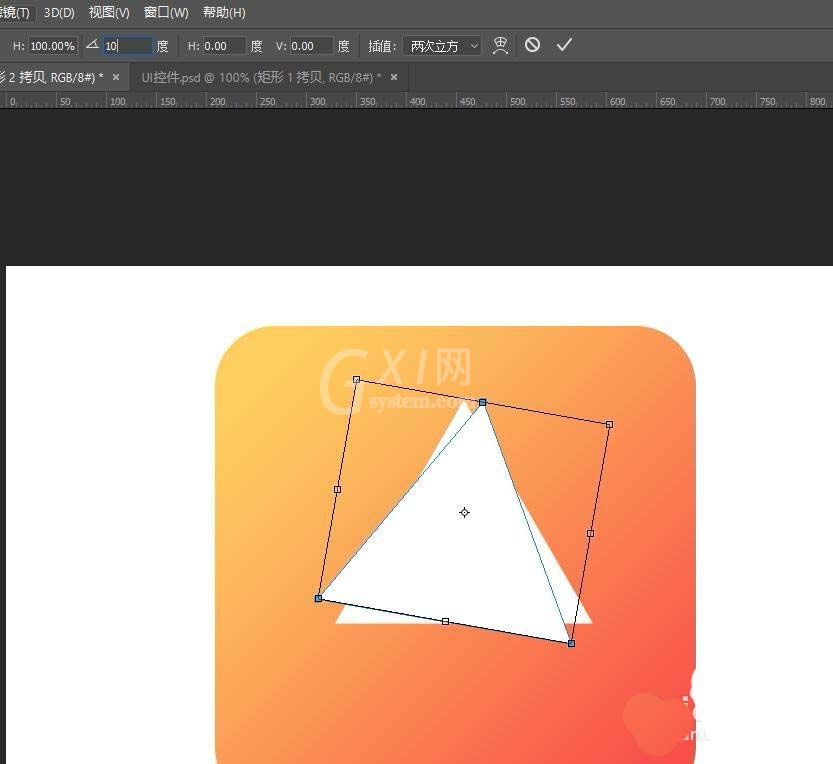
2、利用【矩形工具】画出一个三角,按【ctrl+J】复制一层,在点击【ctrl+T】将三角形进行偏移,效果如图
3、将第二个三角做出偏移之后,我们按【ctrl+shift+alt+T】进行复制

4、选中所有的图形将图形的不透明度降低,参考值:30-50,按【ctrl+G】将图形进行编组

5、按【ctrl+J】复制组,并将里边所有图形的不透明度降低,参考值为10-15

6、再次点击【ctrl+J】复制组,将里边所有图形的不透明度降低为8%

7、这样大致的形状就做出来了,我们在图形的中间写上文字

8、以上就是怎么在ps中制作简单的花朵图标,希望可以帮助到您

各位小伙伴们,看完上面的精彩内容,都清楚ps制作花朵的操作流程了吧!


热门排行
今日推荐


热门手游
-
商场购物模拟器官方版

版本:v1.0.9
大小:46.11MB
日期:2024-12-16
-
滚动方块大冒险免费版

版本:v1.0.5
大小:26.10MB
日期:2024-12-16
-
恋恋奇缘体验服版

版本:v1.0.0
大小:131.33MB
日期:2024-12-16
-
炉石传说官方正版

版本:v1.0
大小:100.52MB
日期:2024-12-16
-
人群大师免费版

版本:v2.15.0
大小:57.68MB
日期:2024-12-16
-
方鸡跳跑单机版

版本:v1
大小:63.49MB
日期:2024-12-16