PowerPoint Viewer制作流星雨动画效果的操作方法
时间:2022-10-26 17:01
你们的电脑中都下载PowerPoint Viewer了吗?小编就比较喜欢使用这款软件,你们知道怎样制作流星雨动画效果吗?下文这篇教程就带来了PowerPoint Viewer制作流星雨动画效果的具体操作流程。
PowerPoint Viewer制作流星雨动画效果的操作方法

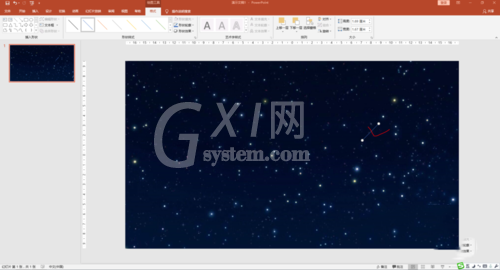
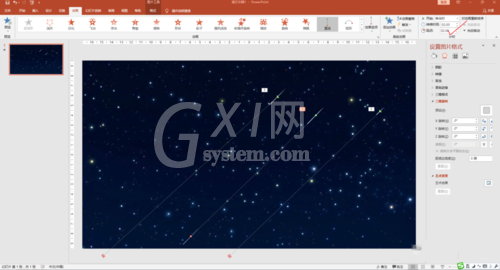
我们需要先打开PowerPoint Viewer软件,幻灯片中插入一张背景图片。

然后插入形状“直线”,长短适宜。
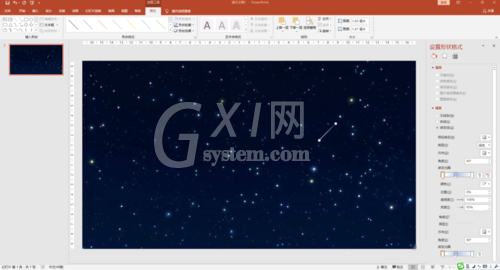
接着我们为“直线”设置格式:渐变色,白色,增加宽度,一端设置透明度为100%。
这时我们为直线添加动画“直线”效果。
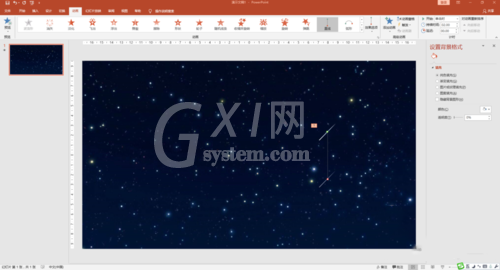
然后我们调整位置和路径使之更自然。

再制作二到三个这样的“流星”
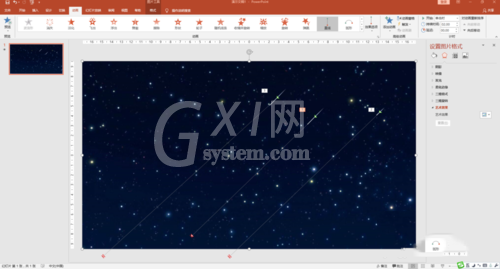
设计不同的播放时间和延迟时间。
播放,欣赏美丽的流星雨效果。

根据上文为你们讲述的PowerPoint Viewer制作流星雨动画效果的具体操作方法,你们应该都学会了吧!


热门排行
今日推荐


热门手游
-
商场购物模拟器官方版

版本:v1.0.9
大小:46.11MB
日期:2024-12-16
-
滚动方块大冒险免费版

版本:v1.0.5
大小:26.10MB
日期:2024-12-16
-
恋恋奇缘体验服版

版本:v1.0.0
大小:131.33MB
日期:2024-12-16
-
炉石传说官方正版

版本:v1.0
大小:100.52MB
日期:2024-12-16
-
人群大师免费版

版本:v2.15.0
大小:57.68MB
日期:2024-12-16
-
方鸡跳跑单机版

版本:v1
大小:63.49MB
日期:2024-12-16