Adobe Photoshop为图片局部添加纹理的详细操作教程
时间:2022-10-26 17:11
近段时间有一些在使用Adobe Photoshop的伙伴们,并不是很熟悉其中是怎样为图片局部添加纹理?今日在这篇文章中就带来了Adobe Photoshop为图片局部添加纹理的详细操作教程。
Adobe Photoshop为图片局部添加纹理的详细操作教程

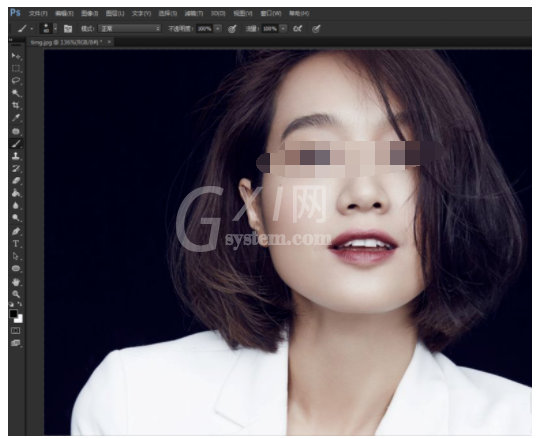
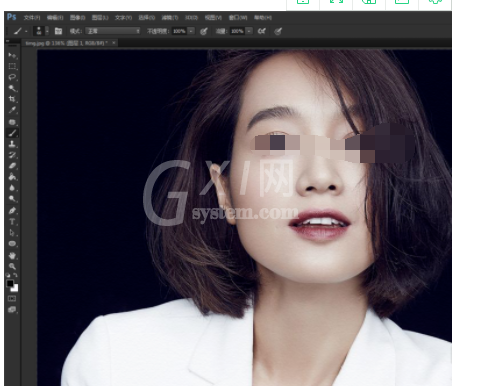
我们需要先打开Adobe Photoshop软件,随便用一种图片作为例子,用Ctrl+O打开。
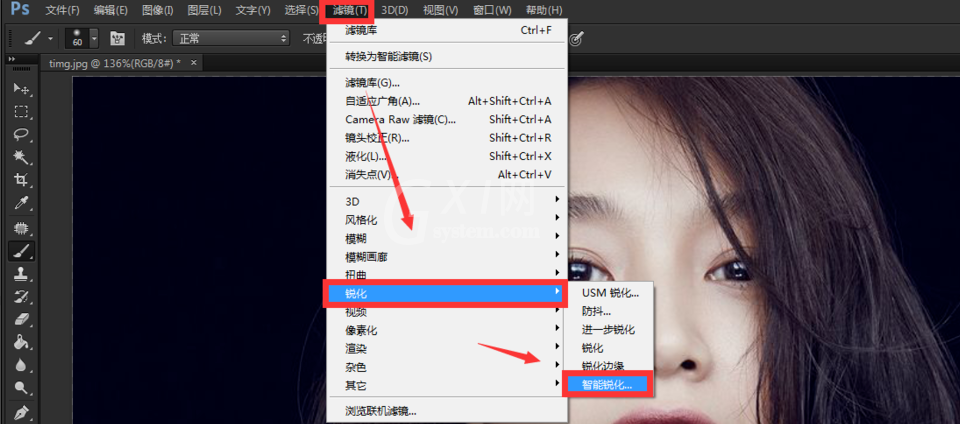
然后我们把人物皮肤调节得更加清晰,点击菜单栏【滤镜】→【锐化】→【智能锐化】。
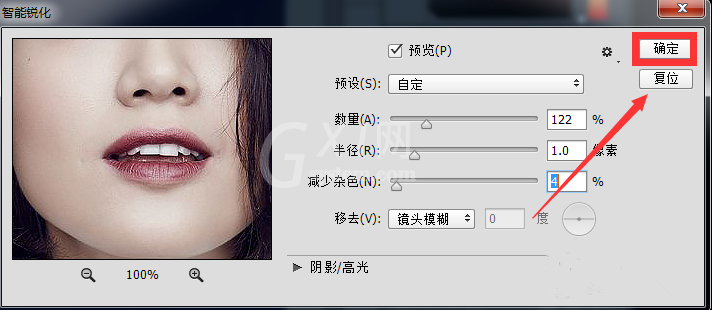
这时弹出智能锐化窗口,对参数进行相应调整后点击【确定】。
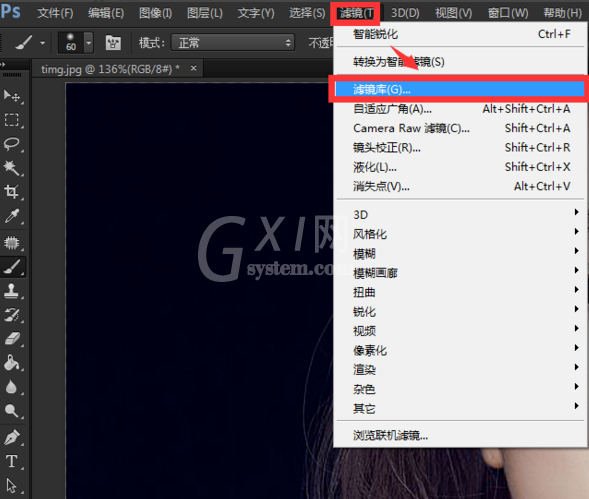
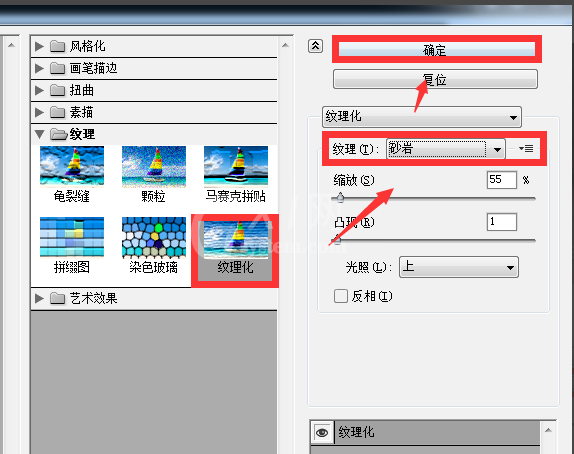
接着我们点击【滤镜】→【滤镜库】,在纹理一栏选择【纹理化】,纹理类型选择【砂岩】,然后根据具体图片进行相应参数调整后点击【确定】退出。
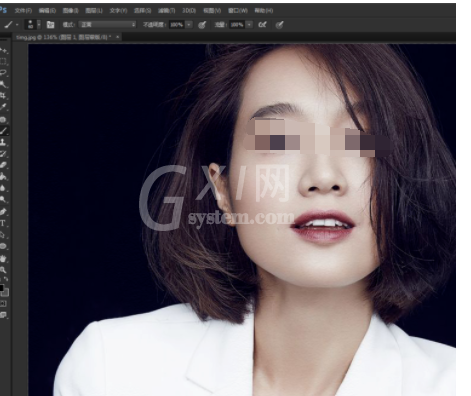
如图,整张图片已经添加上纹理了,但是我们的目的只想让人物的皮肤添加纹理效果,多余的部分怎么去掉呢?
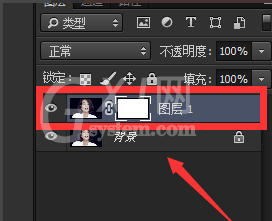
这时候我们为图层添加图层蒙版,将前景色调为黑色,使用画笔工具对多余的部分进行涂抹即可。
最终效果出来啦。
看完了上文为你们描述的Adobe Photoshop在图片局部添加纹理的详细操作方法,你们是不是都学会了呀!


热门排行
今日推荐


热门手游
-
商场购物模拟器官方版

版本:v1.0.9
大小:46.11MB
日期:2024-12-16
-
滚动方块大冒险免费版

版本:v1.0.5
大小:26.10MB
日期:2024-12-16
-
恋恋奇缘体验服版

版本:v1.0.0
大小:131.33MB
日期:2024-12-16
-
炉石传说官方正版

版本:v1.0
大小:100.52MB
日期:2024-12-16
-
人群大师免费版

版本:v2.15.0
大小:57.68MB
日期:2024-12-16
-
方鸡跳跑单机版

版本:v1
大小:63.49MB
日期:2024-12-16