owerPoint Viewer做出精美海报的详细过程
时间:2022-10-26 17:20
部分新手表示自己也想使用owerPoint Viewer做出精美海报,却不清楚该怎么操作?那么接下来给你们分享一下owerPoint Viewer做出精美海报的详细过程吧,希望大家喜欢。
owerPoint Viewer做出精美海报的详细过程

首先我们打开PowerPoint Viewer软件,打开我们准备好的一个PPT空白模板即可。
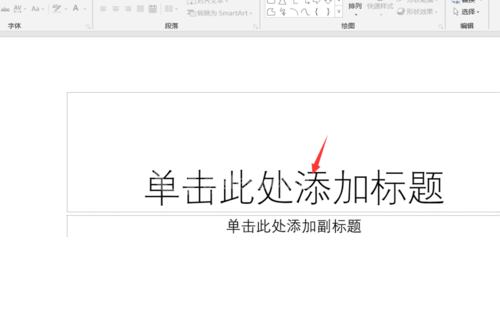
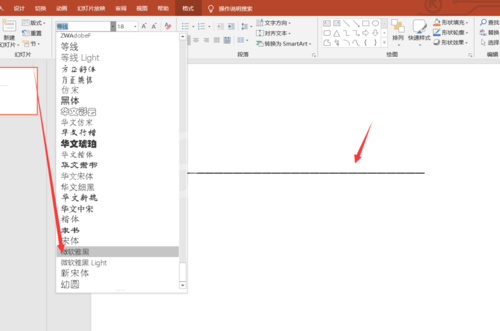
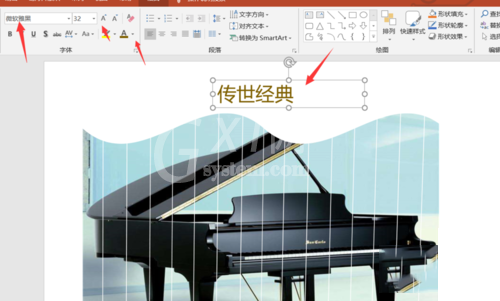
接着我们在文本框中输入我们的汉字一,然后将其字体调整为微软雅黑。
这时候我们选中文本框,点击文本效果选择转换,将其转换为波浪形,如下图所
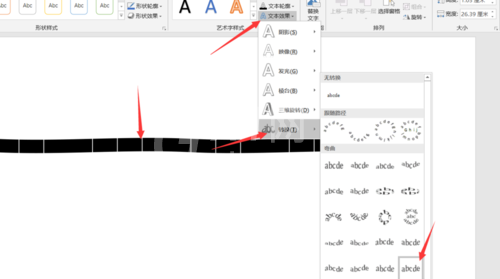
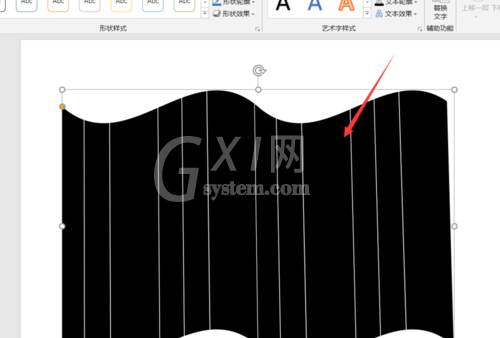
然后我们调整我们的字符的大小和位置,让其波浪形更加明显,将其放大即可。
接下来我们找到我们准备好的图片素材,复制到我们的PPT页面当中,作为我们整个海报的主页面。
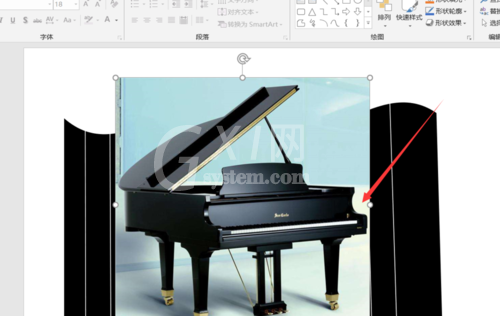
这时我们首先选中图片,然后选中下方的文本框,选择图片格式,合并形状下的相交即可。

最后我们在配合上我们的文字并设置文字为微软雅黑,设置字体颜色为金黄色即可。
最后我们来看一下效果吧。今天的如何使用PPT来制作精美海报教程就为大家介绍到这里,希望对大家有所帮助。

以上分享的关于owerPoint Viewer做出精美海报的详细过程,大家是不是都学会了呀!


热门排行
今日推荐


热门手游
-
商场购物模拟器官方版

版本:v1.0.9
大小:46.11MB
日期:2024-12-16
-
滚动方块大冒险免费版

版本:v1.0.5
大小:26.10MB
日期:2024-12-16
-
恋恋奇缘体验服版

版本:v1.0.0
大小:131.33MB
日期:2024-12-16
-
炉石传说官方正版

版本:v1.0
大小:100.52MB
日期:2024-12-16
-
人群大师免费版

版本:v2.15.0
大小:57.68MB
日期:2024-12-16
-
方鸡跳跑单机版

版本:v1
大小:63.49MB
日期:2024-12-16