PowerPoint Viewer做出形状绕排的具体过程
时间:2022-10-26 17:21
PowerPoint Viewer相信大家都在用,今日为大家分享的就是PowerPoint Viewer做出形状绕排的具体过程,感兴趣的伙伴不要错过哦。
PowerPoint Viewer做出形状绕排的具体过程

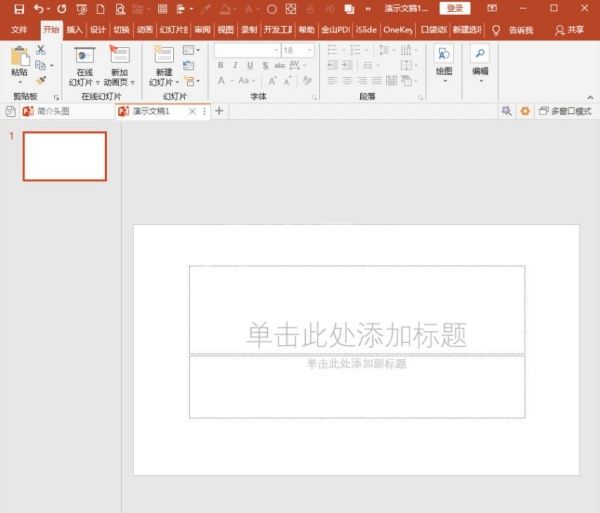
我们需要先打开PowerPoint Viewer软件,建立空白演示文稿。
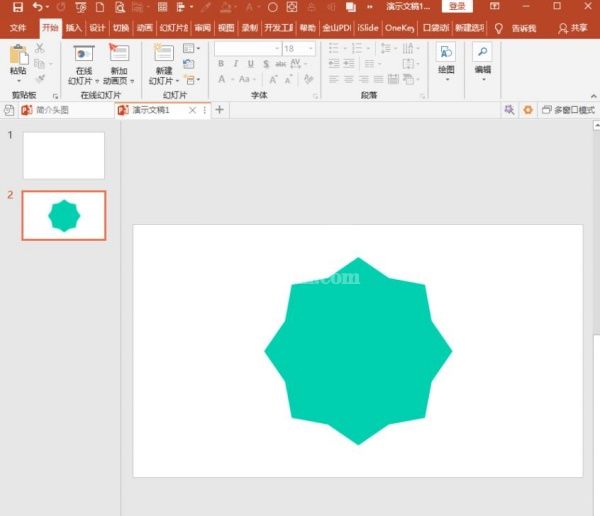
接着我们在幻灯片中插入一个形状。
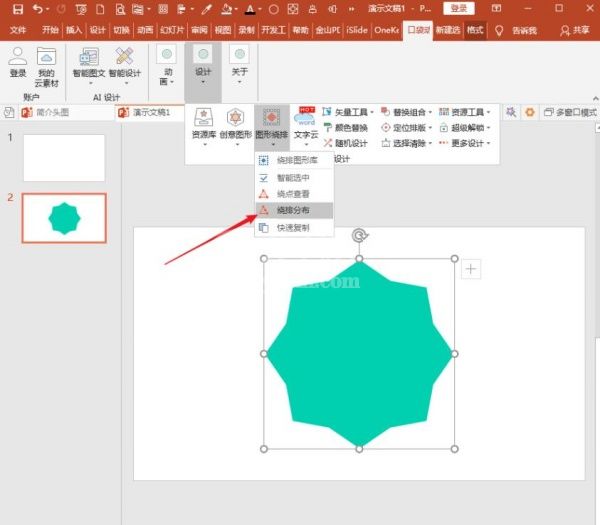
这时选中形状,点击口袋动画PA选项卡下设计菜单组中图形绕排下的快速复制。
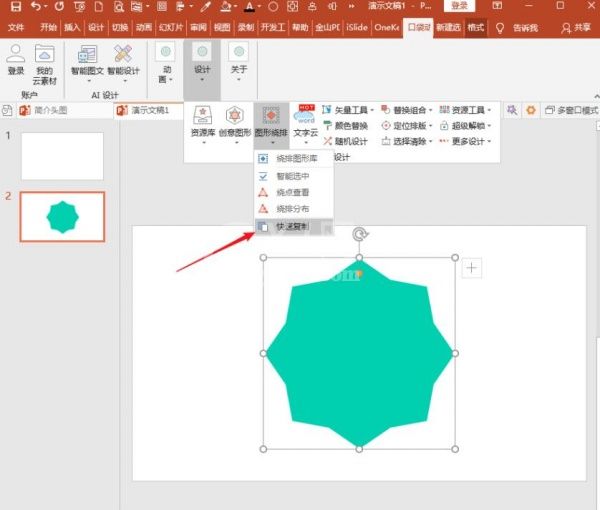
则选中的形状将自动复制随意多份,并全部叠放在一起。
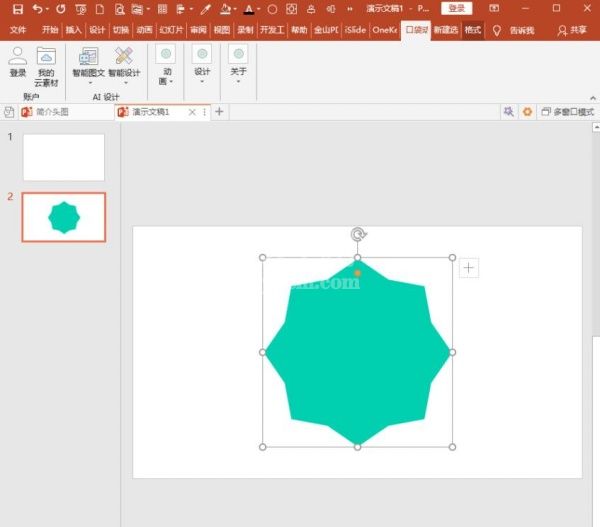
接着我们按Ctrl+A选中全部形状,再点击口袋动画PA选项卡下设计菜单组中图形绕排下的绕排分布。
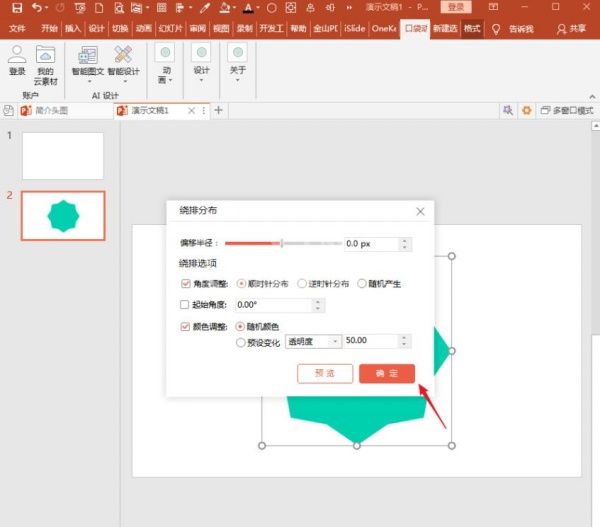
接下来我们在打开的绕排分布窗口中,使用默认的设置,点击确定。
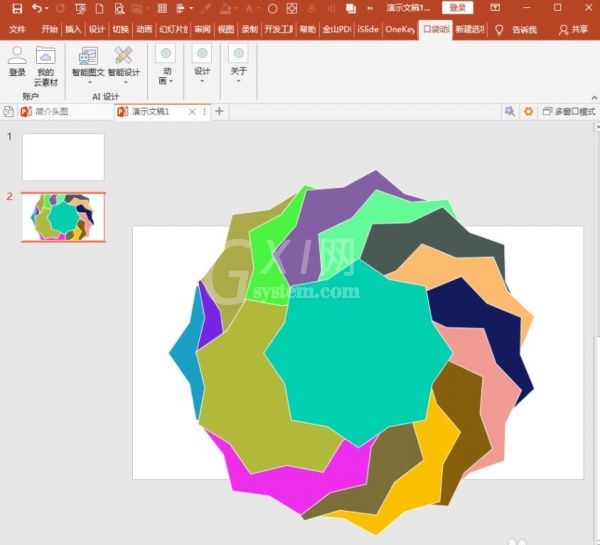
这样,全部复制的形状就自动按照中心绕排,形成了一朵花的样子。
上文讲解的PowerPoint Viewer做出形状绕排的具体过程,相比大家都了解了吧!


热门排行
今日推荐


热门手游
-
商场购物模拟器官方版

版本:v1.0.9
大小:46.11MB
日期:2024-12-16
-
滚动方块大冒险免费版

版本:v1.0.5
大小:26.10MB
日期:2024-12-16
-
恋恋奇缘体验服版

版本:v1.0.0
大小:131.33MB
日期:2024-12-16
-
炉石传说官方正版

版本:v1.0
大小:100.52MB
日期:2024-12-16
-
人群大师免费版

版本:v2.15.0
大小:57.68MB
日期:2024-12-16
-
方鸡跳跑单机版

版本:v1
大小:63.49MB
日期:2024-12-16