excel2013插入联机图片的操作步骤
时间:2022-10-26 17:35
很多公司都喜欢用excel2013,那么想要插入联机图片该如何操作呢?今天笔者就讲解了excel2013插入联机图片的操作步骤,一起来看看吧,相信会有帮助哦。
excel2013插入联机图片的操作步骤

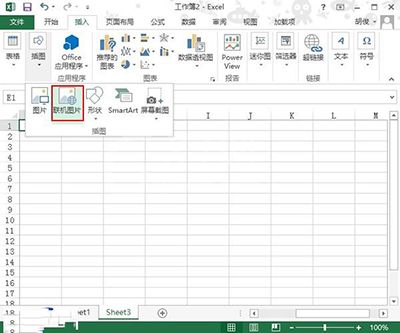
启动excel2013,单击插入---插图--联机图片。
弹出一个插入图片界面,点击office剪切画。
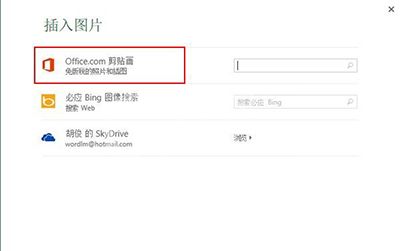
输入要搜索的关键字,单击放大镜按钮,搜索完毕看到结果。

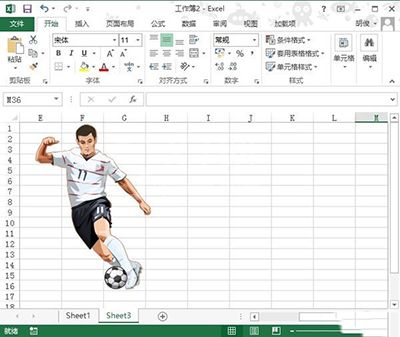
选择一张,双击就可以插入到excel2013中去了。
上面就分享了excel2013插入联机图片的操作步骤,希望有需要的朋友都来学习哦。


热门排行
今日推荐


热门手游
-
商场购物模拟器官方版

版本:v1.0.9
大小:46.11MB
日期:2024-12-16
-
滚动方块大冒险免费版

版本:v1.0.5
大小:26.10MB
日期:2024-12-16
-
恋恋奇缘体验服版

版本:v1.0.0
大小:131.33MB
日期:2024-12-16
-
炉石传说官方正版

版本:v1.0
大小:100.52MB
日期:2024-12-16
-
人群大师免费版

版本:v2.15.0
大小:57.68MB
日期:2024-12-16
-
方鸡跳跑单机版

版本:v1
大小:63.49MB
日期:2024-12-16