maya建模保温杯的操作方法
时间:2022-10-26 17:36
这篇文章为各位带来的内容是maya建模保温杯相关的,对此感兴趣的用户可以去下文看看maya建模保温杯的操作方法。
maya建模保温杯的操作方法

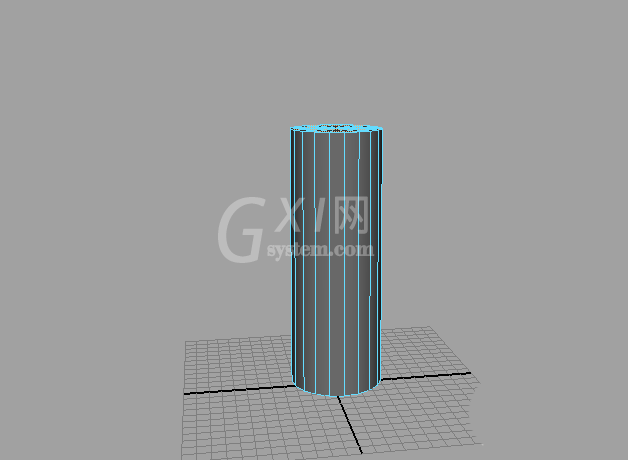
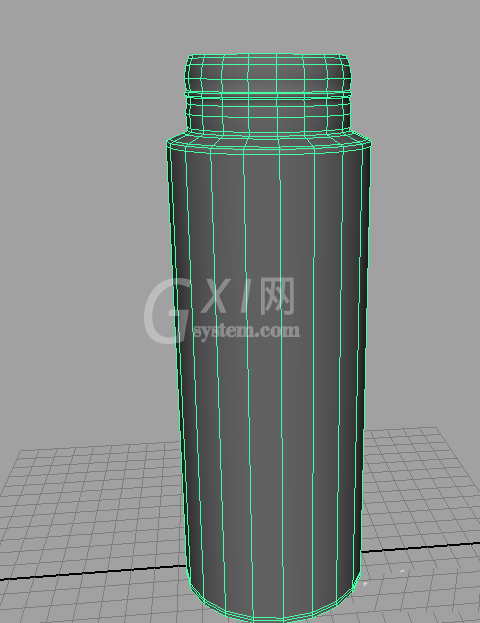
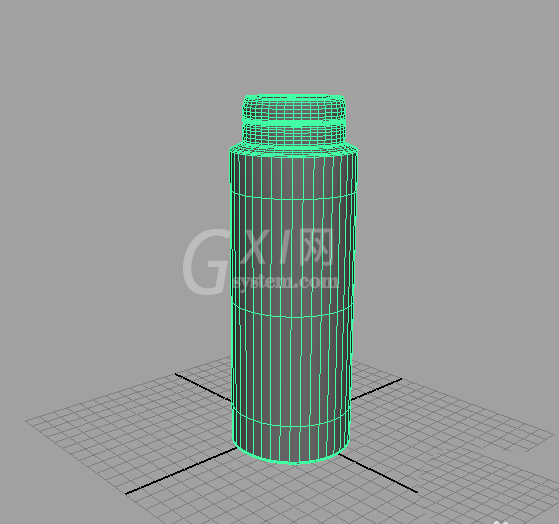
首先打开maya,新建一个圆柱体,选中顶面,并将面删除掉
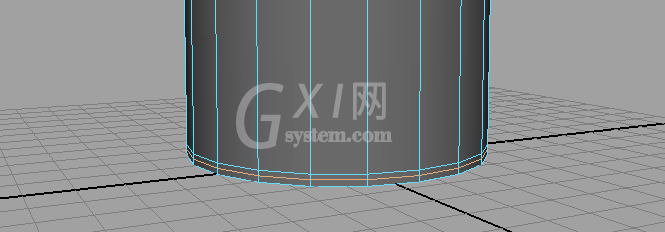
在杯子底部加上两条循环边,进行卡边,因为一会将整个杯子进行平滑处理,先卡下边
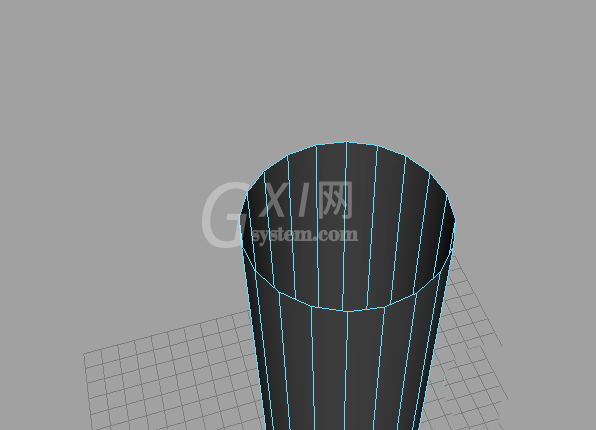
在杯子上部即杯嘴处添加循环边,挤出杯子的突出部分
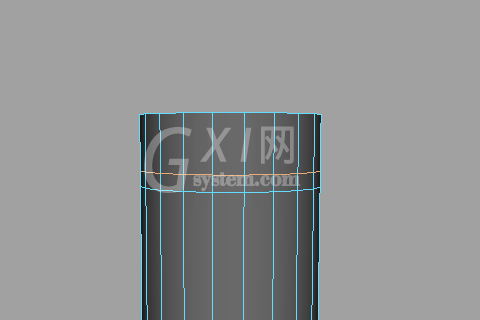
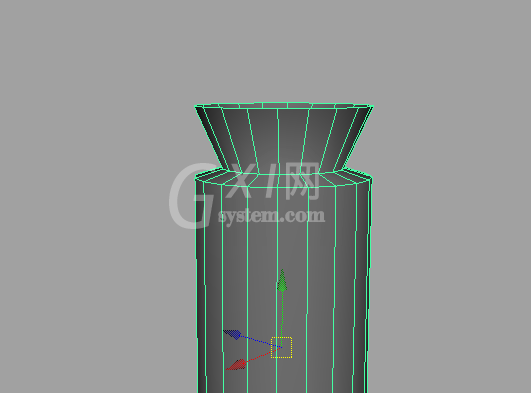
再添加循环边,把最上边缩小,再加循环边,调整,在中部加四条,扩大到中间部分

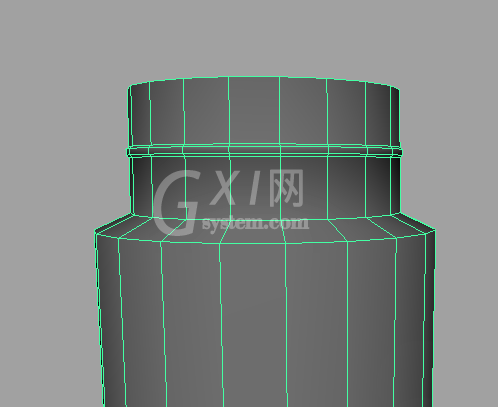
在转弯的部分加循环边,进行卡边,整个模型丰富后,进行平滑处理
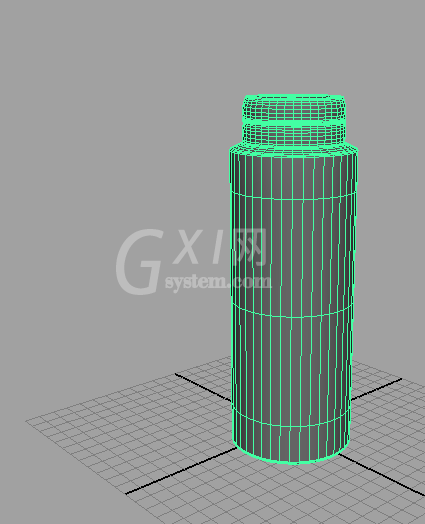
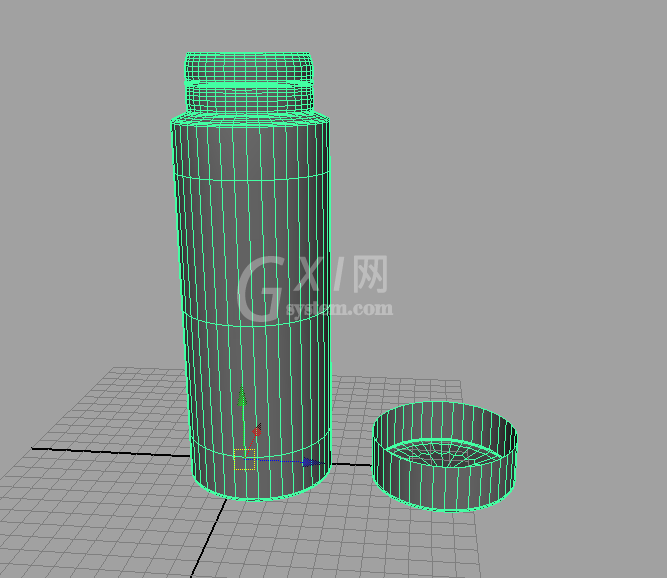
复制出一个水杯,把上面部分删除,留下的部分作为杯盖,最终能给杯子盖上,加个布林材质,杯子整体就出来了
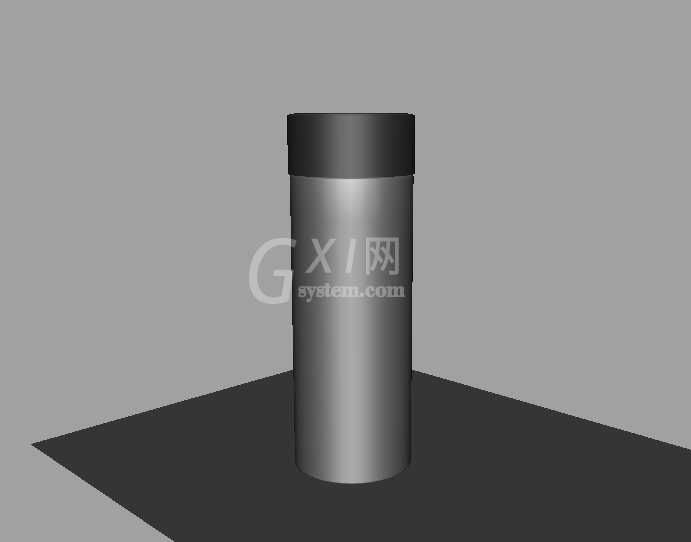
上面就是小编为大家带来的maya建模保温杯的操作教程,一起来学习学习吧。相信是可以帮助到一些新用户的。


热门排行
今日推荐


热门手游
-
商场购物模拟器官方版

版本:v1.0.9
大小:46.11MB
日期:2024-12-16
-
滚动方块大冒险免费版

版本:v1.0.5
大小:26.10MB
日期:2024-12-16
-
恋恋奇缘体验服版

版本:v1.0.0
大小:131.33MB
日期:2024-12-16
-
炉石传说官方正版

版本:v1.0
大小:100.52MB
日期:2024-12-16
-
人群大师免费版

版本:v2.15.0
大小:57.68MB
日期:2024-12-16
-
方鸡跳跑单机版

版本:v1
大小:63.49MB
日期:2024-12-16