美图秀秀制作隔离区聊天背景的操作方法
时间:2022-10-26 17:49
相信许多伙伴还不了解美图秀秀如何制作隔离区聊天背景的简单操作,不过没关系,下面就分享了美图秀秀制作隔离区聊天背景的操作方法,希望感兴趣的朋友都来共同学习哦。
美图秀秀制作隔离区聊天背景的操作方法

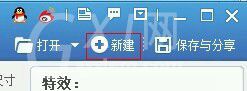
1.打开美图秀秀

2.点击左上角红框里的新建
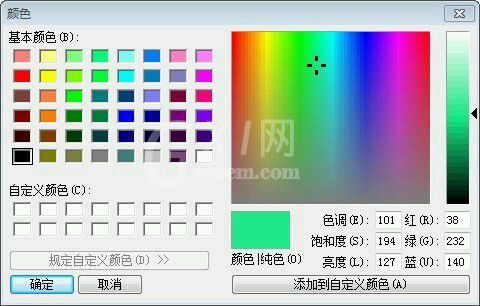
3.宽度改为300高度改为1000背景颜色选自定义颜色

4.自选颜色,点确定
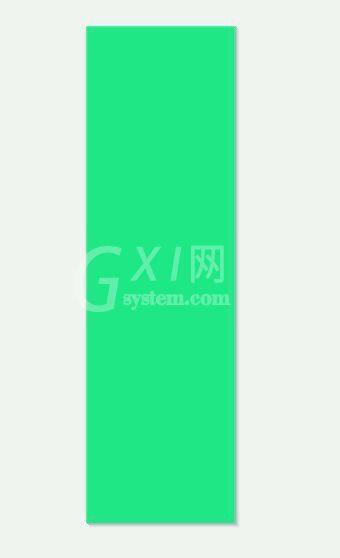
5.点击应用

6.就会出现这样一个条状
7.再点击“保存于分享”
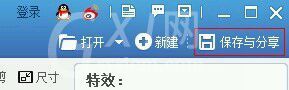
8.像1-7一样做另一个,再点击右上角的新建

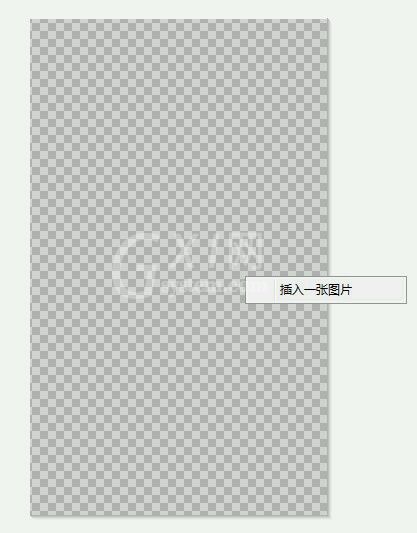
9.宽600高1000背景色透明,点击应用

10.就会得到这样个图,右键点击后会出现“插入一张图片”,点击
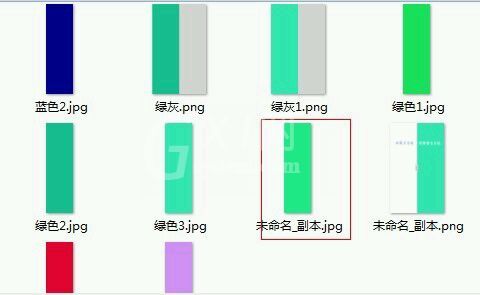
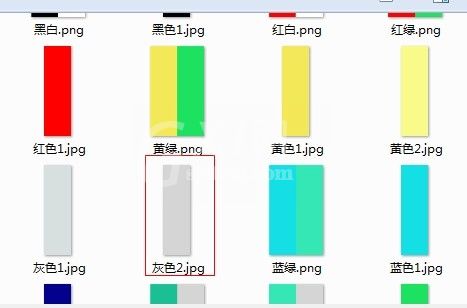
11.选择自己刚才保存的条状
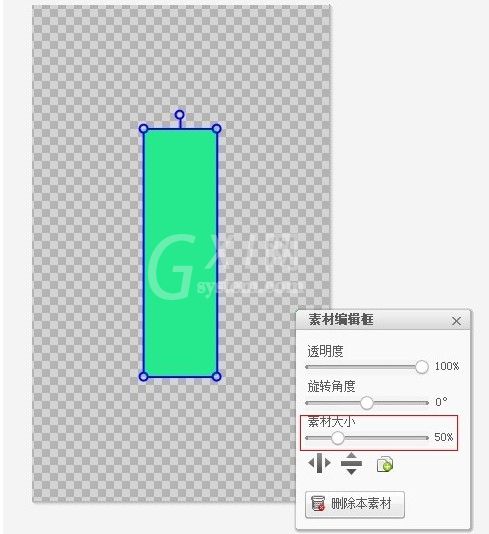
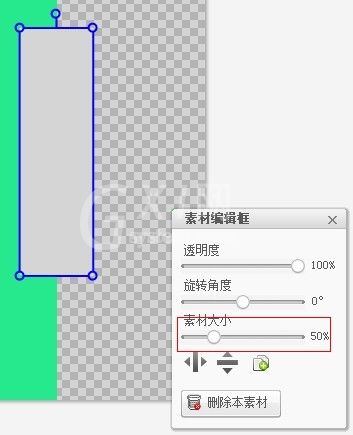
12.之后点击那个条状,会出现素材编辑框,鼠标拖动素材大小下的那个按钮就可以改变素材的大小,也可用方向键的←→来改变数值要到100%
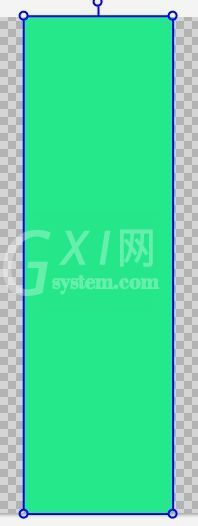
13.改变数值之后就会得到一个和透明背景一样高的条状(这里不要用鼠标去移动条状,只要用方向键的←→来平移就行了)
14.之后再右键选择自己新建的第二个条状
15.并和刚才一样,放大到100%
16.然后平移到右边,再右键选择全部合并

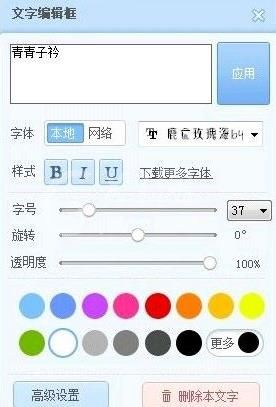
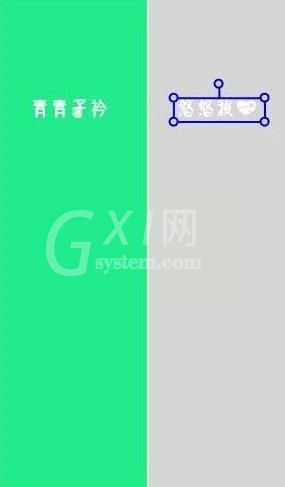
17.选择上方的“文字”,并输入文字,选择自己喜欢的字体和需要的文字

18.将文字拖入指定的位置,若当做QQ背景文字需要比较下面一点,不然会被挡住的哦,像图下这个位置就差不多了
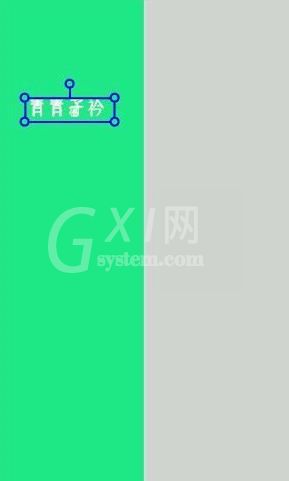
19.另一边的文字也同样是采取同样的方法制作
20.用制作条形状的方法制作隔离区背景图就可以了,宽度和高度都能按照自己的喜爱来定
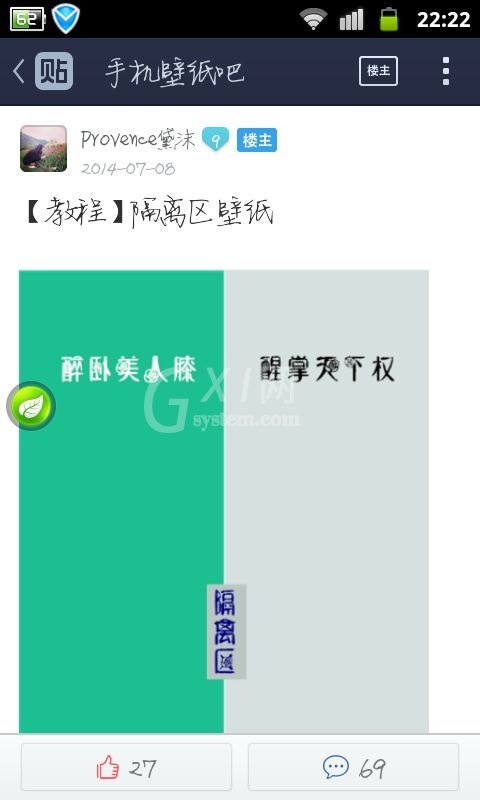
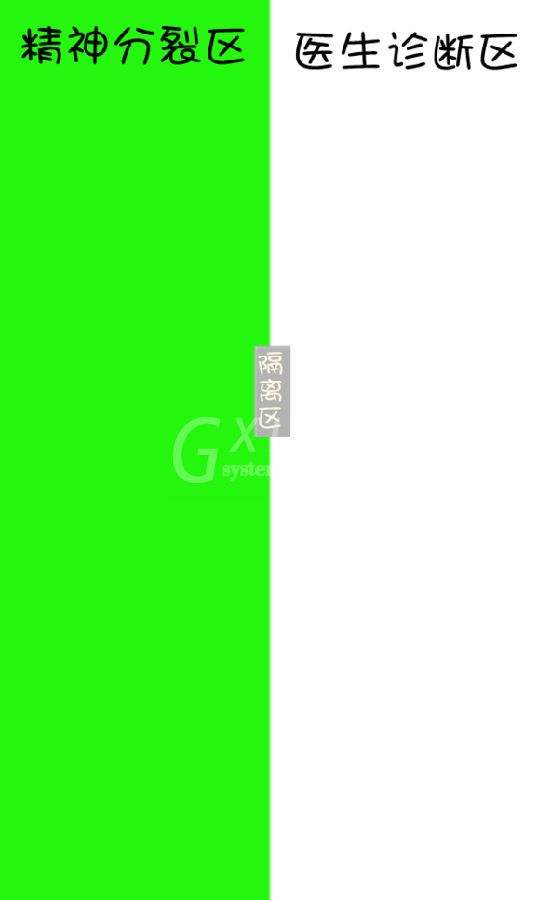
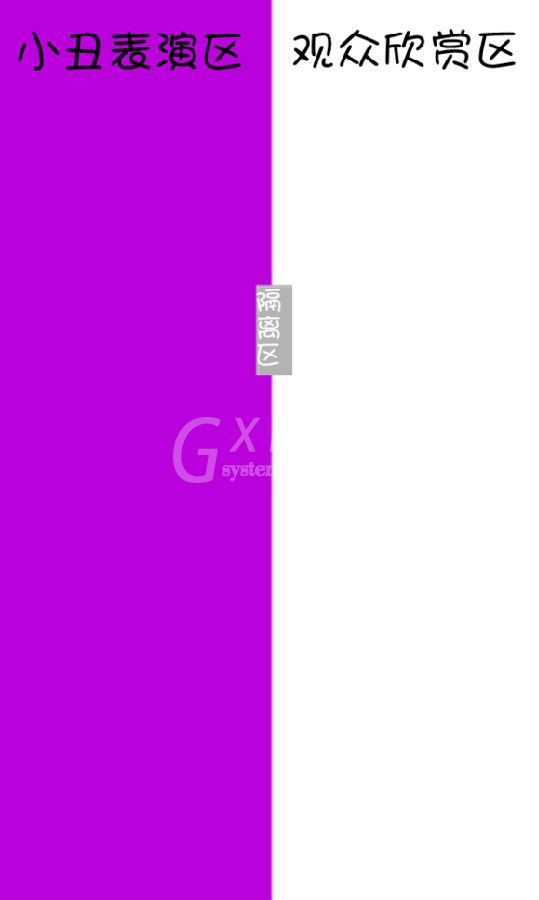
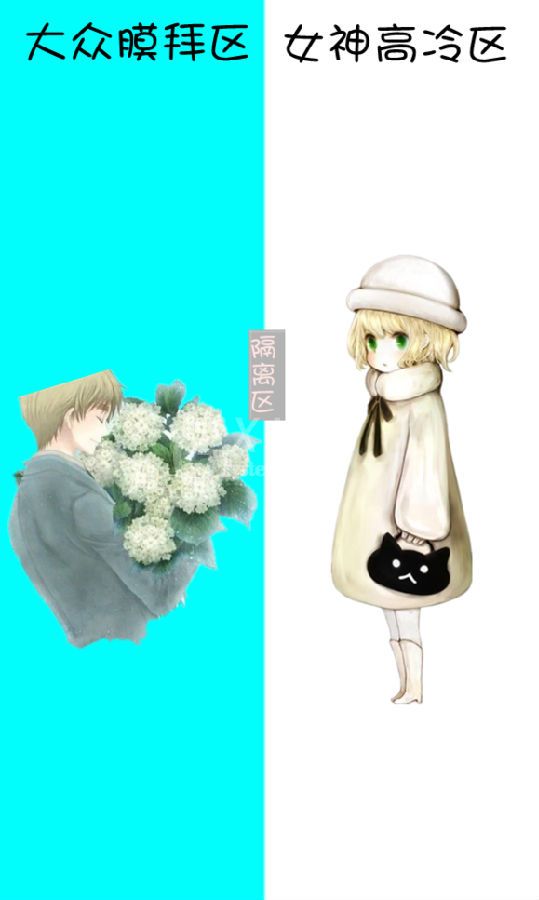
是不是非常简单?以下是小编送给大家的隔离区皮肤,喜欢也可以收藏的哦!
以上这里为各位分享了美图秀秀制作隔离区聊天背景的操作过程。有需要的朋友赶快来看看本篇文章吧。


热门排行
今日推荐


热门手游
-
商场购物模拟器官方版

版本:v1.0.9
大小:46.11MB
日期:2024-12-16
-
滚动方块大冒险免费版

版本:v1.0.5
大小:26.10MB
日期:2024-12-16
-
恋恋奇缘体验服版

版本:v1.0.0
大小:131.33MB
日期:2024-12-16
-
炉石传说官方正版

版本:v1.0
大小:100.52MB
日期:2024-12-16
-
人群大师免费版

版本:v2.15.0
大小:57.68MB
日期:2024-12-16
-
方鸡跳跑单机版

版本:v1
大小:63.49MB
日期:2024-12-16