Python安装模块的操作步骤
时间:2022-10-26 17:53
有很多新手小白会被Python安装模块的问题困惑住,所以小编就带来了Python安装模块的处理教程,感兴趣的朋友就跟小编一起来学习一下吧。
Python安装模块的操作步骤
安装模块前,先得安装setuptools。就能用ez_setup.py安装了setuptools了。
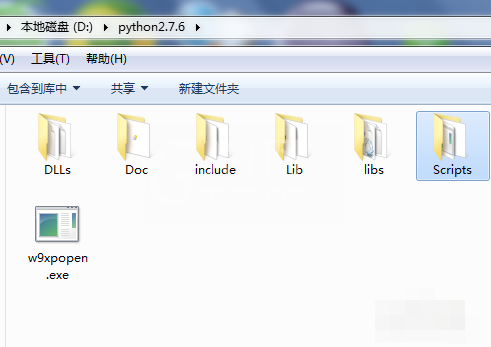
有setuptools,就要开始配置环境。因为需要用到python安装目录下的Scripts文件夹里的文件
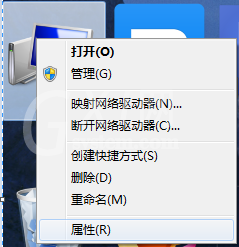
到桌面,点击计算机右键--属性
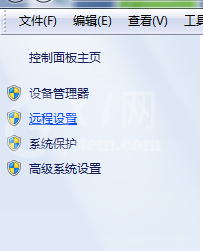
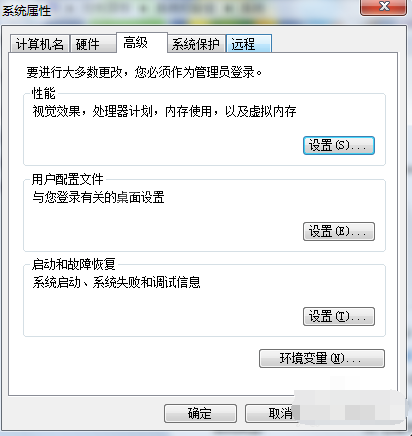
点击“高级系统设置”
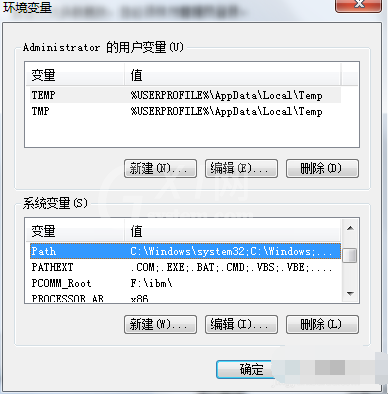
点击“环境变量”
在系统变量一栏下拉,找到PATH,双击
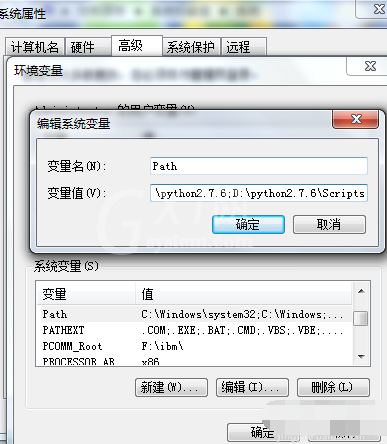
先在最后加一个分号;然后输入 “你的python路径”Scripts。比如小编的python安装路径是D:python2.7.6,那么应该输入D:python2.7.6Scripts
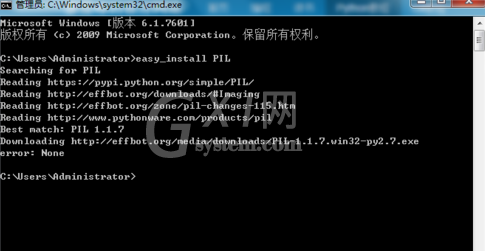
设置完毕之后,就能直接用命令行安装模块了。比如要安装PIL模块,只需要输入easy_install PIL,回车

开始下载
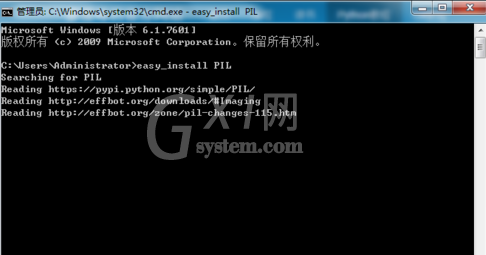
安装成功
以上这里为各位分享了Python安装模块的操作教程。有需要的朋友赶快来看看本篇文章吧。


热门排行
今日推荐


热门手游
-
商场购物模拟器官方版

版本:v1.0.9
大小:46.11MB
日期:2024-12-16
-
滚动方块大冒险免费版

版本:v1.0.5
大小:26.10MB
日期:2024-12-16
-
恋恋奇缘体验服版

版本:v1.0.0
大小:131.33MB
日期:2024-12-16
-
炉石传说官方正版

版本:v1.0
大小:100.52MB
日期:2024-12-16
-
人群大师免费版

版本:v2.15.0
大小:57.68MB
日期:2024-12-16
-
方鸡跳跑单机版

版本:v1
大小:63.49MB
日期:2024-12-16