Photoshop矫正图片的操作方法
时间:2022-10-26 17:54
小伙伴们你们知道在Photoshop如何矫正图片吗?今天小编很乐意与大家分享在Photoshop矫正图片的操作方法,感兴趣的可以来了解了解哦。
Photoshop矫正图片的操作方法

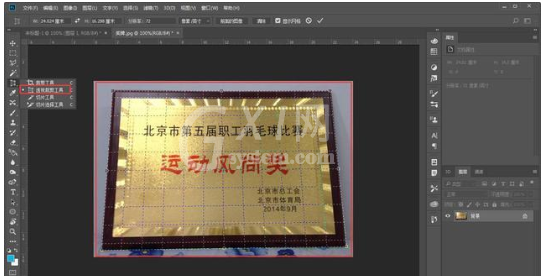
打开Photoshop软件,导入图片素材,选择透视裁剪工具,把奖牌部分圈起来,然后按Enter确定裁剪,
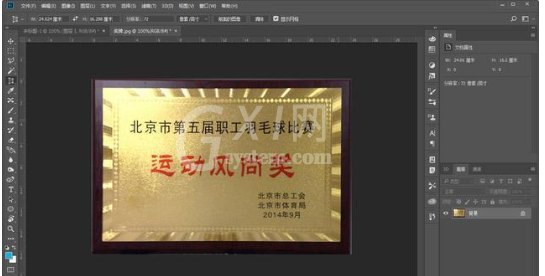
裁剪完成,效果如图。
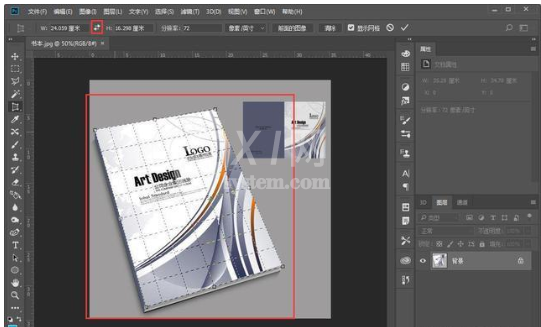
使用“透视裁剪工具”还能将拍摄的书本变成平面图,先将图片导入ps软件,点击透视裁剪工具,
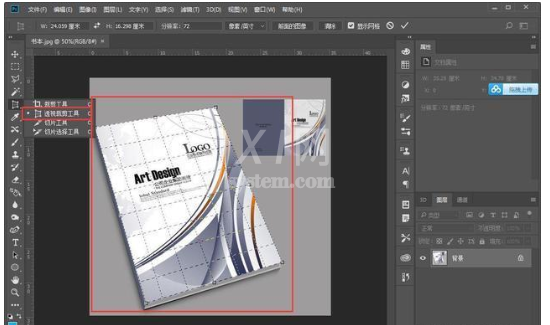
此时的效果图是这样,书本的平面图变胖了,
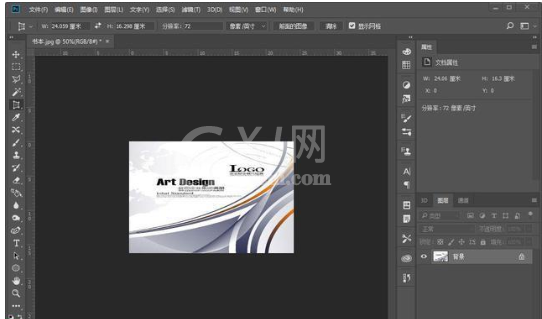
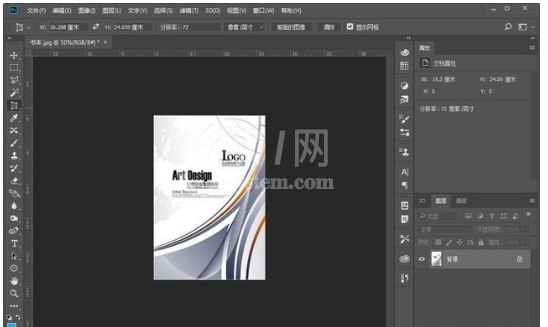
不过别急,先按快捷键【Ctrl+Z】回到上一步,再选择透视裁剪工具,不过这次需要点击一个箭头往返的按钮(W值和H值中间),
将高度和宽度互换,然后按Enter确定,书本平面图就矫正过来了。
上文就讲解了Photoshop矫正图片的操作流程,希望有需要的朋友都来学习哦。


热门排行
今日推荐


热门手游
-
商场购物模拟器官方版

版本:v1.0.9
大小:46.11MB
日期:2024-12-16
-
滚动方块大冒险免费版

版本:v1.0.5
大小:26.10MB
日期:2024-12-16
-
恋恋奇缘体验服版

版本:v1.0.0
大小:131.33MB
日期:2024-12-16
-
炉石传说官方正版

版本:v1.0
大小:100.52MB
日期:2024-12-16
-
人群大师免费版

版本:v2.15.0
大小:57.68MB
日期:2024-12-16
-
方鸡跳跑单机版

版本:v1
大小:63.49MB
日期:2024-12-16