Flash绘制绿色小草的详细方法
时间:2022-10-26 17:55
估计有的用户还不了解Flash如何绘制绿色小草的操作,下文小编就分享Flash绘制绿色小草的操作教程,希望对你们有所帮助哦。
Flash绘制绿色小草的详细方法

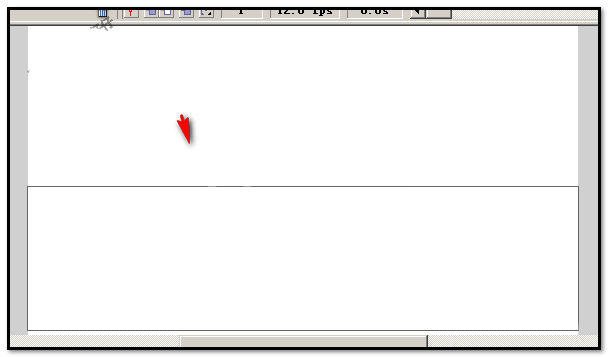
1、启动flash软件,并新建文档。用矩形工具在舞台上画出一个无填充颜色,灰色边框的大方框,如图所示。
2、新建一个图层为图层2;在图层2,用线条工具画出一个灰边的三角形;填充颜色为绿色。
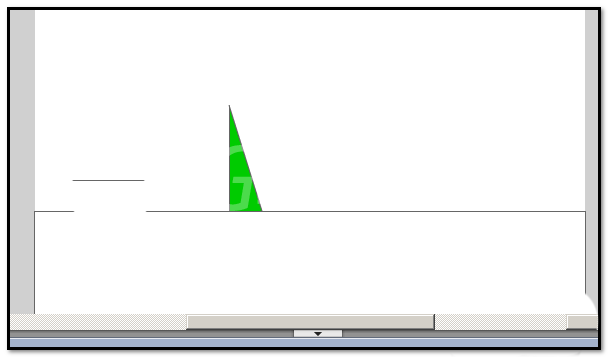
3、用鼠标在三角形左右两边调节弯度,效果如图所示。

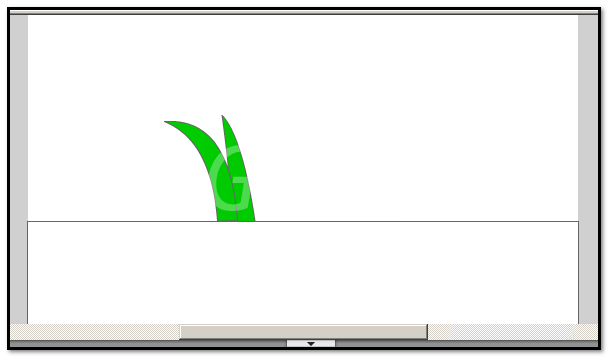
4、鼠标在图层2点下,选择三角形连线与里面内容。按CTRL+C键,复制。复制后,再新建一个图层为图层3,在图层3上按CTRL+V键,粘贴出所复制的。再用鼠标,调节,并移动到合适的位置。效果如图所示。

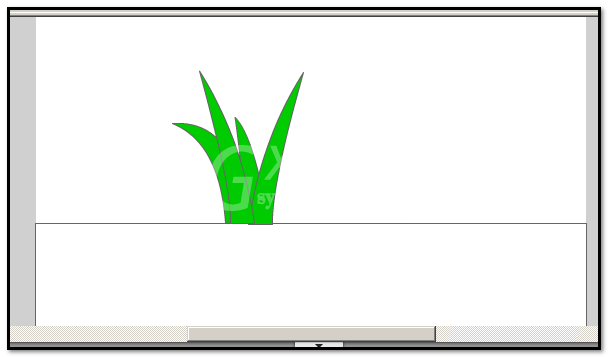
5、新建图层为图层4,再按CTRL+V键, 再粘贴出一个三角形,同样,三角形左右两边调节弯度,并移动到合适的位置。效果如图所示。
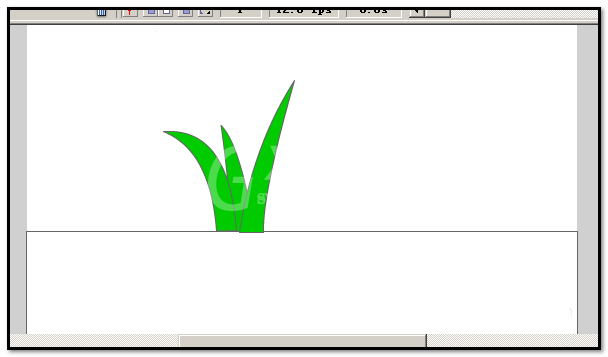
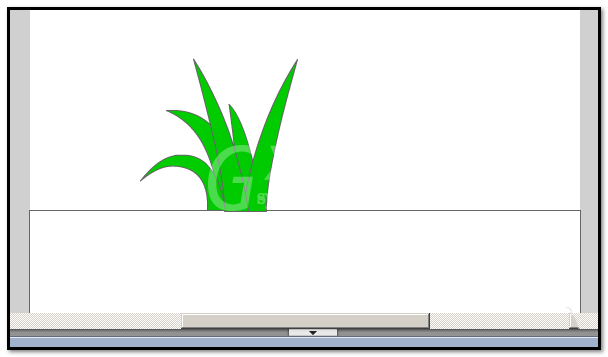
6、新建图层为图层5,再按CTRL+V键, 再粘贴出一个三角形,同样,三角形左右两边调节弯度,并移动到合适的位置。效果如图所示。
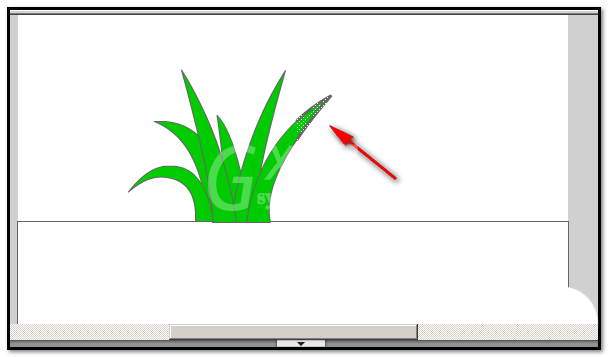
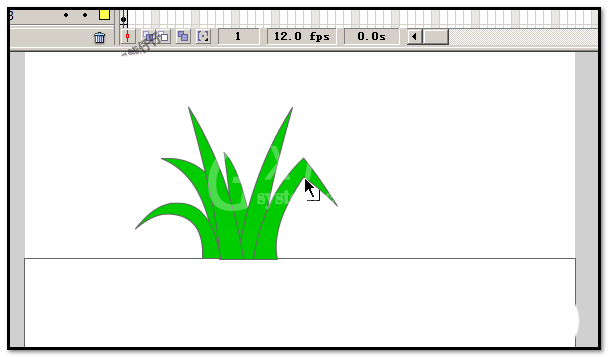
7、新建图层为图层6,再按CTRL+V键, 再粘贴出一个三角形,同样,三角形左右两边调节弯度,并移动到合适的位置,然后用选择工具点住尖部位置,往下拉,把尾部拉弯。效果如图所示。
8、新建图层为图层6,再按CTRL+V键, 再粘贴出一个三角形,同样,三角形左右两边调节弯度,并移动到合适的位置。然后用选择工具在顶端画一个矩形,选中了这个位置。如图所示。
9、然后,选择任意变形工具,将选择的地方中心点移到左边。
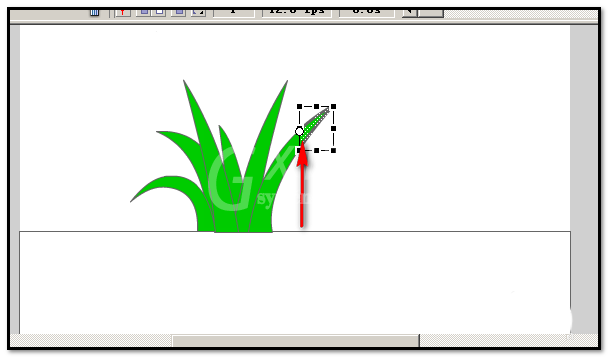
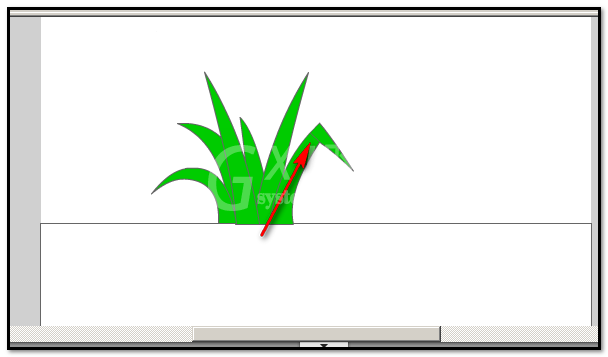
10、鼠标放在右边的边线上,鼠标变成上下的箭头状,点住往下拉。到达合适的位置,放开鼠标,取消任意变形。效果如图所示。
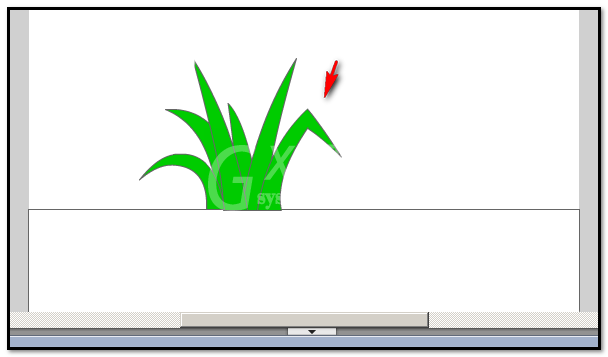
11、鼠标放在如下图所示的位置,点住往上提,把边线顺着线条的方向拉长到达如第二张图所示的位置。做成叶子折弯的效果。
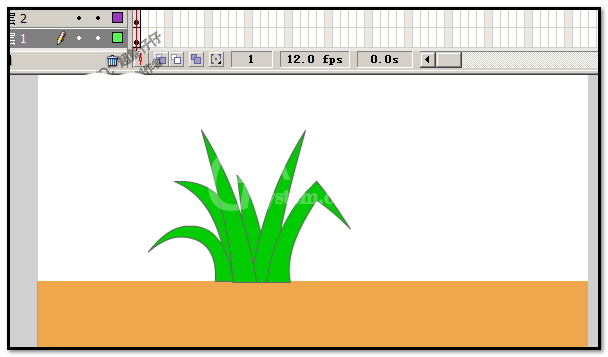
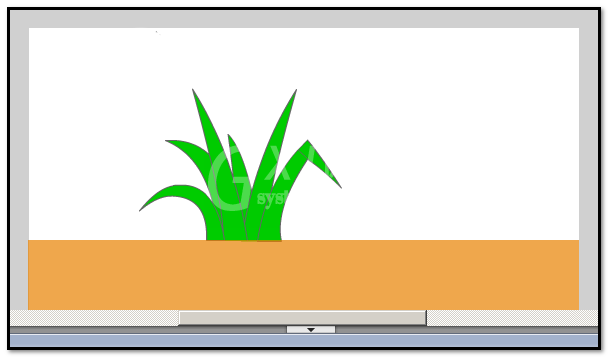
12、鼠标点下图层1,把大方框填充为黄色,无边线颜色。将图层1放在最上面,顶层。最终效果如图。
以上这里为各位分享了Flash绘制绿色小草的详细步骤。有需要的朋友赶快来看看本篇文章吧。


热门排行
今日推荐


热门手游
-
商场购物模拟器官方版

版本:v1.0.9
大小:46.11MB
日期:2024-12-16
-
滚动方块大冒险免费版

版本:v1.0.5
大小:26.10MB
日期:2024-12-16
-
恋恋奇缘体验服版

版本:v1.0.0
大小:131.33MB
日期:2024-12-16
-
炉石传说官方正版

版本:v1.0
大小:100.52MB
日期:2024-12-16
-
人群大师免费版

版本:v2.15.0
大小:57.68MB
日期:2024-12-16
-
方鸡跳跑单机版

版本:v1
大小:63.49MB
日期:2024-12-16