Photoshop绘制白云的简单步骤
时间:2022-10-26 18:01
说起Photoshop相信大家应该都不陌生,那么你们晓得如何绘制白云吗?以下就带来了Photoshop绘制白云的简单步骤。
Photoshop绘制白云的简单步骤

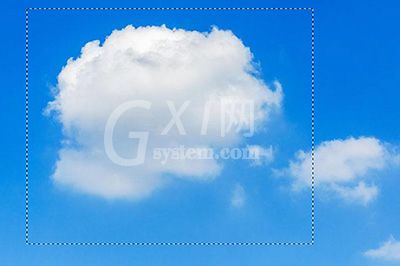
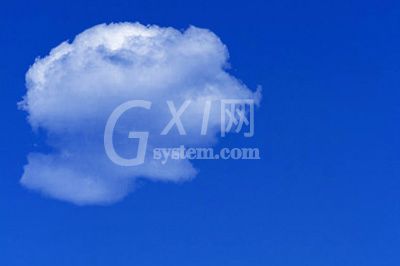
首先找到白云的素材,导入到Photoshop中,然后用选框选中云朵。
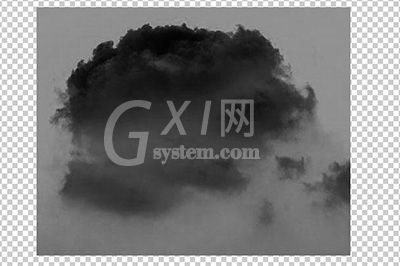
反选删除不要的部分,CTRL+SHIFT+U进行去色操作,CTRI+I进行反向操作。
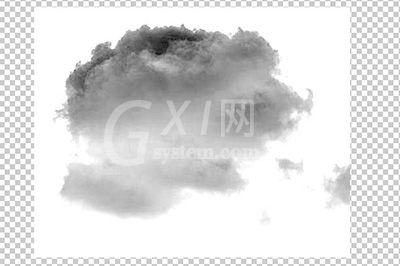
调出【色阶】面板,调整进度条,去掉灰色图层,让背景变白。
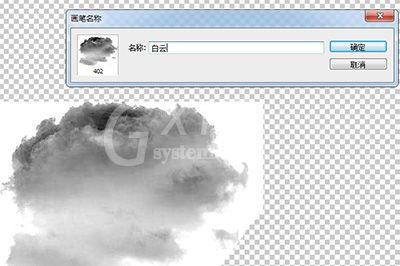
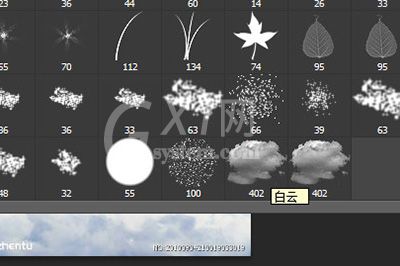
用橡皮擦工具,将多余白云部分擦掉。之后点击上方【编辑】-【定义画笔预设】,并取名白云。
最后照一张蓝天的图片,选择画笔工具,然后画笔样式选择刚才的白云画笔,颜色选择为白色。
选择好后就可以在图片上自由的进行添加白云了哦!
以上这里为各位分享了Photoshop绘制白云的操作过程。有需要的朋友赶快来看看本篇文章吧。


热门排行
今日推荐


热门手游
-
商场购物模拟器官方版

版本:v1.0.9
大小:46.11MB
日期:2024-12-16
-
滚动方块大冒险免费版

版本:v1.0.5
大小:26.10MB
日期:2024-12-16
-
恋恋奇缘体验服版

版本:v1.0.0
大小:131.33MB
日期:2024-12-16
-
炉石传说官方正版

版本:v1.0
大小:100.52MB
日期:2024-12-16
-
人群大师免费版

版本:v2.15.0
大小:57.68MB
日期:2024-12-16
-
方鸡跳跑单机版

版本:v1
大小:63.49MB
日期:2024-12-16