Photoshop设计乐高效果的操作方法
时间:2022-10-26 18:18
有那么一部份多朋友还不熟悉Photoshop如何设计乐高效果的操作,下面小编就讲解Photoshop设计乐高效果的操作方法,希望对你们有所帮助哦。
Photoshop设计乐高效果的操作方法

1、将图片弄到Photoshop中后直接CTRL+J新建一个图层
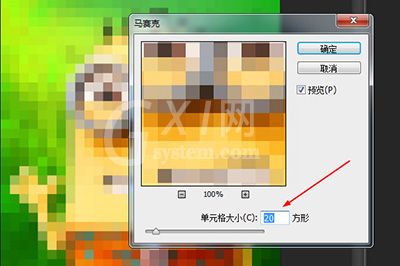
2、使用【滤镜】-【像素化】-【马赛克】,然后调整单元格大小的方形数量,并记住这个数字,推荐20到30方形,具体数字取决于你图像的精细程度。
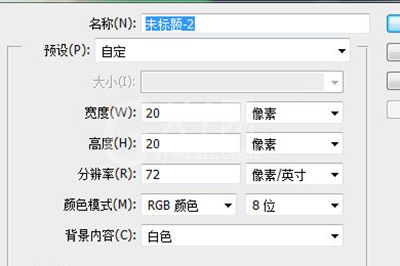
3、然后【文件】-【新建】一个ps图像,单位像素,宽度和高度都设置为刚才设定的马赛克方形数量。
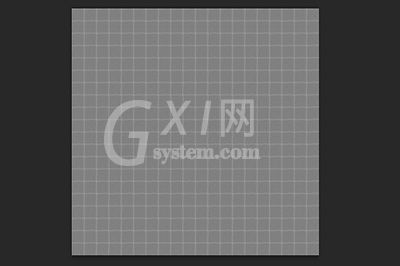
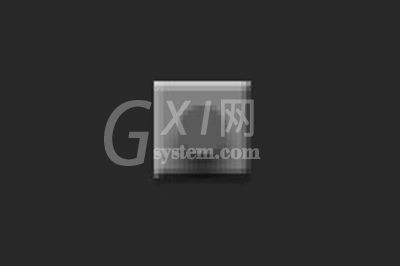
4、这个新的空白图片就是做乐高贴图的,首先将前景色设置成灰色(#808080)。并ALT+DLE快速填充。
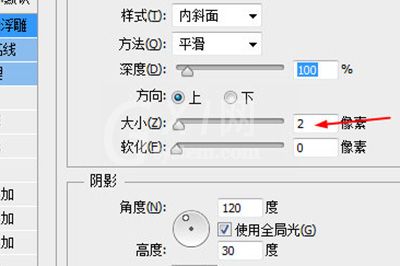
5、在图层上使用图层样式【斜面与浮雕】,将大小改为2像素。
6、用【椭圆工具】在正中央画一个正圆,填充颜色比背景色要深一点。并使用图层样式【投影】,不使用全局光,角度设置为90。一个乐高的样式就做好啦。
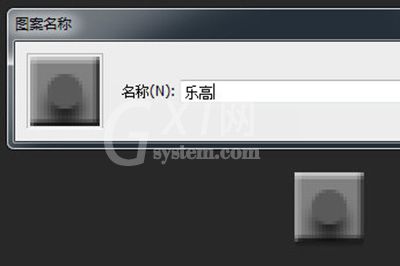
7、接着【图像】-【定义图案】,取名为乐高。
8、回到原图片文件。新建一个图层,ALT+DLE快速填充成灰色(#808080),并使用图层样式【图案叠加】,图案就选择刚才保存的乐高图案。
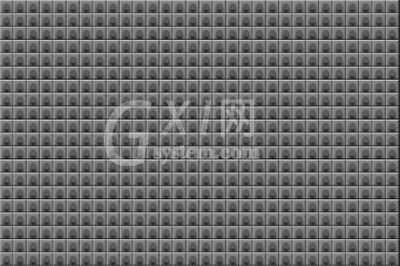
9、把图片图层移到最上方,并将图层的混合模式改为【叠加】一个乐高拼图就做好了。


上文就讲解了Photoshop设计乐高效果的操作步骤,希望有需要的朋友都来学习哦。


热门排行
今日推荐


热门手游
-
商场购物模拟器官方版

版本:v1.0.9
大小:46.11MB
日期:2024-12-16
-
滚动方块大冒险免费版

版本:v1.0.5
大小:26.10MB
日期:2024-12-16
-
恋恋奇缘体验服版

版本:v1.0.0
大小:131.33MB
日期:2024-12-16
-
炉石传说官方正版

版本:v1.0
大小:100.52MB
日期:2024-12-16
-
人群大师免费版

版本:v2.15.0
大小:57.68MB
日期:2024-12-16
-
方鸡跳跑单机版

版本:v1
大小:63.49MB
日期:2024-12-16