格式工厂去掉视频声音的操作流程
时间:2022-10-26 19:15
现在使用格式工厂的朋友越来越多,而接下里的这篇文章小编就带来了格式工厂去掉视频声音的操作流程,感兴趣的朋友就跟小编一起来学习一下吧。
格式工厂去掉视频声音的操作流程

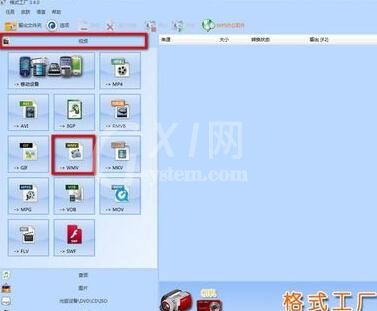
打开格式工厂,单击[转换为WMV]按钮
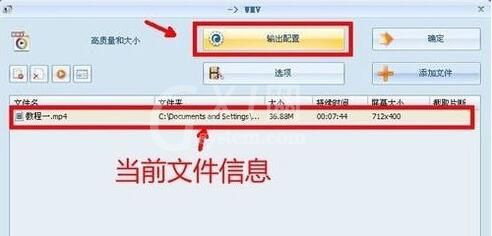
弹出配置面板,单击[添加文件]按钮

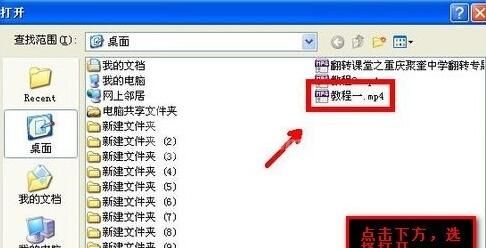
在打开对话框里单击选择要进行转换的文件,这里选择“教程一.mp4”这个MP4格式的文件,然后单击[打开]按钮
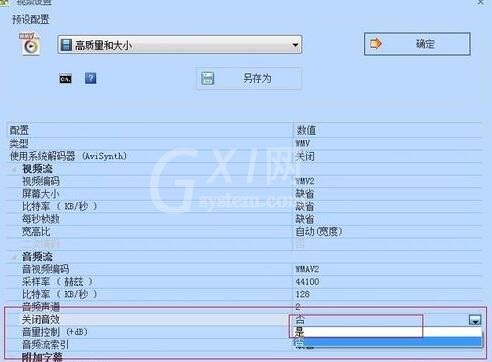
单击[输出配置]按钮,以进行配置
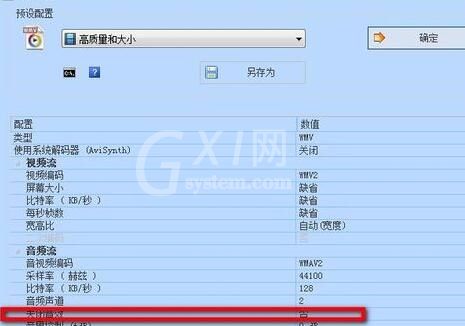
可以看到在“配置”“音频流”下的“关闭音效”左边的值是“否”,点击右边的值,在下拉列表里选择“是”,单击[确定]按钮
单击[确定]按钮,完成参数设置
单击[点击开始]按钮,进行转换
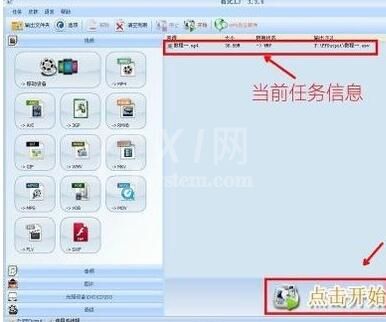
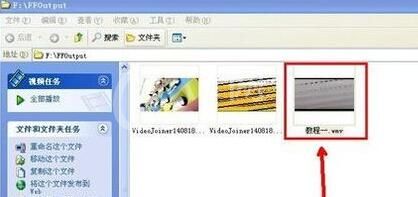
任务完成,在上面单击右键,单击选择[打开输出文件夹]

完成的视频文件,现在播放你听就是只有画面没有声音的了,这样做可以做到音画分离。
以上这里为各位分享了格式工厂去掉视频声音的操作流程。有需要的朋友赶快来看看本篇文章吧。


热门排行
今日推荐


热门手游
-
商场购物模拟器官方版

版本:v1.0.9
大小:46.11MB
日期:2024-12-16
-
滚动方块大冒险免费版

版本:v1.0.5
大小:26.10MB
日期:2024-12-16
-
恋恋奇缘体验服版

版本:v1.0.0
大小:131.33MB
日期:2024-12-16
-
炉石传说官方正版

版本:v1.0
大小:100.52MB
日期:2024-12-16
-
人群大师免费版

版本:v2.15.0
大小:57.68MB
日期:2024-12-16
-
方鸡跳跑单机版

版本:v1
大小:63.49MB
日期:2024-12-16