Photoshop怎么制作下雪特效?Photoshop制作下雪特效教程
时间:2022-10-26 21:36
我们可以利用Photoshop软件快速实现各种特殊效果。下面小编就教大家Photoshop怎么给图片添加下雪的特效,大家感兴趣的话就一起来了解下吧!
Photoshop怎么制作下雪特效?Photoshop制作下雪特效教程

1、打开一张雪乡的素材图片。

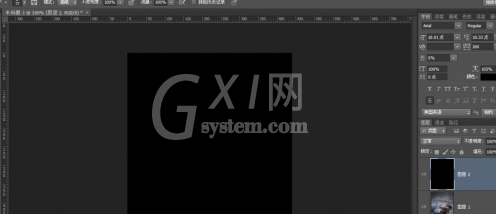
2、新建图层,填充黑色。
3、选择滤镜,其他,添加杂色。
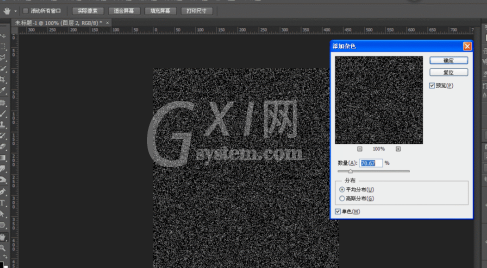
4、选择滤镜,其他,添加杂色。
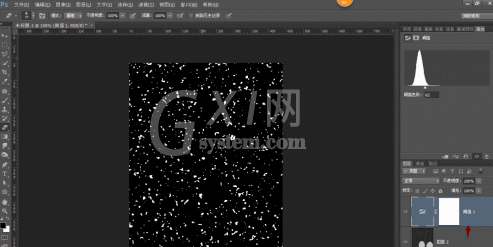
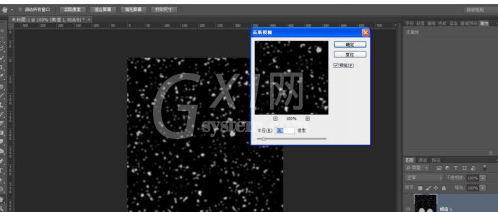
5、选择阈值,调下对应参数。
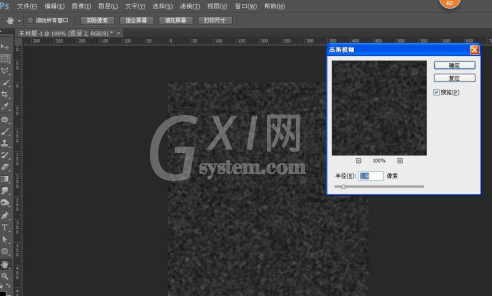
6、上下两个图层选中,ctrl+e合并图层,然后继续滤镜,模糊,高斯模糊。
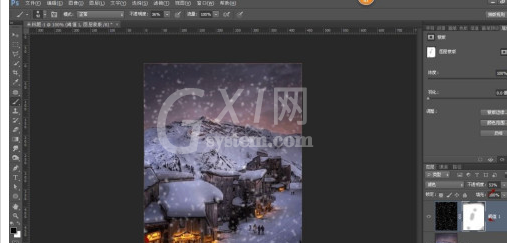
7、混合模式选择滤色,然后把不透明度降低,利用蒙版把不必要的擦除一些。
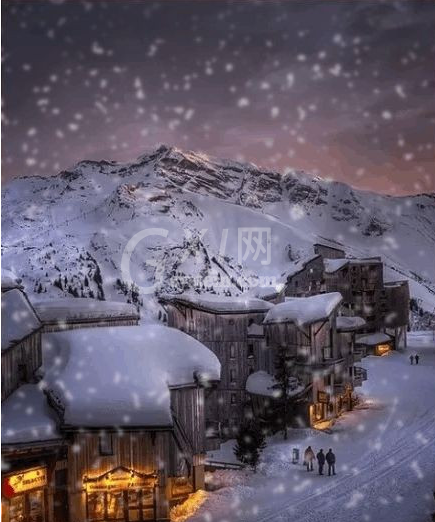
8、下雪的效果图便出来了,来看看呗!
上文就讲解了Photoshop制作下雪特效教程,希望有需要的朋友都来学习哦。


热门排行
今日推荐


热门手游
-
商场购物模拟器官方版

版本:v1.0.9
大小:46.11MB
日期:2024-12-16
-
滚动方块大冒险免费版

版本:v1.0.5
大小:26.10MB
日期:2024-12-16
-
恋恋奇缘体验服版

版本:v1.0.0
大小:131.33MB
日期:2024-12-16
-
炉石传说官方正版

版本:v1.0
大小:100.52MB
日期:2024-12-16
-
人群大师免费版

版本:v2.15.0
大小:57.68MB
日期:2024-12-16
-
方鸡跳跑单机版

版本:v1
大小:63.49MB
日期:2024-12-16