AI如何制作3D镂空效果?AI制作3D镂空效果的教程
时间:2022-10-26 21:38
不少小伙伴对3D效果的应用感兴趣,想学习用AI制作3D镂空效果,下面小编就为大家带来具体操作方法,想知道的话就来看看吧。
AI如何制作3D镂空效果?AI制作3D镂空效果的教程
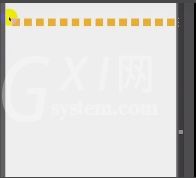
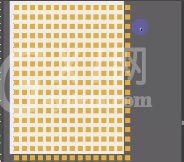
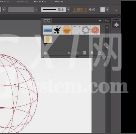
第一步:用AI独特的特性画矩形
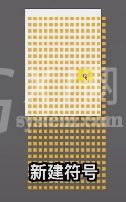
第二步:新建符号
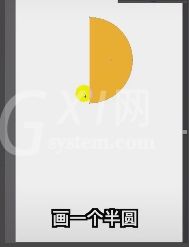
第三步:画一个半圆
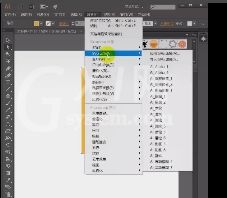
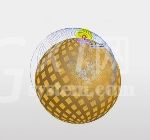
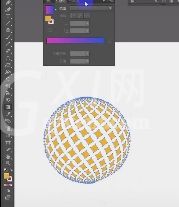
第四步:3D绕转
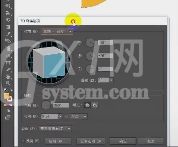
第五步:换上贴图,改一下自己喜欢的颜色

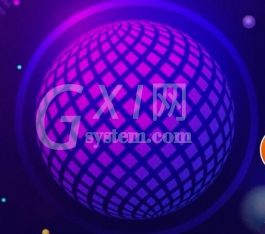
第六步:在背景加一些渐变,使其更加炫酷
以上就是关于AI制作3D镂空效果的教程,希望对大家有所帮助。


热门排行
今日推荐


热门手游
-
商场购物模拟器官方版

版本:v1.0.9
大小:46.11MB
日期:2024-12-16
-
滚动方块大冒险免费版

版本:v1.0.5
大小:26.10MB
日期:2024-12-16
-
恋恋奇缘体验服版

版本:v1.0.0
大小:131.33MB
日期:2024-12-16
-
炉石传说官方正版

版本:v1.0
大小:100.52MB
日期:2024-12-16
-
人群大师免费版

版本:v2.15.0
大小:57.68MB
日期:2024-12-16
-
方鸡跳跑单机版

版本:v1
大小:63.49MB
日期:2024-12-16