Photoshop如何完成蒲公英抠图?Photoshop蒲公英抠图教程
时间:2022-10-26 21:40
Photoshop是一款强大的图片制作处理软件,用Photoshop抠图有许多方法,那么Photoshop如何完成蒲公英抠图呢?下面小编给大家整理了相关步骤介绍,感兴趣的小伙伴不要错过哦!
Photoshop如何完成蒲公英抠图?Photoshop蒲公英抠图教程

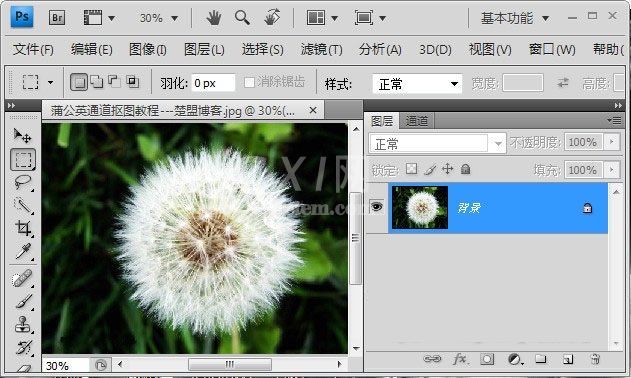
01.首先我们找到一张蒲公英的素材用photshop打开
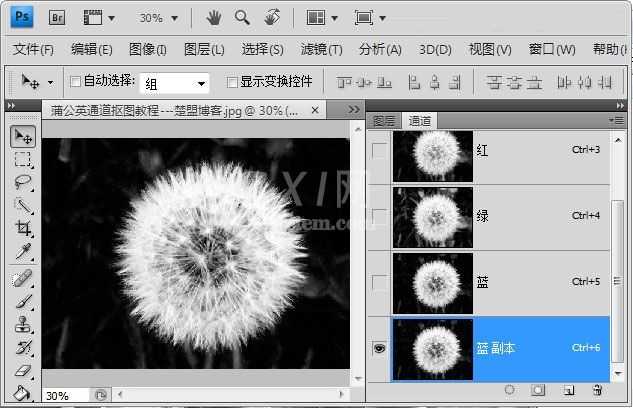
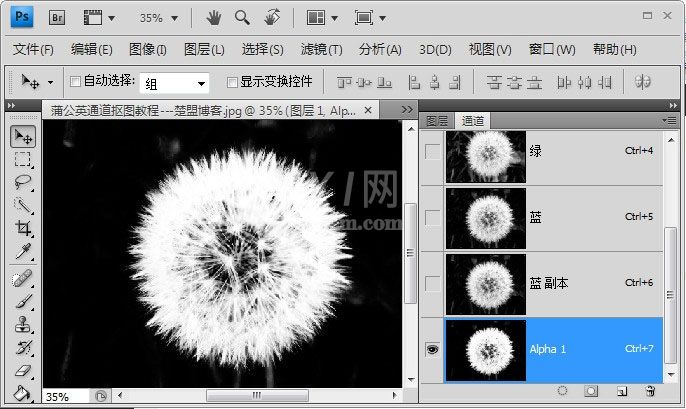
02.然后我们在通道中观察看看哪种颜色的对比度反差最大,不难发现蓝色的差异最大,所以我们选择蓝色通道;由于不可以直接在蓝色通道中编辑,所以我们需要复制一个蓝色通道;
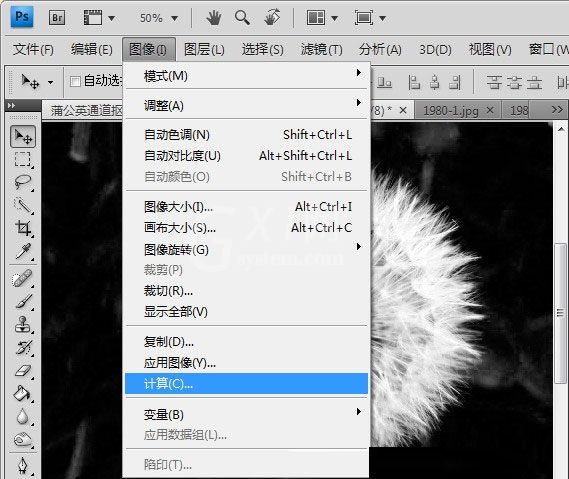
03.在标题栏【图像】中找到【计算】
04.打开计算模板后,在【混合】中选择【叠加】模式
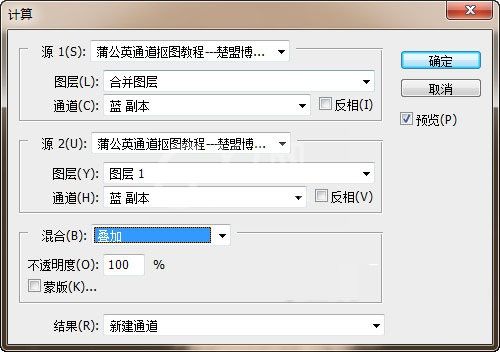
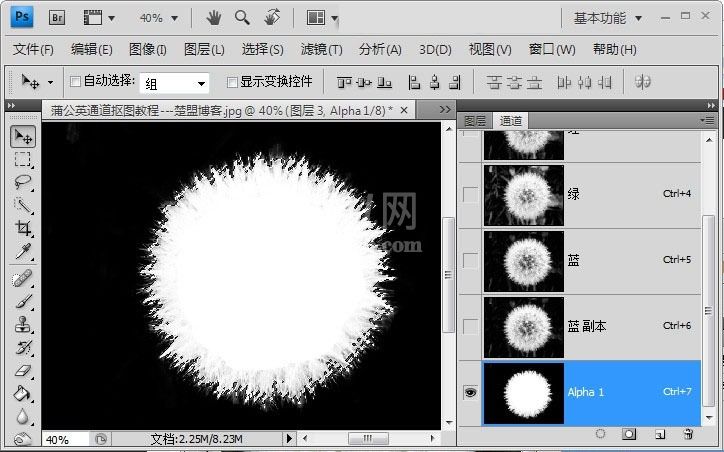
05.上一步骤确定后,通道中会多出一个Alpha 1通道
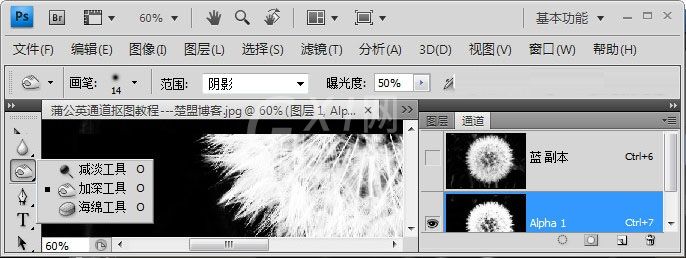
06.选择【加深工具】属性设置【阴影】,目的是用来在Alpha1通道中把背景完全涂抹成黑色;注意涂抹的时候不要伤到蒲公英周围的毛毛
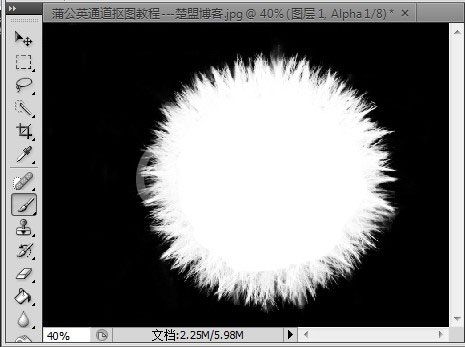
07.涂抹完之后然后用画笔工具把蒲公英内部全部涂白,下图就是处理之后的样子
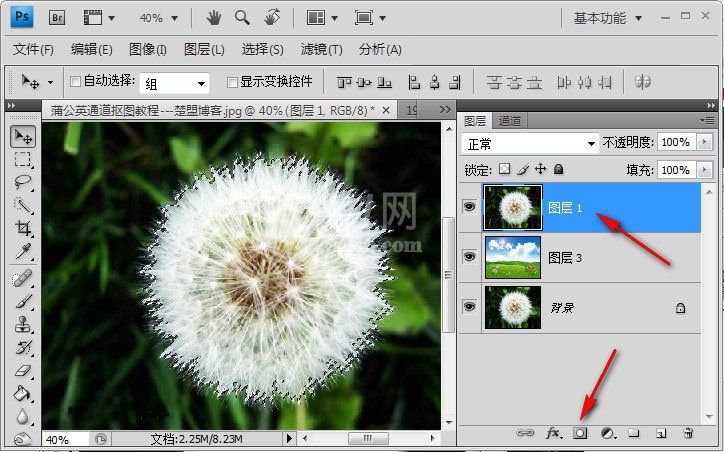
08.然后我们回到图层中,在图层1和背景之间插入一个图层3作为背景图
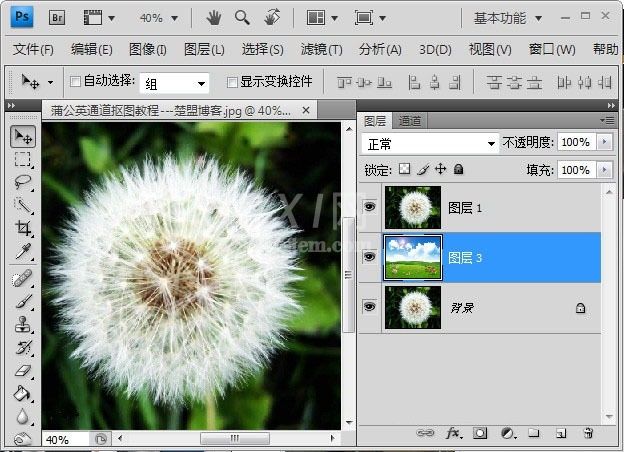
09.回到【图层1】通道模式中,按住键盘Ctrl点击Alpha 1,此时蒲公英会出现一个虚线框
10.此时回到图层中,点击【图层1】创建蒙版
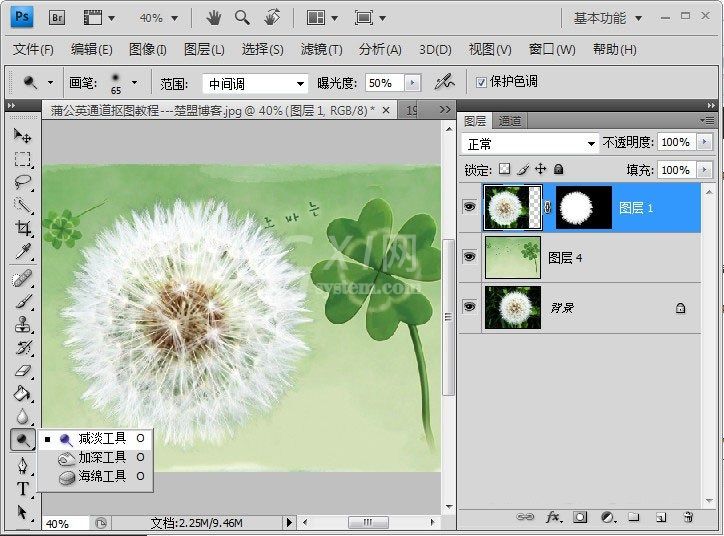
11.创建蒙版后,蒲公英的原有背景就去除了;注释:背景图片我换了一个,先前那个背景不理想;所以这里背景不同变了;

12.蒲公英的边绿色太重,与周围环境融合不自然;我们利用颜色【减淡工具】不断涂抹蒲公英周围就可以去掉不自然的绿色使其更自然;
以上这篇文章就是Photoshop蒲公英抠图教程,有需要的小伙伴快来学习一下吧!


热门排行
今日推荐


热门手游
-
商场购物模拟器官方版

版本:v1.0.9
大小:46.11MB
日期:2024-12-16
-
滚动方块大冒险免费版

版本:v1.0.5
大小:26.10MB
日期:2024-12-16
-
恋恋奇缘体验服版

版本:v1.0.0
大小:131.33MB
日期:2024-12-16
-
炉石传说官方正版

版本:v1.0
大小:100.52MB
日期:2024-12-16
-
人群大师免费版

版本:v2.15.0
大小:57.68MB
日期:2024-12-16
-
方鸡跳跑单机版

版本:v1
大小:63.49MB
日期:2024-12-16