photoshop8.0怎么抠图?photoshop8.0抠图教程
时间:2022-10-26 22:02
小伙伴们知道photoshop8.0怎么抠图吗?今天小编就来讲解photoshop8.0的抠图教程,感兴趣的快跟小编一起来看看吧,希望能够帮助到大家。
photoshop8.0怎么抠图?photoshop8.0抠图教程
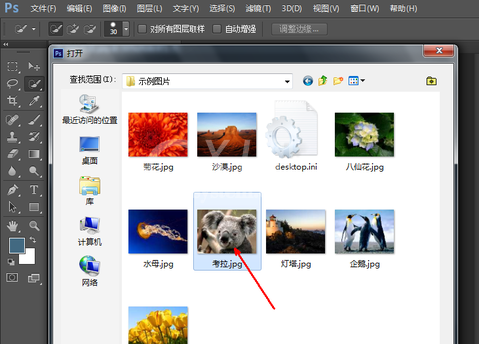
1、首先打开photoshop8.0,选中并打开需要抠图的图片。
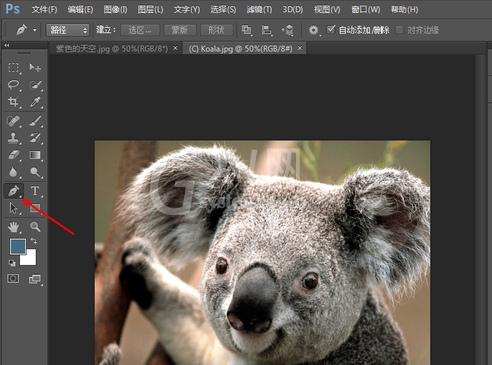
2、在左侧工具栏中单击选择钢笔工具。
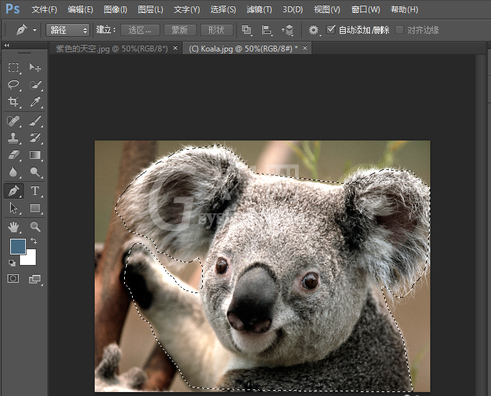
3、使用钢笔工具沿着需要抠出的图像边缘进行描边,描完按键盘ctrl加回车键选定。
4、使用鼠标右键单击图片,然后在下拉菜单中选择“调整边缘”选项。
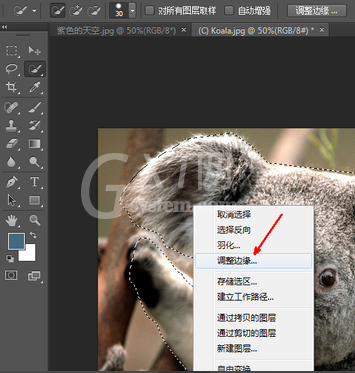
5、在调整边缘窗口中,可以自行设置边缘平滑度、羽化值、对比度等多个数值,并能够实时查看调整的结果,当调整的结果符合要求时,单击下方的“确定”即可。
以上就是给大家分享的photoshop8.0怎么抠图的全部内容,更多精彩教程尽在Gxl网!


热门排行
今日推荐


热门手游
-
商场购物模拟器官方版

版本:v1.0.9
大小:46.11MB
日期:2024-12-16
-
滚动方块大冒险免费版

版本:v1.0.5
大小:26.10MB
日期:2024-12-16
-
恋恋奇缘体验服版

版本:v1.0.0
大小:131.33MB
日期:2024-12-16
-
炉石传说官方正版

版本:v1.0
大小:100.52MB
日期:2024-12-16
-
人群大师免费版

版本:v2.15.0
大小:57.68MB
日期:2024-12-16
-
方鸡跳跑单机版

版本:v1
大小:63.49MB
日期:2024-12-16