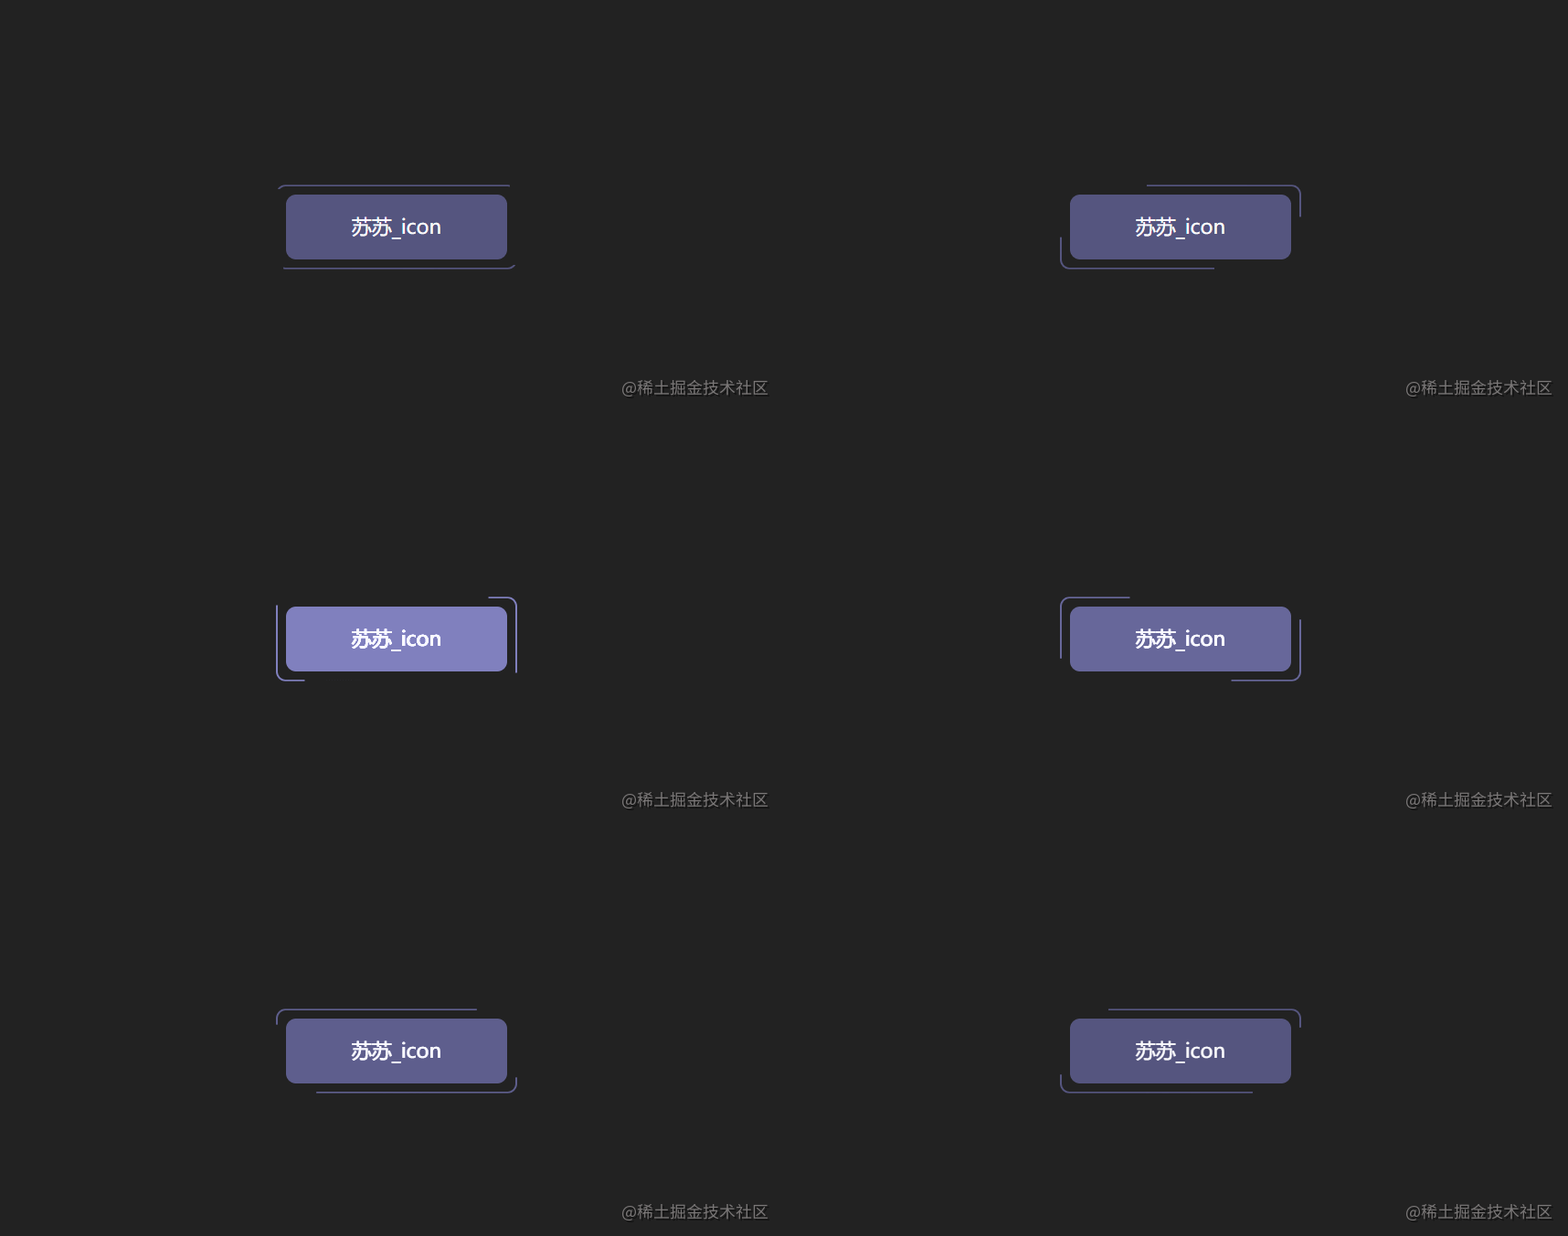
图文详解Clip-path实现按钮流动边框动画
时间:2023-04-11 16:30
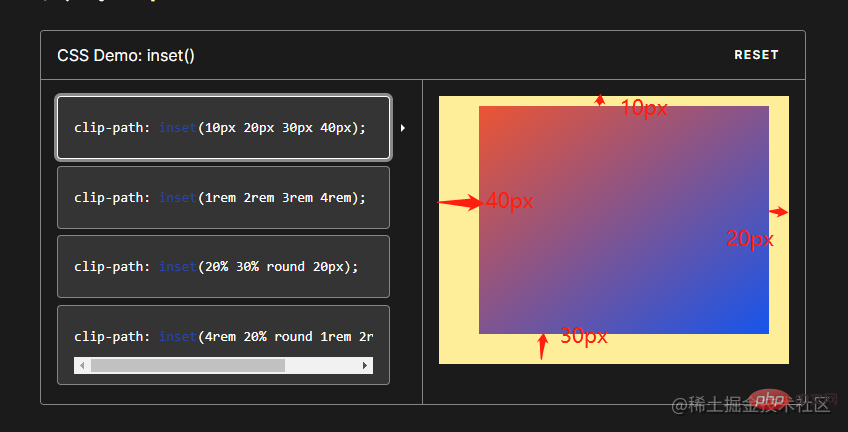
本篇文章给大家带来了关于前端按钮的相关知识,其中主要跟大家聊一聊如何用Clip-path实现按钮流动边框动画,感兴趣的朋友下面一起来看一下吧,希望对大家有帮助。 inset属性:用来设置left/right/bottom/top clip-path:clip-path CSS 属性使用裁剪方式创建元素的可显示区域。区域内的部分显示,区域外的隐藏。inset()定义一个 inset 矩形。 当提供所有四个参数时: 它们表示从参考框向内的顶部、右侧、底部和左侧偏移量,这些偏移量定义了插入矩形边缘的位置。这些参数遵循 margin速记的语法,让您可以为所有四个插图设置一个、两个或四个值。 可选border-radiu参数: 使用 border-radius 速记语法为插入矩形定义圆角 animation-delay: CSS属性指定从将动画应用到元素到开始执行动画之前等待的时间量。动画可以稍后开始,从开头立即开始,或者立即在动画的中途开始。 正值表示动画应该在经过指定的时间量后开始。默认值0s表示动画应在应用后立即开始。 负值会导致动画立即开始,但会在其循环的中途开始。例如,如果您指定-1s动画延迟时间,则动画将立即开始,但会在动画序列开始 1 秒后开始。如果您为动画延迟指定负值,但起始值是隐式的,则起始值是从动画应用于元素的那一刻起获取的。 <iframe class="code-editor-frame" data-code="code-editor-element" data-code-id="7198812986562052152" src="/uploadfile/2023/0411/2023041116302842044.jpg" style="display:none;" loading="lazy"></iframe> 以上就是图文详解Clip-path实现按钮流动边框动画的详细内容,更多请关注Gxl网其它相关文章!1.实现效果

2.实现步骤
<div>苏苏_icon</div>

div { position: relative; width: 220px; height: 64px; line-height: 64px; text-align: center; color: #fff; font-size: 20px; background: #55557f; cursor: pointer; border-radius: 10px;}
div::after,div::before { content: ""; position: absolute; width: 240px; height: 84px; border: 2px solid #55557f; border-radius: 10px; }div::before{ border: 2px solid orange;}
div::after,div::before{ + left: calc(110px - 120px); + top: calc(32px - 42px);}div::after,div::before{ - left: calc(110px - 120px); - top: calc(32px - 42px); - inset: -10px;}clip-path: inset(20px 50px 10px 0 round 50px);


div::after,div::before{ + clip-path: inset(0 0 98% 0);}
div::after,div::before{ + clip-path: inset(0 98% 0 0);}
div::after,div::before{ + clip-path: inset( 98% 0 0 0);}
div::after,div::before{ + clip-path: inset(0 0 0 98% ) ;}
div::after,div::before{ + animation: pathRotate 3s infinite linear;}@keyframes pathRotate { 0%, 100% { clip-path: inset(0 0 98% 0); } 25% { clip-path: inset(0 98% 0 0); } 50% { clip-path: inset(98% 0 0 0); } 75% { clip-path: inset(0 0 0 98%); }}
div::after { animation-delay: -1.5s;}
-div::before { - border: 2px solid orange;-}
div:hover { filter: brightness(1.5);}div{ /* 添加过渡效果 */ transition: all 0.5s;}3.实现代码
<!DOCTYPE html><html> <head> <meta charset="utf-8" /> <title>clip-path实现按钮流动边框</title> </head> <link rel="stylesheet" href="../common.css" /> <style> div { position: relative; width: 220px; height: 64px; line-height: 64px; text-align: center; color: #fff; font-size: 20px; background: #55557f; cursor: pointer; border-radius: 10px; /* 添加过渡效果 */ transition: all 0.5s; } div::after, div::before { content: ""; position: absolute; border: 2px solid #55557f; width: 240px; height: 84px; border-radius: 10px; /* 简写为 */ inset: -10px; /* 添加动画 */ animation: pathRotate 3s infinite linear; } @keyframes pathRotate { 0%, 100% { clip-path: inset(0 0 98% 0); } 25% { clip-path: inset(0 98% 0 0); } 50% { clip-path: inset(98% 0 0 0); } 75% { clip-path: inset(0 0 0 98%); } } div::after { animation-delay: -1.5s; } div:hover { filter: brightness(1.5); } </style> <body> <div>苏苏_icon</div> </body></html>


