ai制作摩天轮的操作步骤讲解
时间:2022-10-26 13:43
ai这款软件吸引了不少网友使用,而本节就介绍了ai制作摩天轮的操作步骤,还不了解的朋友就跟着小编学习一下吧,希望对你们有所帮助。
ai制作摩天轮的操作步骤讲解

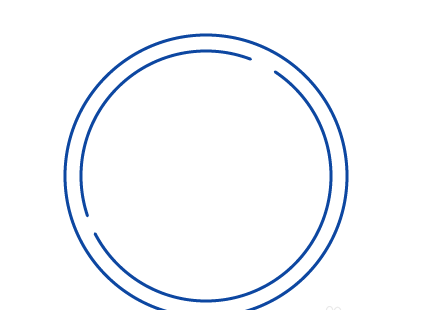
先绘制一个大圆;
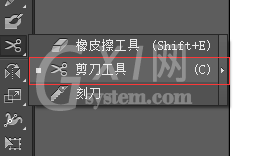
在大圆的内部再绘制一个稍小的圆,然后使用剪刀工具将边缘断开;
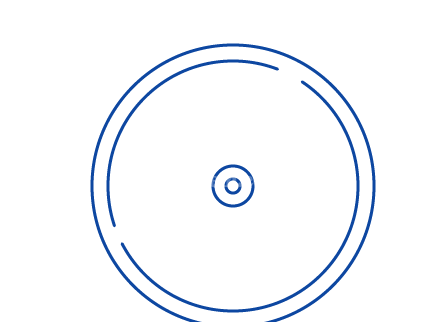
在中心部分绘制两个小圆作为轴心;
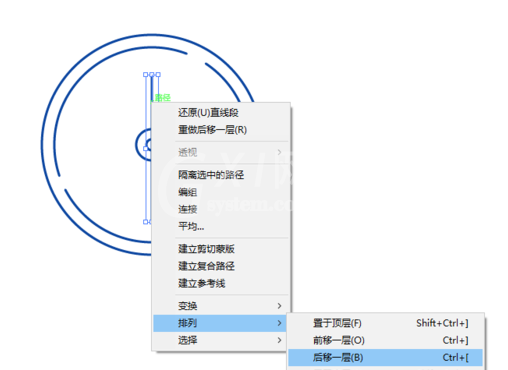
用直线工具绘制一条直线,右键“排列-后移一层”,将直线放置在两个圆心的后面;
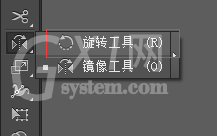
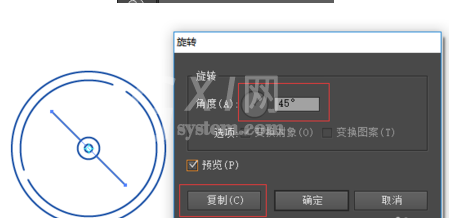
选中直线,点击旋转工具,按着Alt键调整它的中心点在轴心的部分,然后在弹窗中设置角度为:45°,点击复制,然后使用快捷键Ctrl+D重复上一步操作,多复制几条直线;
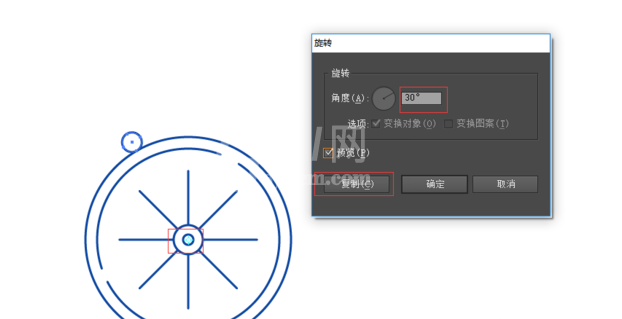
在大圆顶部新建一个小圆,然后点击旋转工具,按着Alt键将中心点拖动到轴心的位置,设置角度为:30°,点击复制,仍然采用快捷键Ctrl+D重复上一步操作,让小圆环绕一圈;

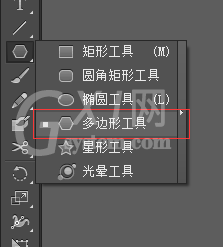
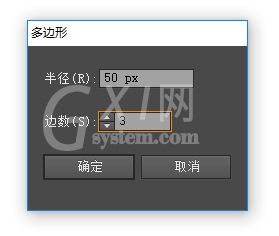
选择多边形工具,在画布上双击,设置边数为:3,新建一个三角形;
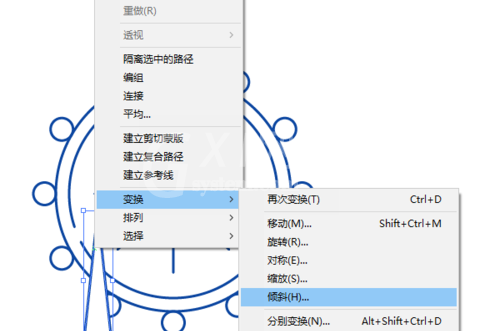
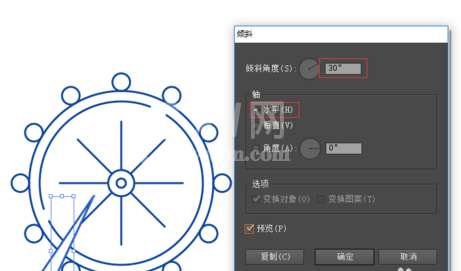
选中三角形,右键“变换-倾斜”,倾斜角度为:30°,轴:水平,确定。将三角形与轴心相交;
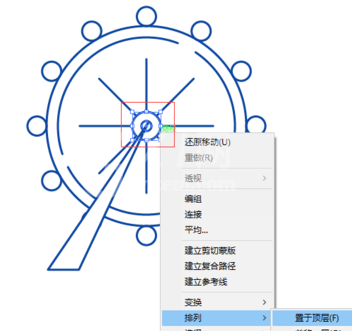
选中轴心的两个小圆,右键“排列-置于顶层”,然后将三角形镜像复制一份;
最后,填充上喜欢的颜色,添加地平线和一些云朵,摩天轮就画好了。

快来学习学习ai制作摩天轮的操作内容吧,一定会帮到大家的。


热门排行
今日推荐


热门手游
-
商场购物模拟器官方版

版本:v1.0.9
大小:46.11MB
日期:2024-12-16
-
滚动方块大冒险免费版

版本:v1.0.5
大小:26.10MB
日期:2024-12-16
-
恋恋奇缘体验服版

版本:v1.0.0
大小:131.33MB
日期:2024-12-16
-
炉石传说官方正版

版本:v1.0
大小:100.52MB
日期:2024-12-16
-
人群大师免费版

版本:v2.15.0
大小:57.68MB
日期:2024-12-16
-
方鸡跳跑单机版

版本:v1
大小:63.49MB
日期:2024-12-16