Axure RP 8.0制作旋转圆角图的操作教程
时间:2022-10-26 17:43
今天给大家讲的是Axure RP 8.0如何制作旋转圆角图方法,对Axure RP 8.0制作旋转圆角图的操作教程感兴趣的同学们就一起学习下具体方法吧!
Axure RP 8.0制作旋转圆角图的操作教程

1、双击打开Axure RP 8.0软件,在元件库中找到“图片”元件,拖一个到画布上,如图所示:
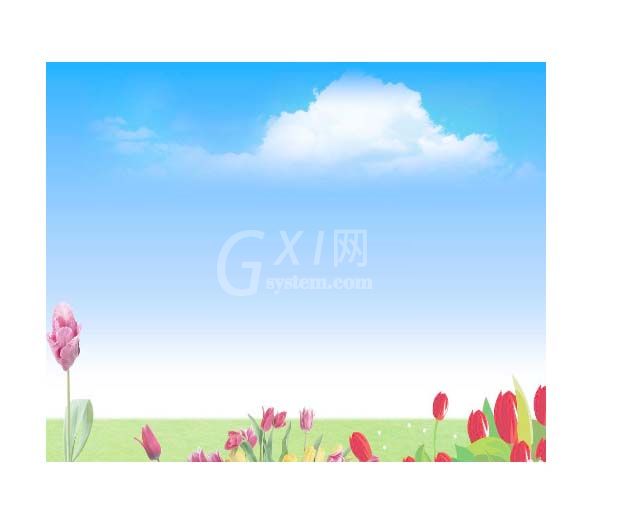
2、选中“图片”元件,导入外部图片,并设宽度和高度为500和400,如图所示:
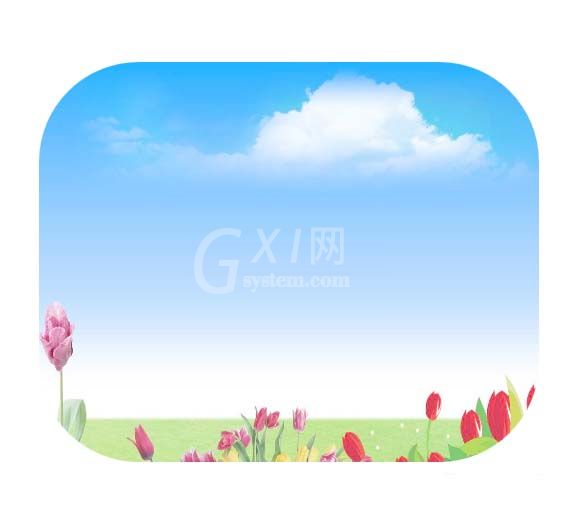
3、选中“图片”,设置圆角半径为“100”,如图所示:
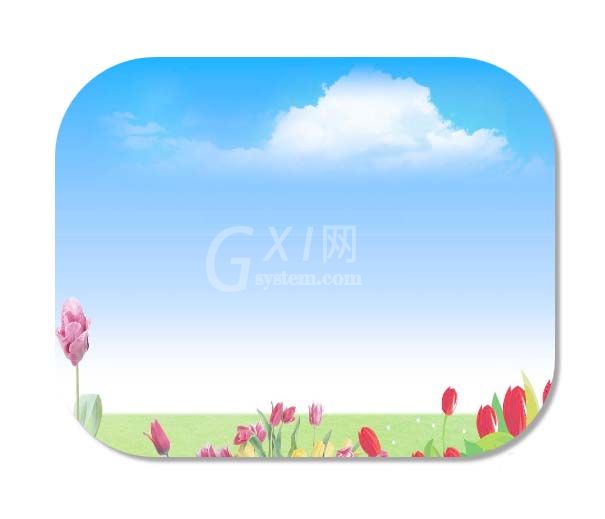
4、选中“图片”元件,勾选“阴影”,并将透明度设置为80%,如图所示:
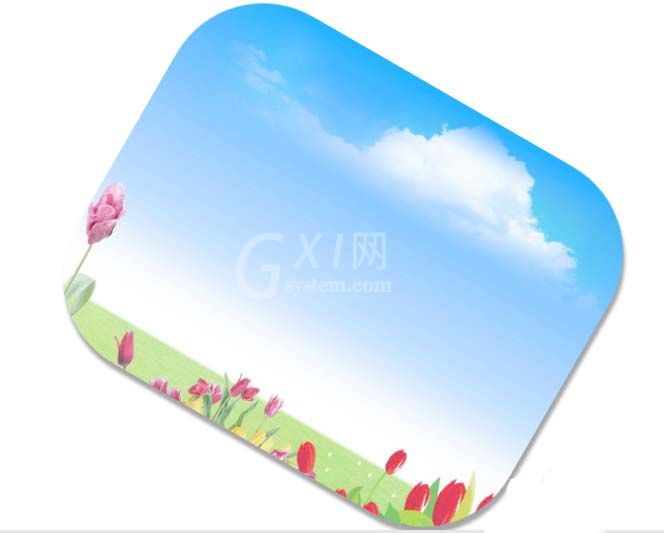
5、选中“图片”元件,设置元件角度为“30”,如图所示:
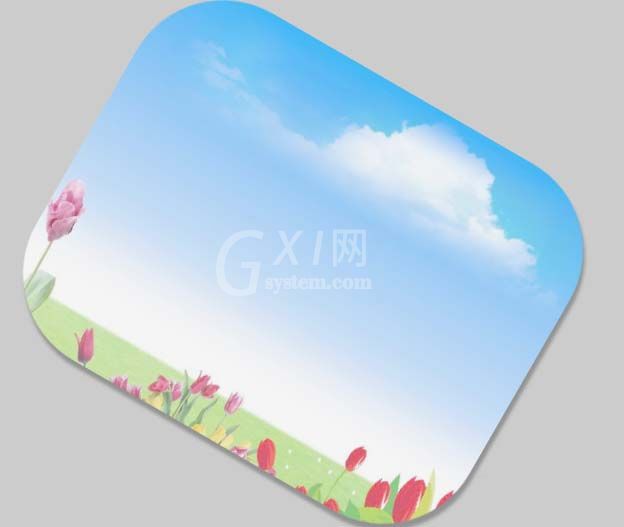
6、设置页面填充色为灰色,并预览该模型页面,如图所示:
以上这里为各位分享了Axure RP 8.0制作旋转圆角图的详细步骤。有需要的朋友赶快来看看本篇文章吧。


热门排行
今日推荐


热门手游
-
商场购物模拟器官方版

版本:v1.0.9
大小:46.11MB
日期:2024-12-16
-
滚动方块大冒险免费版

版本:v1.0.5
大小:26.10MB
日期:2024-12-16
-
恋恋奇缘体验服版

版本:v1.0.0
大小:131.33MB
日期:2024-12-16
-
炉石传说官方正版

版本:v1.0
大小:100.52MB
日期:2024-12-16
-
人群大师免费版

版本:v2.15.0
大小:57.68MB
日期:2024-12-16
-
方鸡跳跑单机版

版本:v1
大小:63.49MB
日期:2024-12-16